Weather Station Update

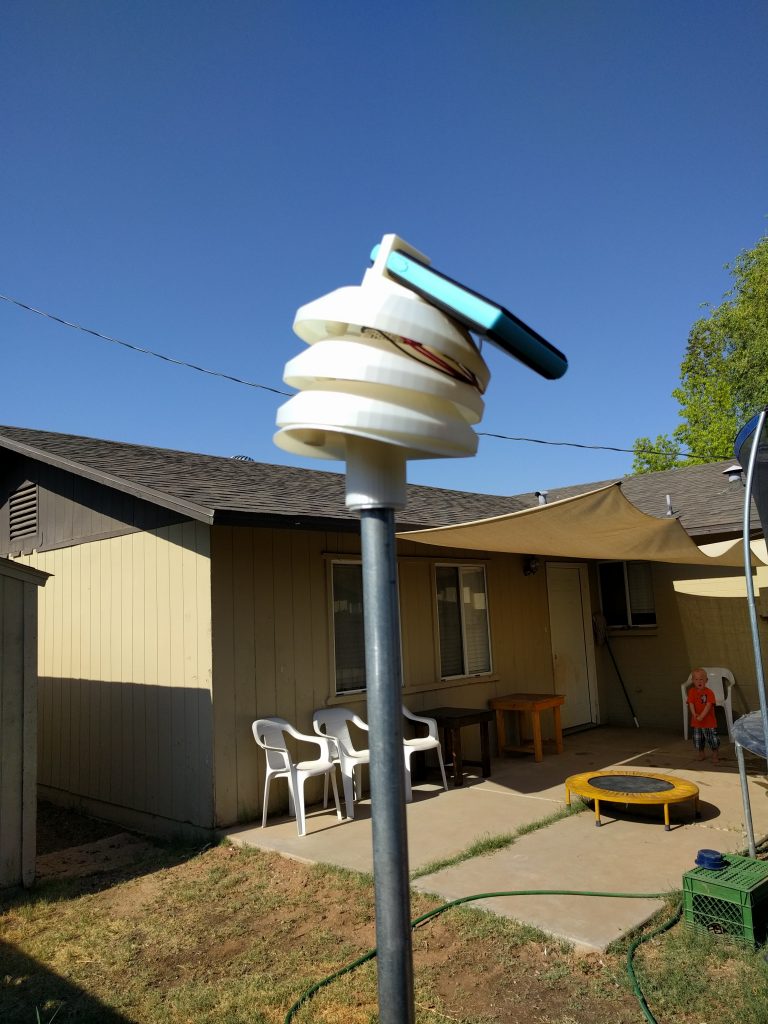
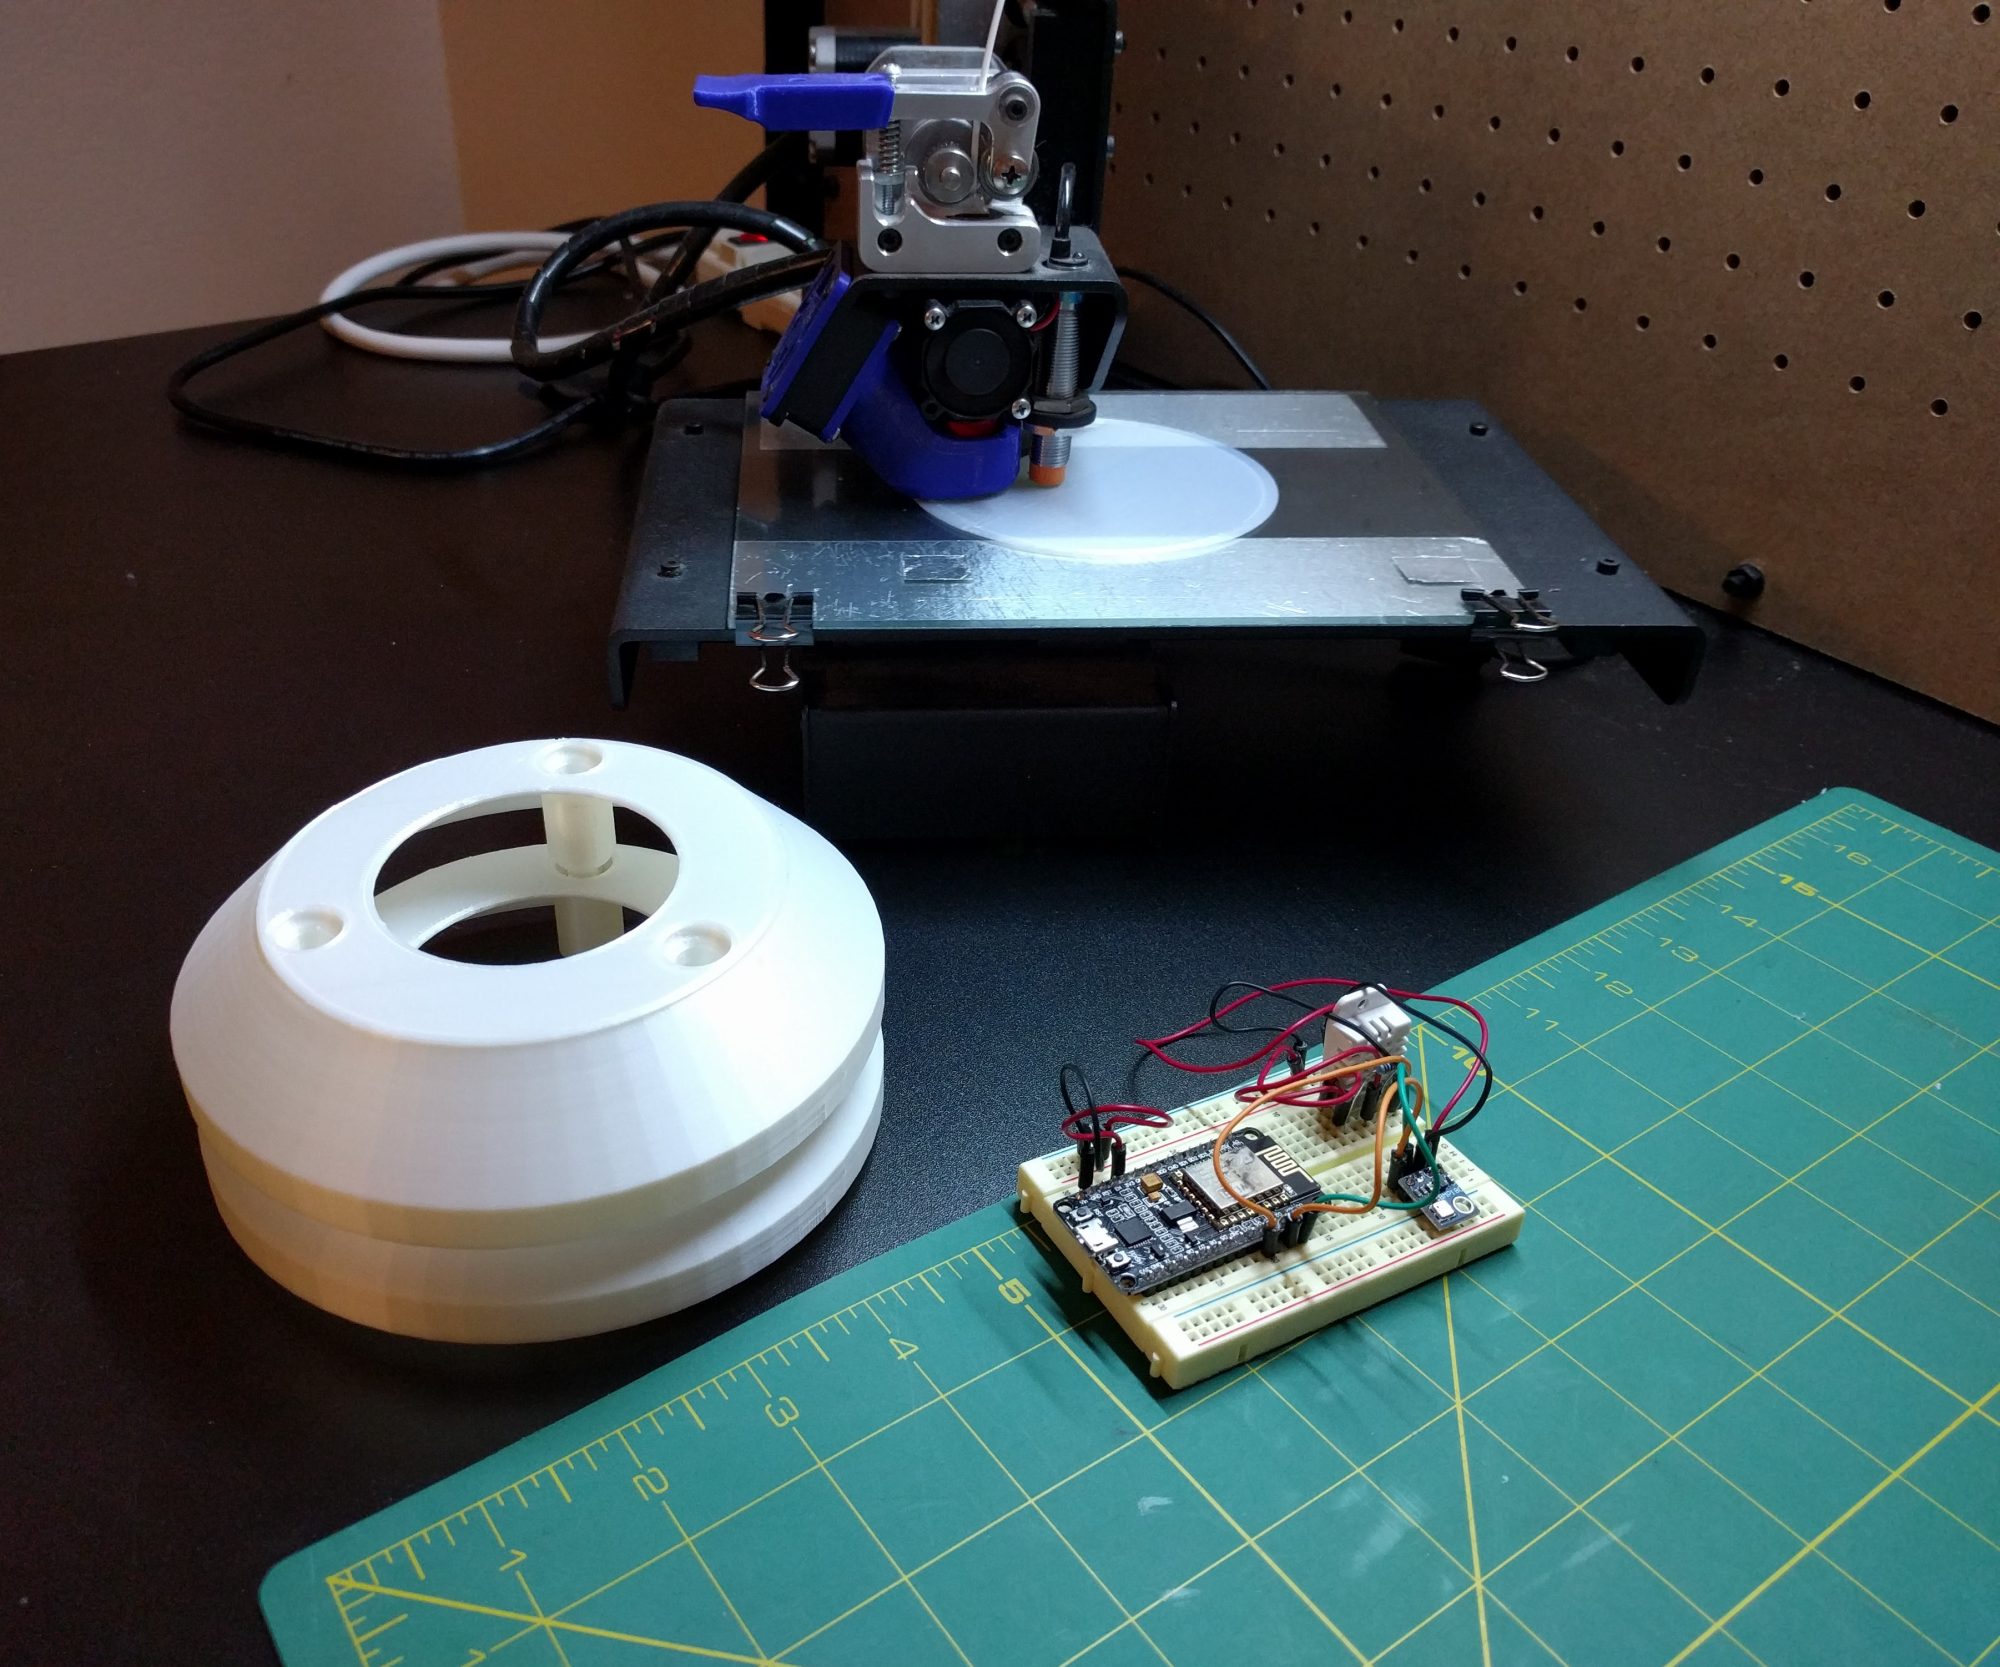
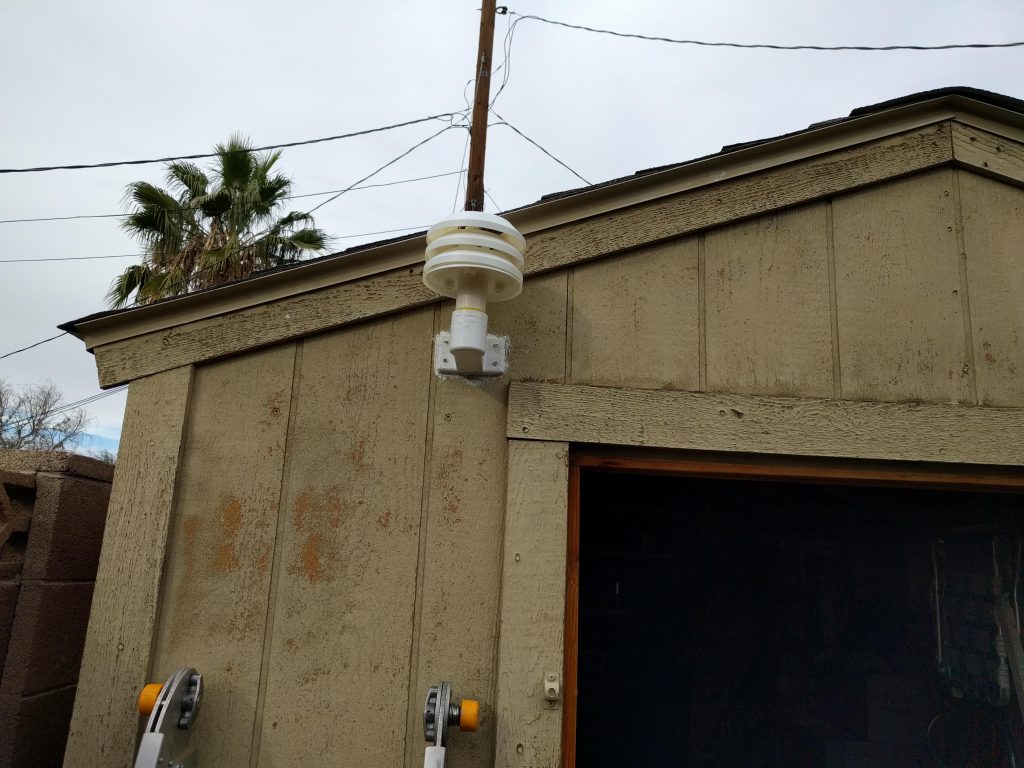
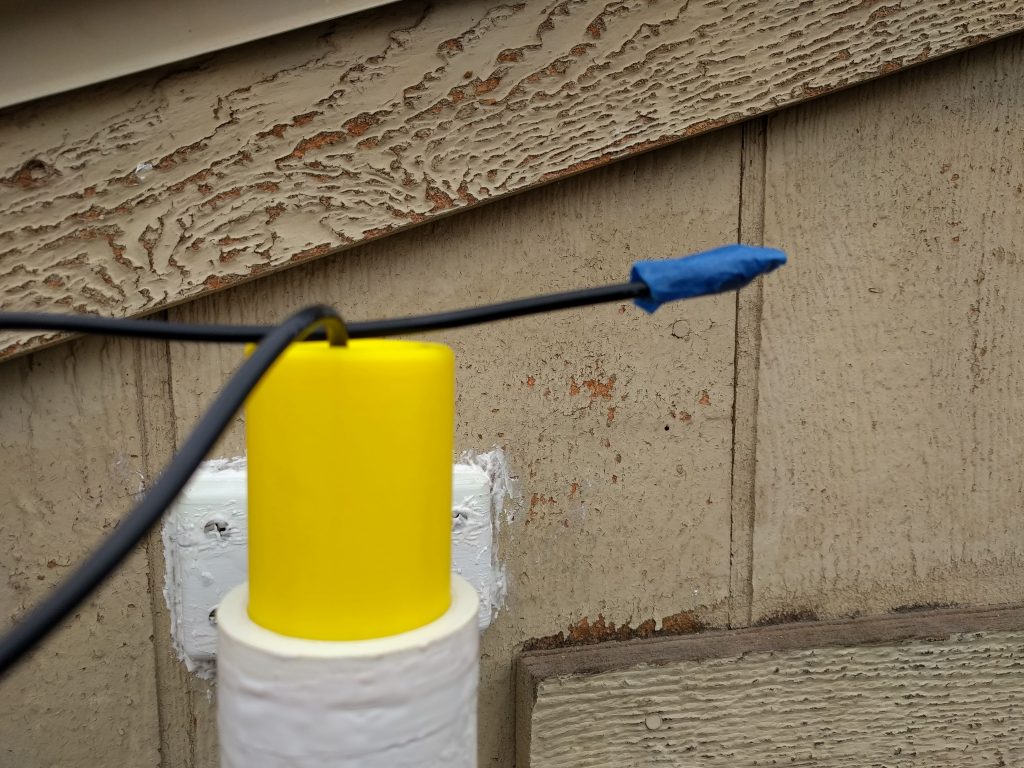
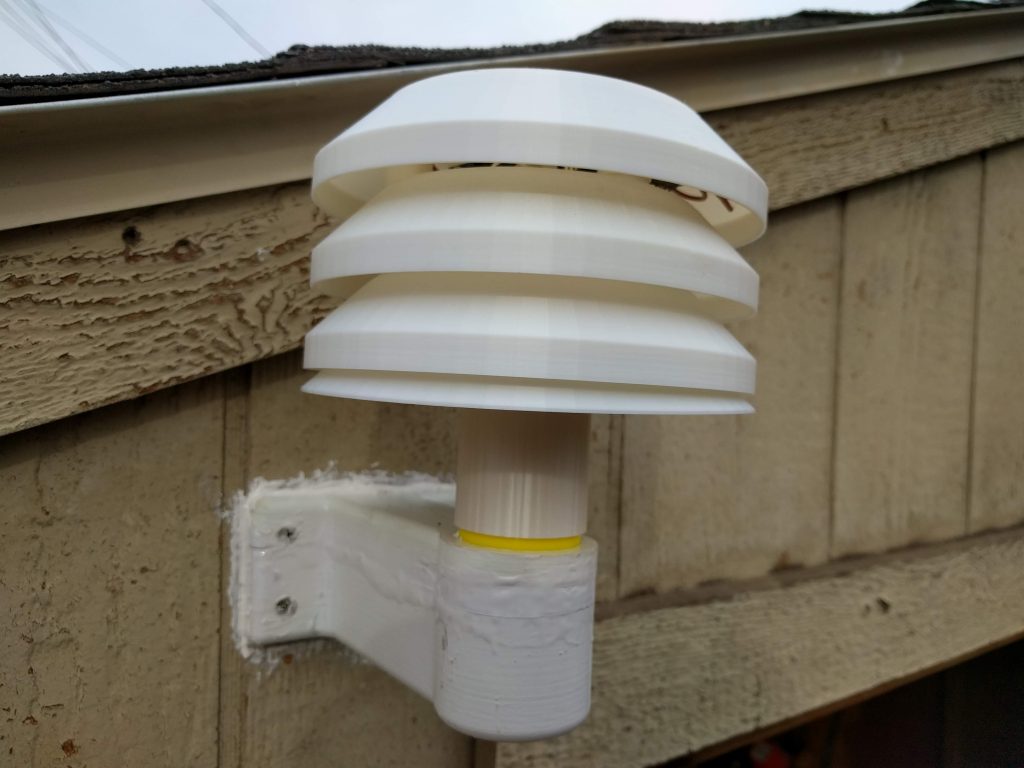
The weather station is complete!… again.  I found a new home for my weather station.  After my housing melted last summer my weather station had been sitting in a tote while I decided what to do, see this post here.  In the mean time, I figured out how to reconnect the power to my shed.  The battery I had used for the weather station wasn’t lasting long enough and putting the station to sleep between updates let the battery shut off and it wouldn’t come back on.  This was the perfect opportunity to find a new home for the weather station and a new source of power.  I reprinted the solar shade and designed a new mount to attach it to the side of the shed.  I drilled a hole through the wall of the shed, installed the mount with a few screws and sealed with whole thing with some silicone caulking.

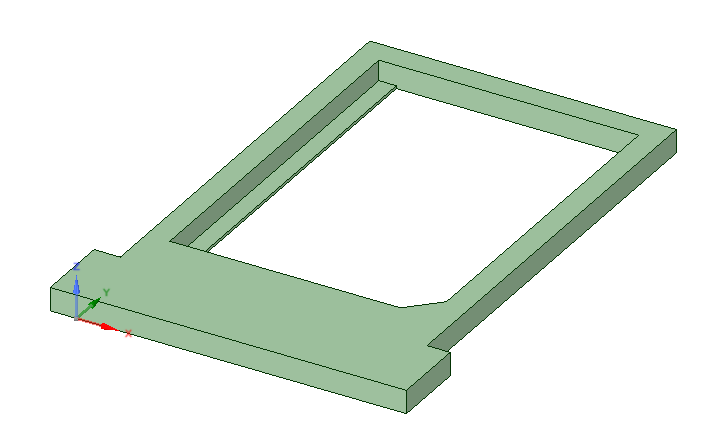
I ran out of filament during the print of the base and struggled to recover the print.  My printer doesn’t have a pause button, so I tried splicing the new PLA filament by hand with just a lighter and my pliers.  The splice broke as it was going into the extruder wheel, and it took almost a full layer before I was able to get the new PLA through the extruder.  This filament wasn’t enough either and quickly realized that another splice wouldn’t work.  This time, while it was printing infill,  I swapped out the filament just like I would normally change colors before a print.  That worked great and I barely had any issues with the transition.  After the print finished, the part split at the first material transition.  I used 5-minute epoxy to glue it back together.  My infill spacing was slightly larger than a toothpick, so I inserted several to keep the part aligned.  I wasn’t too considered about the finish of the seam and painted it white to match the top of the shade.

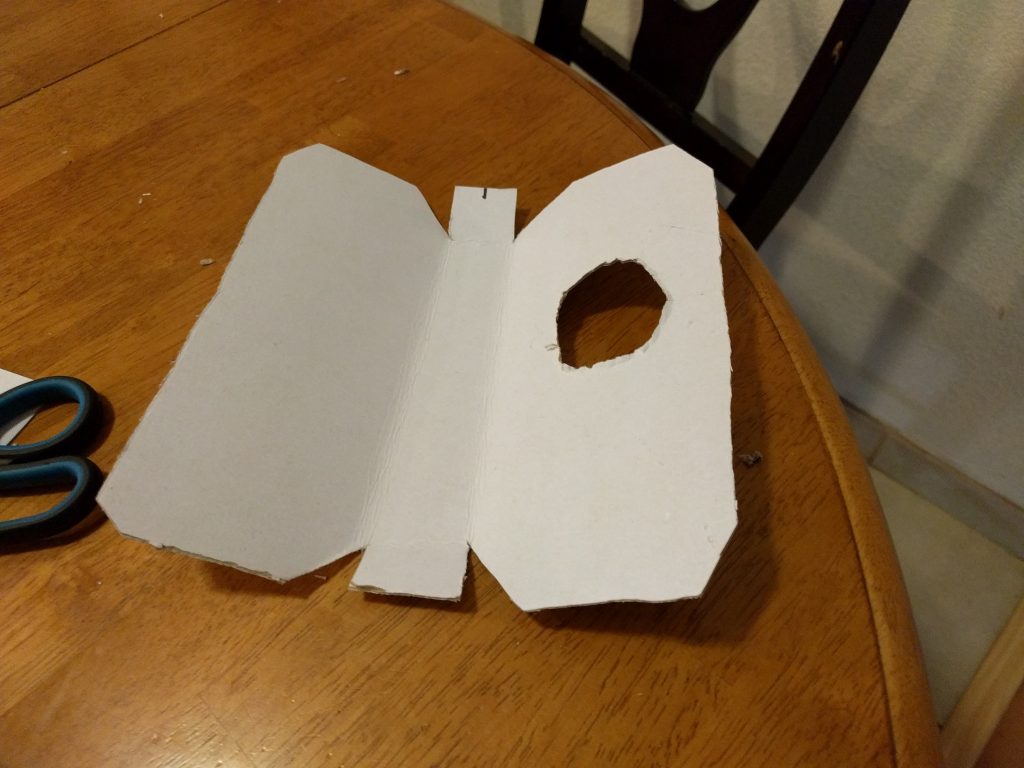
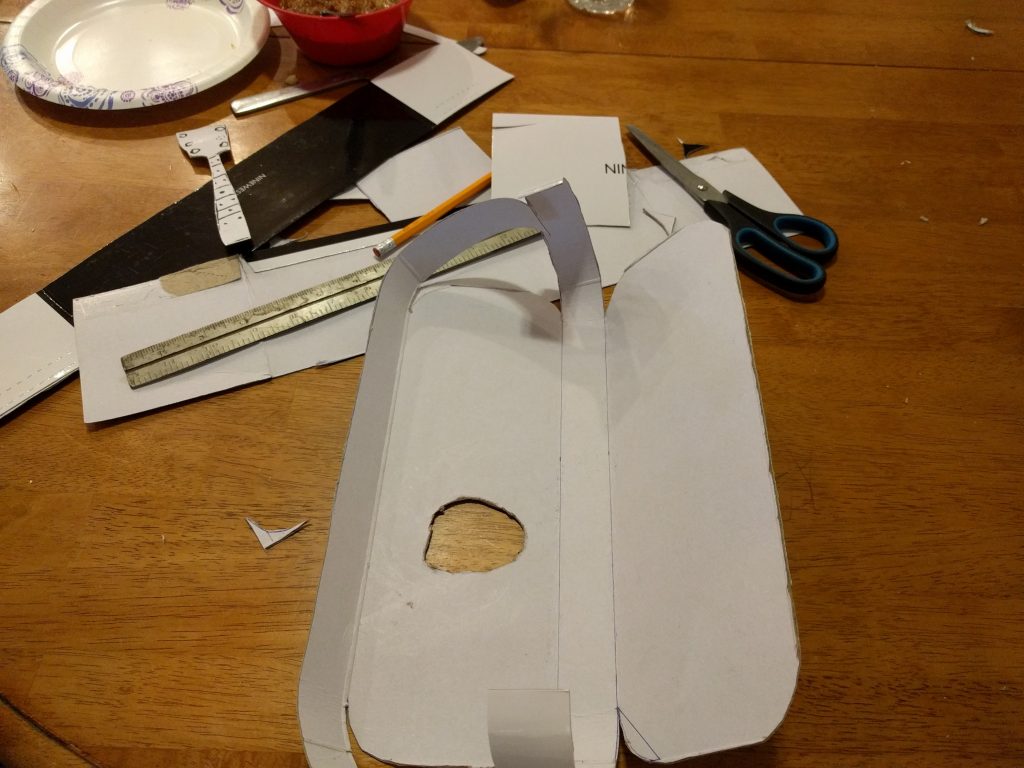
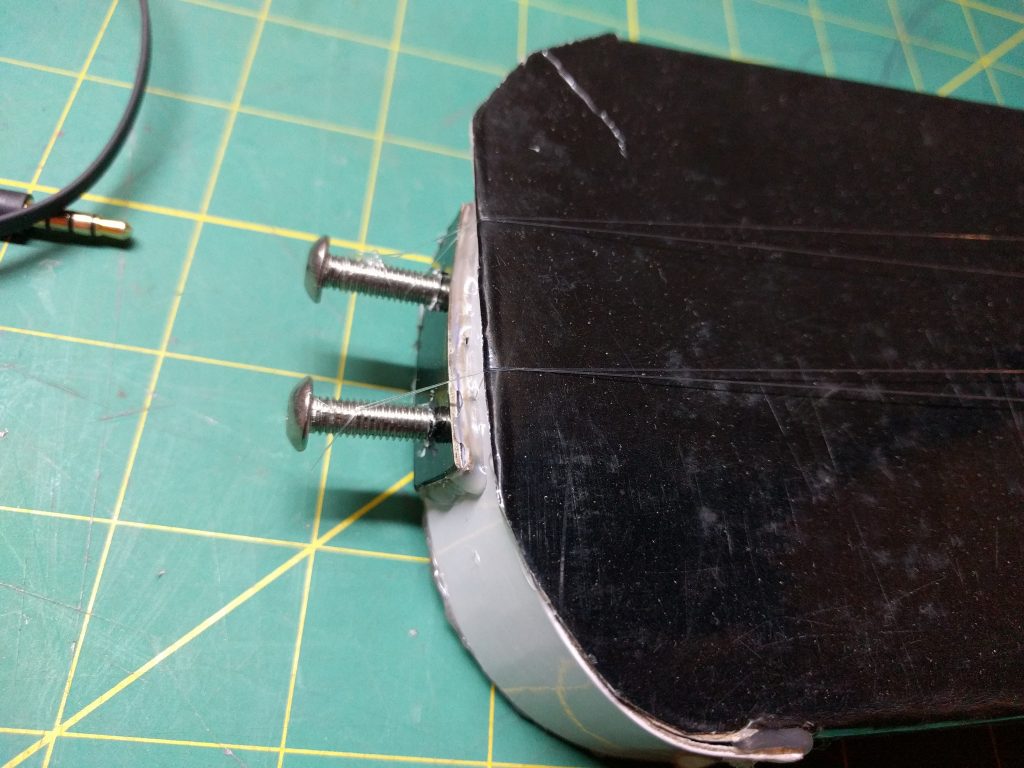
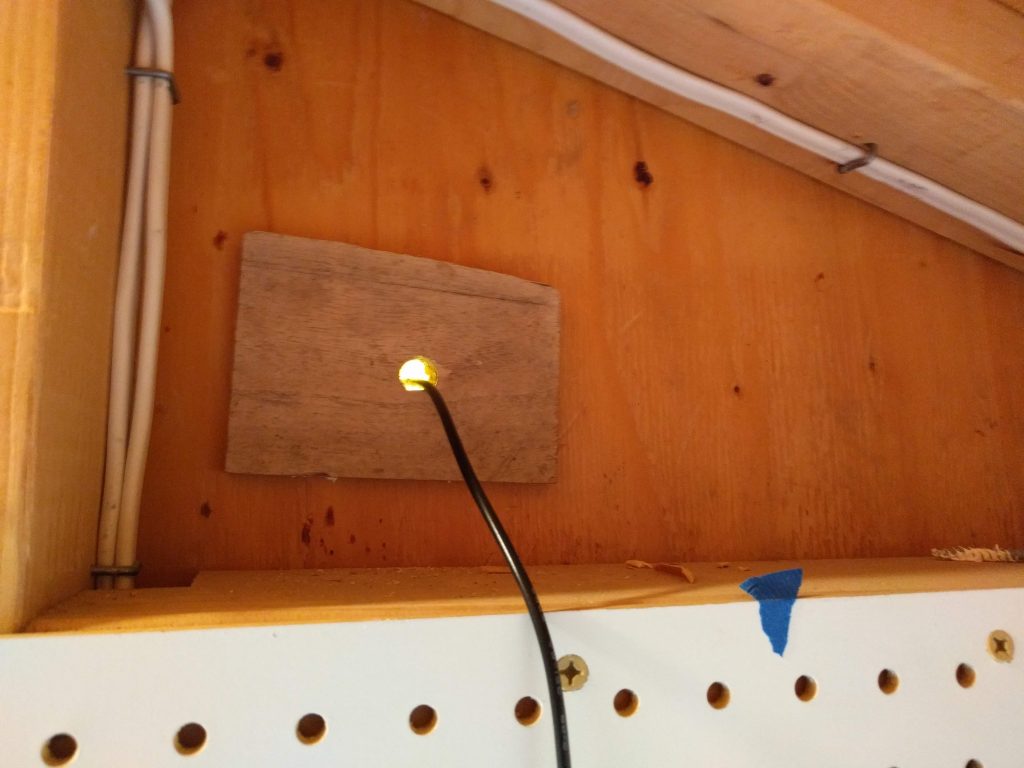
The screws I used to mount the base were a little long, so I added a piece of scrap wood to prevent anything from getting cut on the screw ends.

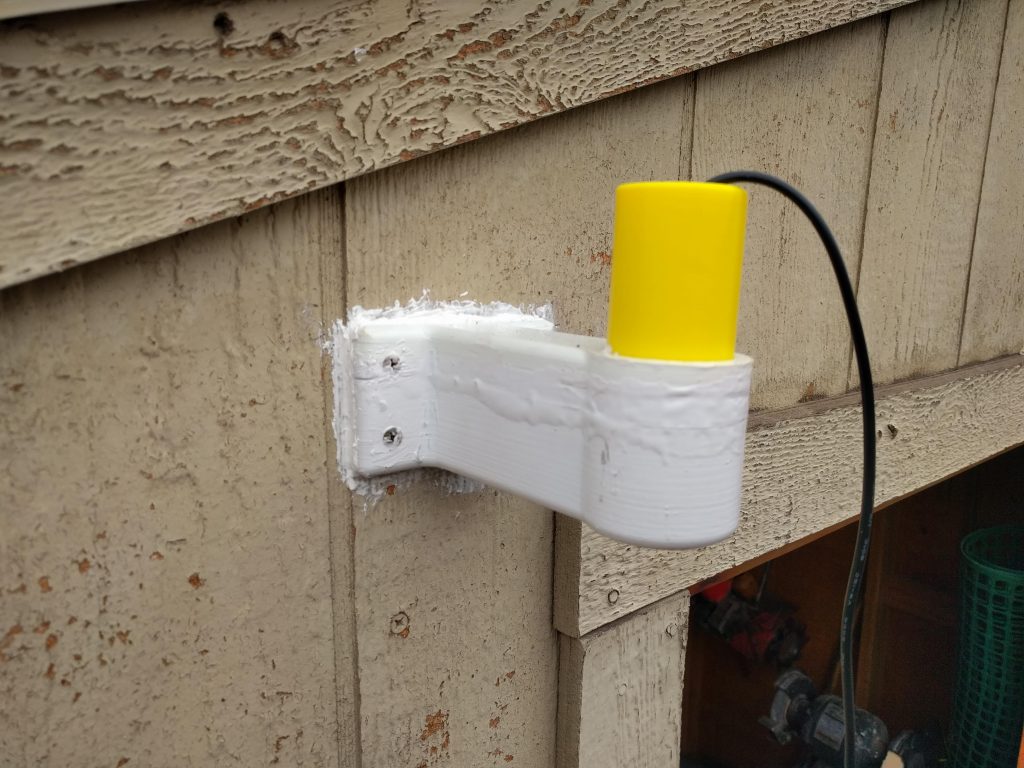
I made sure the cable hung down lower than the power strip so that if there was a leak, the water would drip off the bottom of the loop and not get into the power supply.

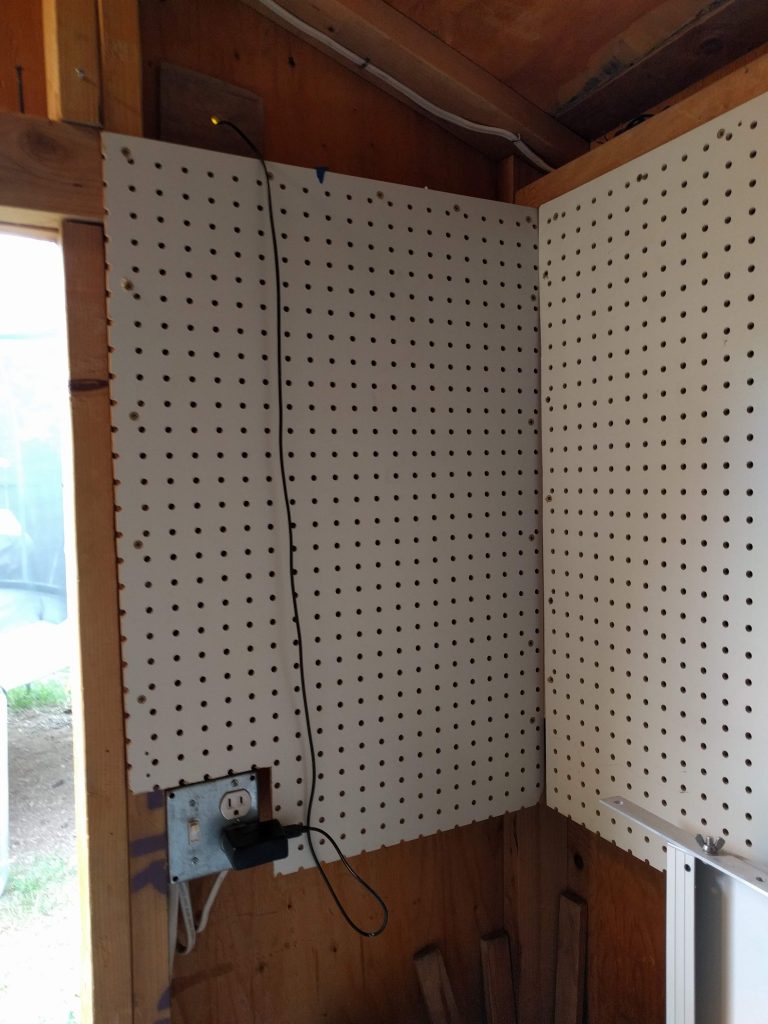
I taped the end of the USB cable to prevent any silicone getting on the connector and fished it from the inside of the shed out through the hole in the mount.

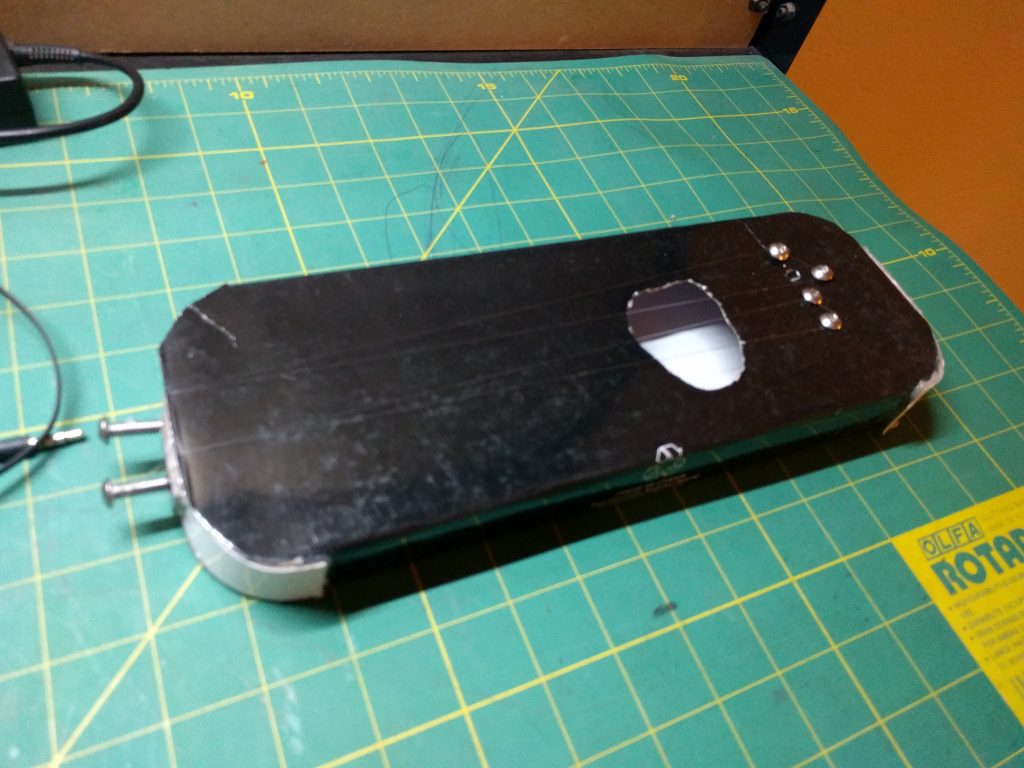
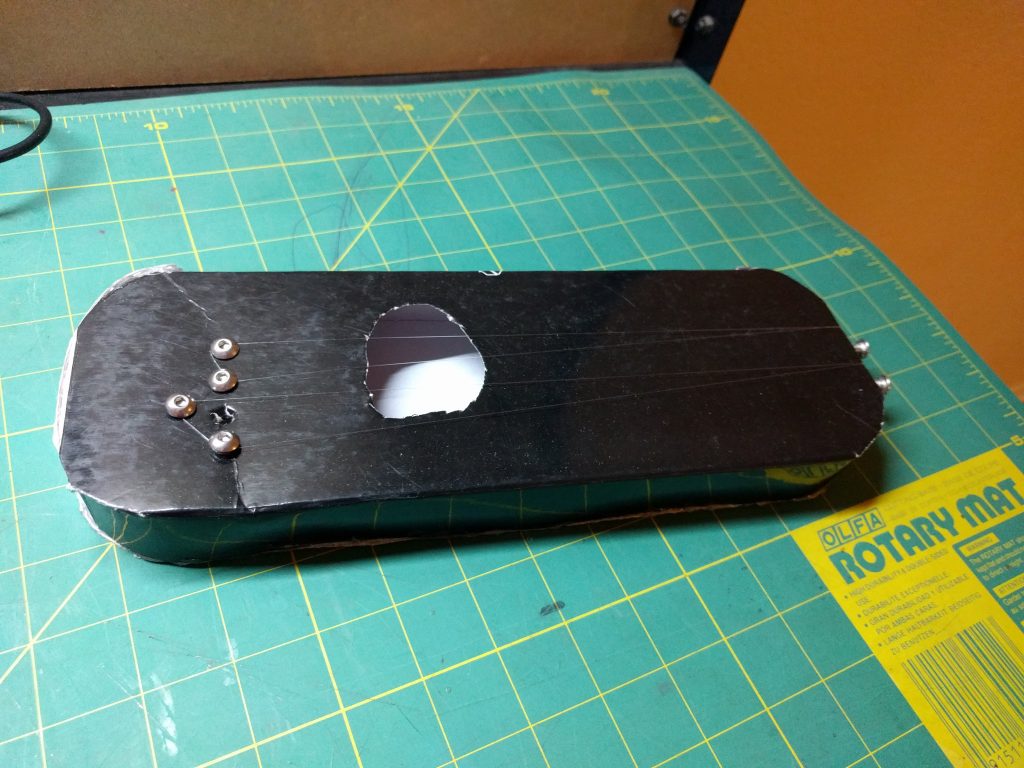
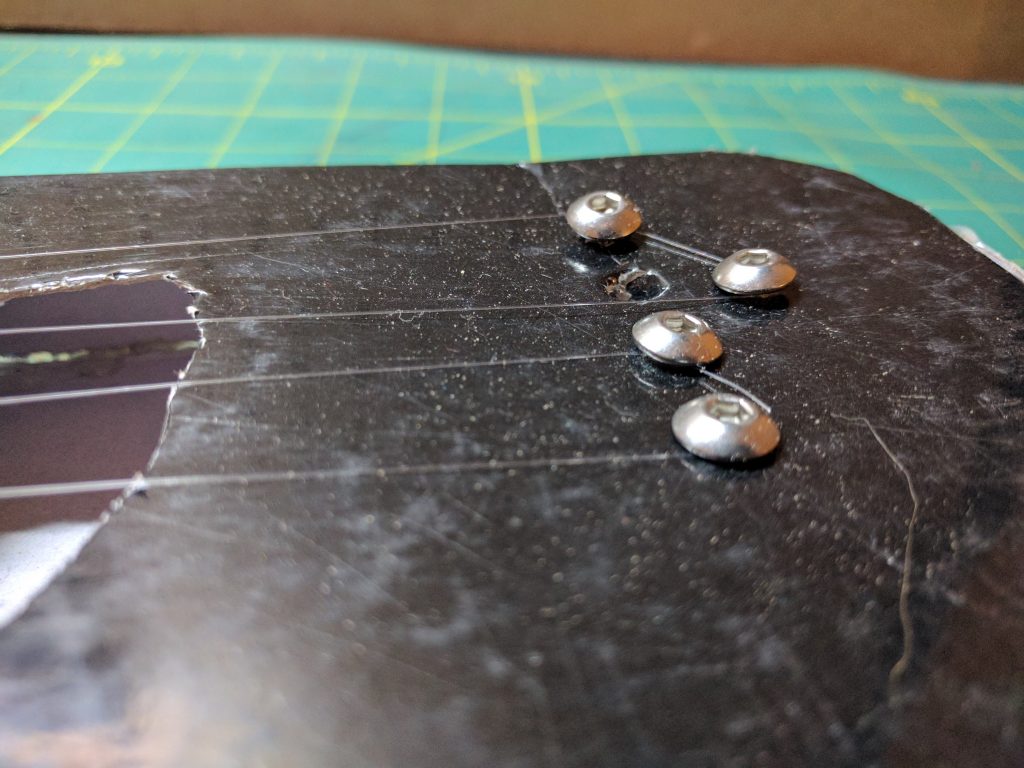
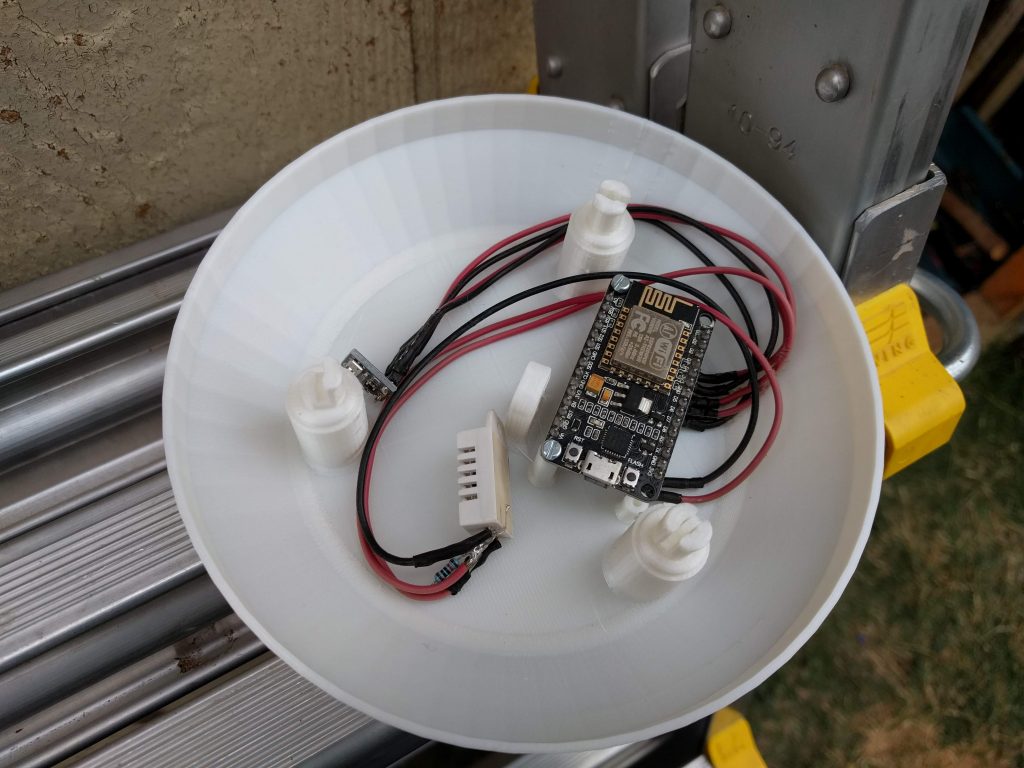
I connected the electronics to the top of the solar shade.  (I think I broke two of the mounting holes the last time I did this.)

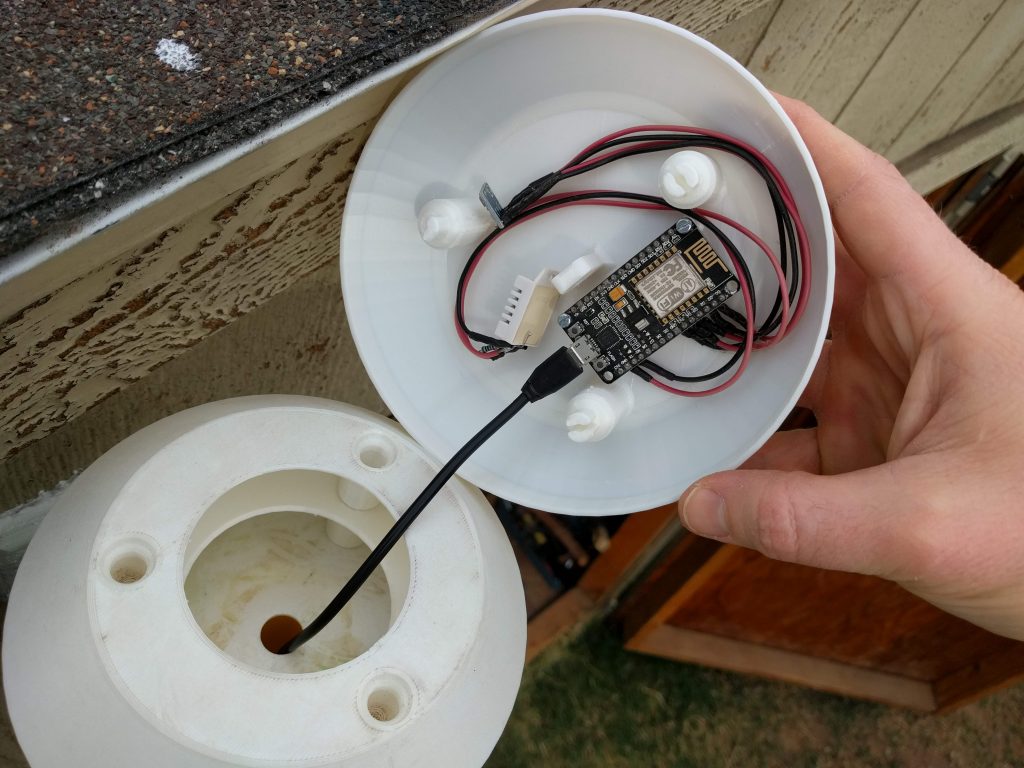
Put the lid on and everything is done.

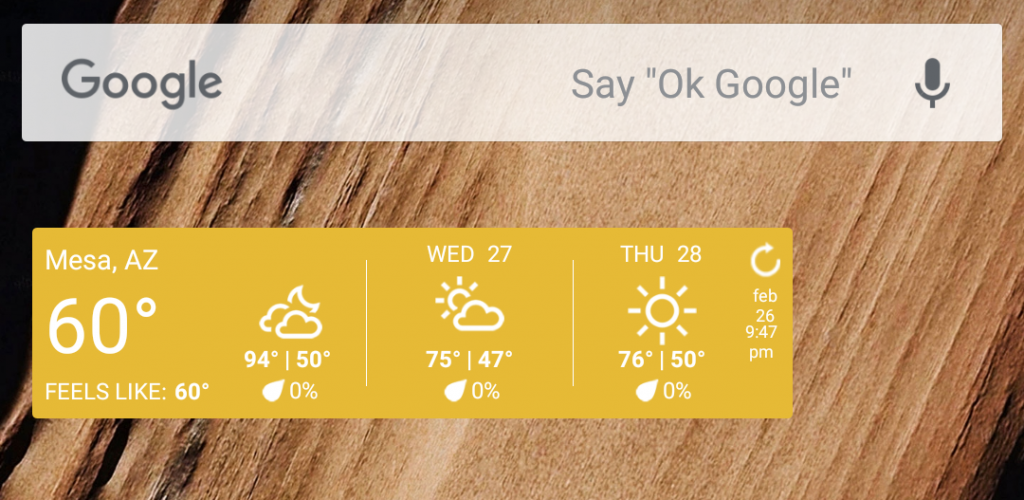
After a few days, I realized that I wasn’t getting any value out of having the weather station up.  I downloaded the Weather Underground app for my phone and set it up to pull data from my weather station.  Now I know what temperature it is at home every time I unlock my phone.  Looks like a nice winter night here in Arizona.

CNC Address Plate

My library recently opened up a maker space with an X-Carve.  I decided to try it out and make my address numbers out of scrap MDF that I had from a different project.  I have wanted to make new address numbers for a while.  The existing numbers are blocked by a tree and are in the wrong place to be lit up by the porch light.

I designed the part in Easel (easel.inventables.com) and it was super easy.  A box representing my border and some text for the numbers.  I could have had the X-Carve cut the outer shape of the board, but that would have been more work, since the design was based off of the height of the scrap piece.  When I aligned the router bit with the work piece on the X-Carve, I didn’t account for the radius of the cutter bit.  This made my whole design off center by the radius of the bit, but it’s not too noticeable.  Cutting the whole thing out of a larger board would have eliminated this issue.

I forgot to take a video of the painting process, but it happened in three quick applications.  I started with a primer to seal the MDF.  After that dried, I painted everything in black.  The paint I happened to have was a high heat matte black that I used on a fire pit.  After the main color was dry, I wrapped the front side in painters tape and cut out the recessed area where I wanted the silver paint to go.  The silver paint was really reflective, which will make it easier to see from the street.  After peeling off the tape it was ready to be mounted.  I had previously screwed in the mounting screws from the front, and then switched them to the back so I could paint the whole board at once.  The screws gave me something to hold onto and propped the back side up so it could dry.  I painted the screws silver so they wouldn’t be as noticeable when installed.

It’s Been Awhile

I haven’t posted in awhile.  I have been working on a Master’s Degree in Additive Manufacturing (3D Printing) through Penn State.  It has been interesting, but has taken up my time and prevented me from working on my own projects.  Last semester I worked on improving a large printer (52″ square build platform) that some undergrad students had built for my work.  Unfortunately, I couldn’t get it to work.  The weight of the extruder platform was too much for the stepper motors and they stopped working.  This semester is about design and materials.  I’m really looking forward to it.

My 7 year old son has been making a lot of stuff, so I’ll try to post some of his builds.  I’m impressed with and admire his creativity and drive.  I wish I was as good as just building things the way he does, but I put too many excuses in my way and talk myself out of building something.

My latest design is a  replacement sim card tray for my Nexus 5X.  I sent it in for a warranty repair and when it came back, the tray was missing.  I intended to quickly print one out so I could use my phone, but I’m on my 4th iteration and I’m not even sure if it will work.


Pick a Goal!

I just wrote this up for my wife’s website, ExcitedToBoMe.com.  I thought it would be fitting to go here too.

Pick a Goal!

The world wants people who are going somewhere, doing things, and making decisions.  What are you waiting for?  Pick a goal!  It doesn’t have to be something big or hard or impressive.  Just pick something.

Need some help getting started?  Here’s what you do.

  1. Grab a pencil and paper.
  2. Make a list of things you want to do, wish you could do, or have seen others do.
  3. Hold your pencil in the air.
  4. Close your eyes.
  5. Put the pencil on the paper.
  6. Circle the item that your pencil landed on.

CONGRATULATIONS!  You just picked a goal!

It’s that easy.  How many times have you not done something because you didn’t know how or where to start.  Do the six steps above and you have gotten farther than most people have.  A goal not written is merely a wish.

Still not enough?  Here’s the next step.

Write down what it will look like, feel like, smell like when you achieve that goal.  Who would you tell?  How would you celebrate?  Be as detailed as you want.  Then, write down what it would look, feel, smell, sound like to be half way there.  Where would you be?   What would you have already accomplished? What do you have left to accomplish?

Rinse and repeat until you have a list of steps that are small enough for you to see yourself actually doing them.  Make those next steps small enough that it seems trivial to complete them and illogical not to complete them.  Then, do them.  Plan them into your day.  Put a date next to them.  Hang them on your wall.  Put them into your phone.  Do whatever it takes to not forget about them.  Memorize them, turn them into a song.  Just get them into your brain!

Now that you know what to do… DO IT!  Keep track of what you’ve done so you can see how for you’ve come.  When those sneaky thoughts try to tell you to stop or that you’re not good enough, don’t listen to them.  Grab the remote and turn them off.  You’ll thank yourself later.  Try the Jerry Seinfeld method of tracking; mark off each day you worked on your list and DON’T BREAK THE CHAIN!  It works, and may be just what you need to keep going.

Now, here’s the hard part.  Tell other people what you are doing.  There are lots of reasons not to do this, but they all stink.  The act of telling people your goal helps solidify that goal in your mind.  It makes it real.  You hear yourself saying it and you really start to believe it.  Or it drives you crazy and you quit.  It’s up to you.  You decide how awesome you will be.  Not the person on the other side of a screen, who doesn’t see the excitement in your eyes or hear the energy in your voice when you talk about your goal.  This is your dream after all, not there’s.  So why should they get to decide how you feel about it.

Oh, and don’t forget.  Finished is better than started.

3D Animals

I showed my 7 year old a video of some origami animals that pop into their 3D shape when they are dropped on the table.  He really wanted to make one so I did a quick search to find some 3D paper animals.  What I found was this site, which was great!

http://www.3dgeography.co.uk/3d-model-animals

We printed out the tiger and cut, folded and glued it together.  I think it turned out pretty well.  They had more realistic patterns, but they looked a lot more difficult.

A cool tip that they gave in the instructions was to use a ball point pen or something to go over the lines of the folds.  I didn’t want to write on it so I tried several alternatives (scissors, fork, knife, etc.).  I ended up using a meat thermometer and it worked out great.  Making that indention in the paper made it super easy to fold where you wanted it.

Below are several pictures of the process.

Rubber Band Guns

I was home with my kids while my wife was out of town and my 7 year old was really pushing me to print stuff out.  He picked out a rubber band gun, but I did not think it was a very well designed. I printed it out, but was still on the hunt for a better design.  I found one, but thought it could still be improved.  Here’s a link to the gun I ended up making.

https://www.thingiverse.com/thing:2429439

Look Before You Print

I started printing a robot yesterday and part of it did not stick to the bed, causing me to cancel the print.  I started it again this morning only to realize that something was wrong.  I found this piece of plastic stuck to the nozzle and things were printing very well.

Let that be a lesson to me.

PLA vs AZ Heat

And the winner is… AZ Heat.  Clearly PLA was not supposed to be subjected to the blazing 120+ F temperatures of an Arizona summer.  It might have survived if the battery wasn’t mounted on top.  Oh, and the battery didn’t do so well either.  The rubber coating is now all sticky.

Cardboard Guitar

My son wanted to make a guitar out of cardboard.  He got a shoe box and cut it up.  Then he realized that he had forgot to include one of the sides of the guitar.  He knew how he wanted everything to work, but needed help to get this part right.  I helped him create a pattern that would include all of the sides of the guitar and he cut it out.

The original:

After the cutting, we hot glued it together.  He originally drew and cut out a neck for the guitar, but realized it would be too flimsy to actually work.

Instead, he asked for screws to hold the strings on.  We tied on fishing line and used a match stick for the bridge.  The guitar worked, but was really quite and not easily tuned.

I was impressed with how he knew exactly how he wanted to create it and how he adapted to mistakes along the way.