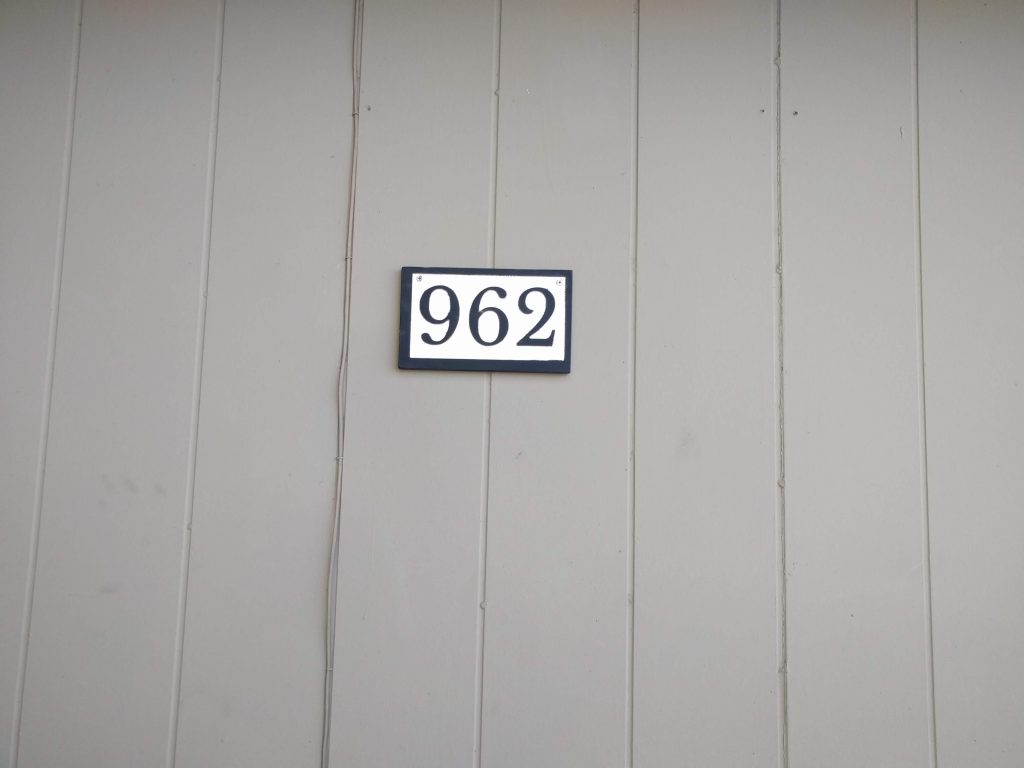
My library recently opened up a maker space with an X-Carve. I decided to try it out and make my address numbers out of scrap MDF that I had from a different project. I have wanted to make new address numbers for a while. The existing numbers are blocked by a tree and are in the wrong place to be lit up by the porch light.
I designed the part in Easel (easel.inventables.com) and it was super easy. A box representing my border and some text for the numbers. I could have had the X-Carve cut the outer shape of the board, but that would have been more work, since the design was based off of the height of the scrap piece. When I aligned the router bit with the work piece on the X-Carve, I didn’t account for the radius of the cutter bit. This made my whole design off center by the radius of the bit, but it’s not too noticeable. Cutting the whole thing out of a larger board would have eliminated this issue.
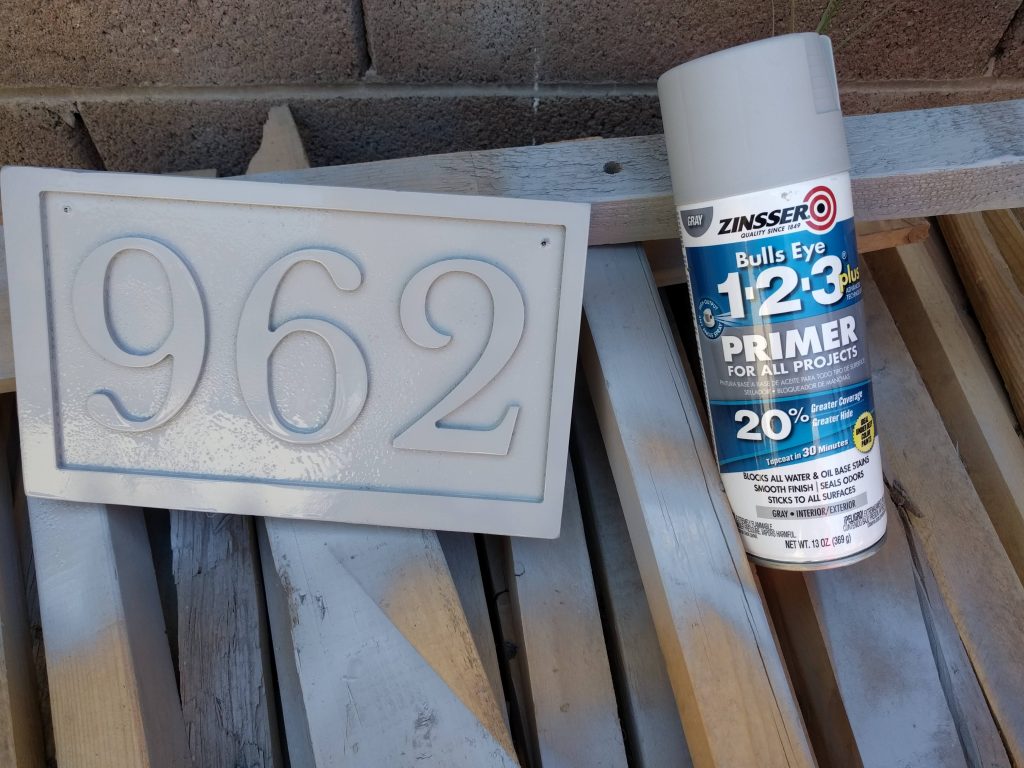
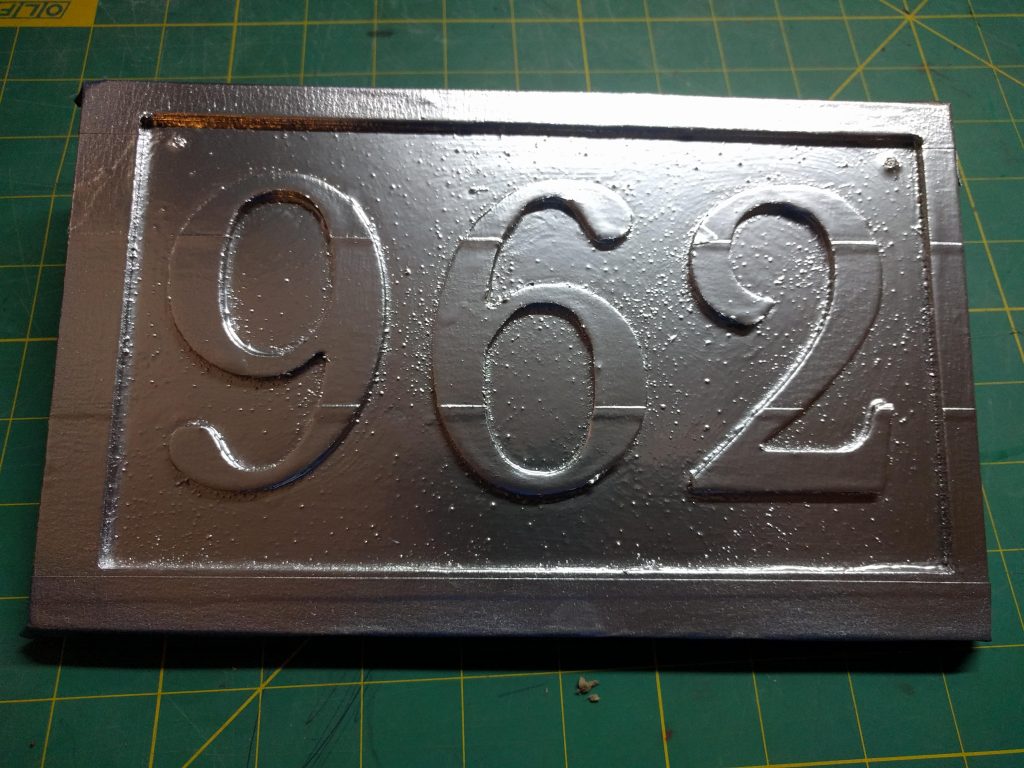
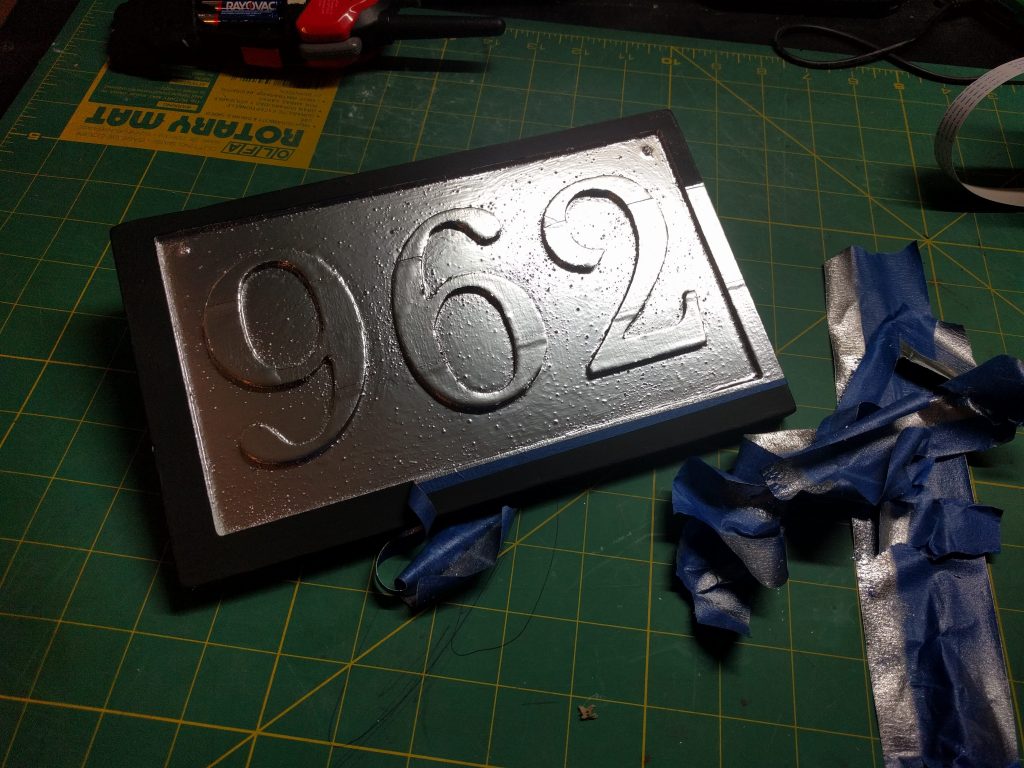
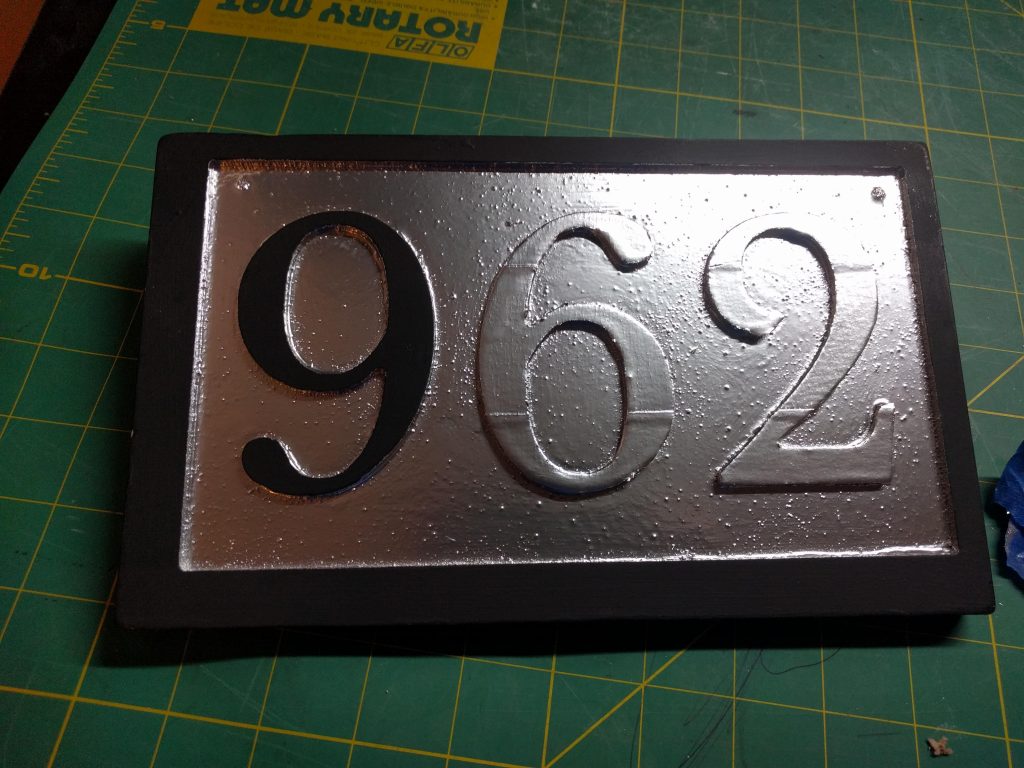
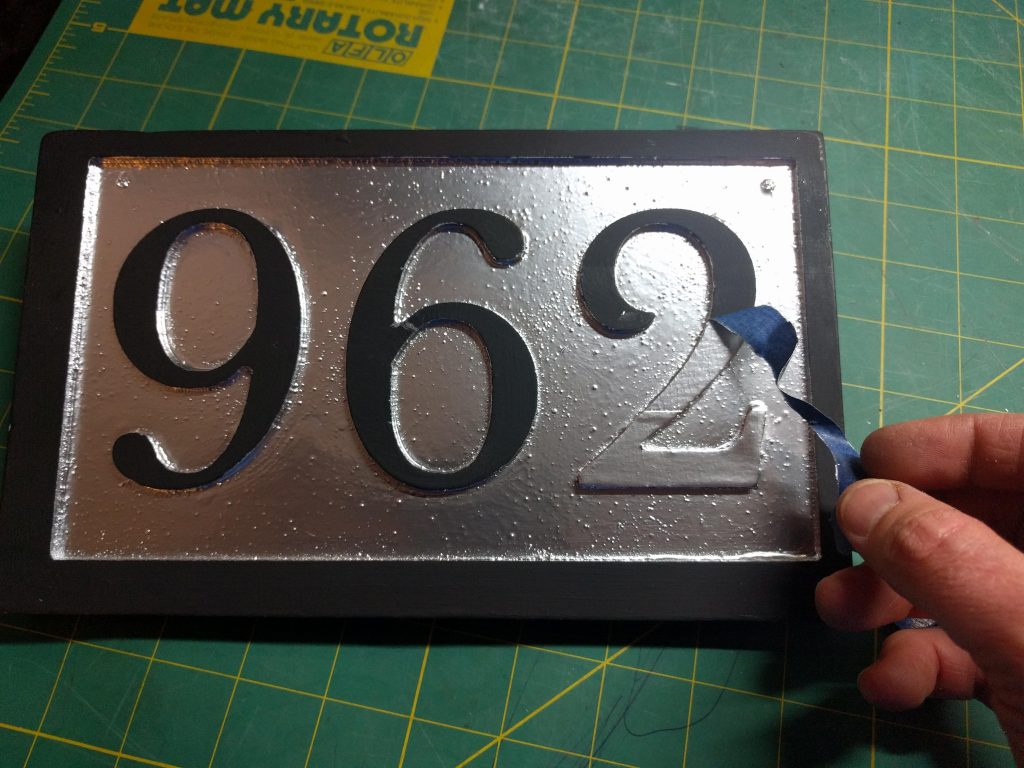
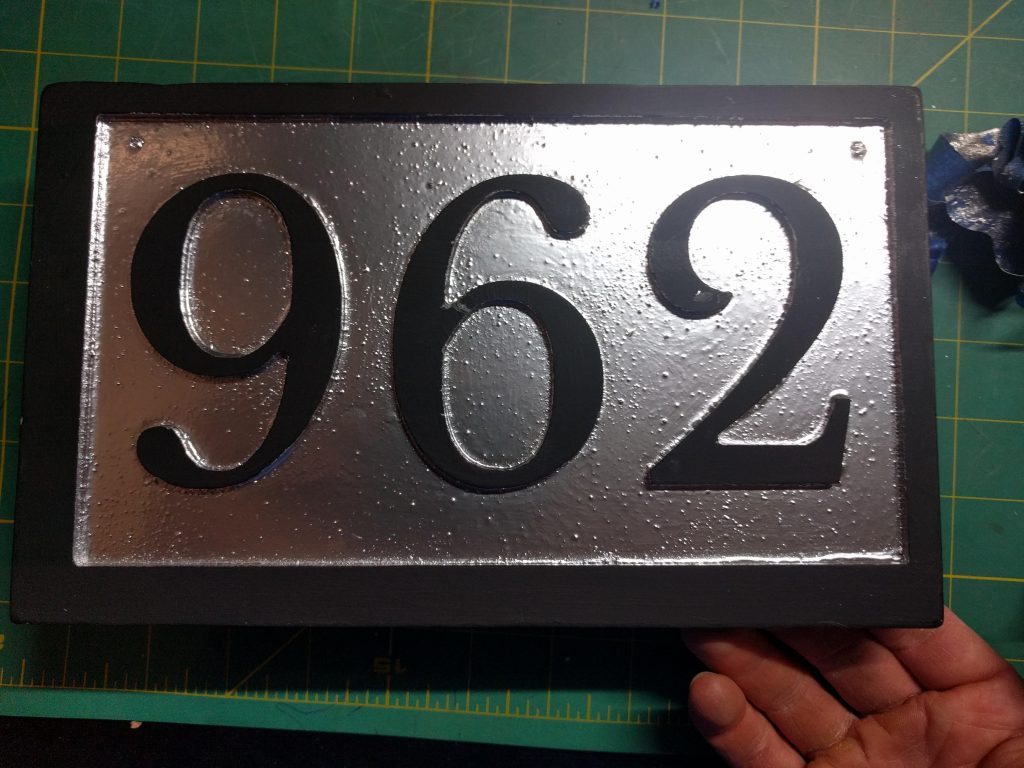
I forgot to take a video of the painting process, but it happened in three quick applications. I started with a primer to seal the MDF. After that dried, I painted everything in black. The paint I happened to have was a high heat matte black that I used on a fire pit. After the main color was dry, I wrapped the front side in painters tape and cut out the recessed area where I wanted the silver paint to go. The silver paint was really reflective, which will make it easier to see from the street. After peeling off the tape it was ready to be mounted. I had previously screwed in the mounting screws from the front, and then switched them to the back so I could paint the whole board at once. The screws gave me something to hold onto and propped the back side up so it could dry. I painted the screws silver so they wouldn’t be as noticeable when installed.