Mini Axe

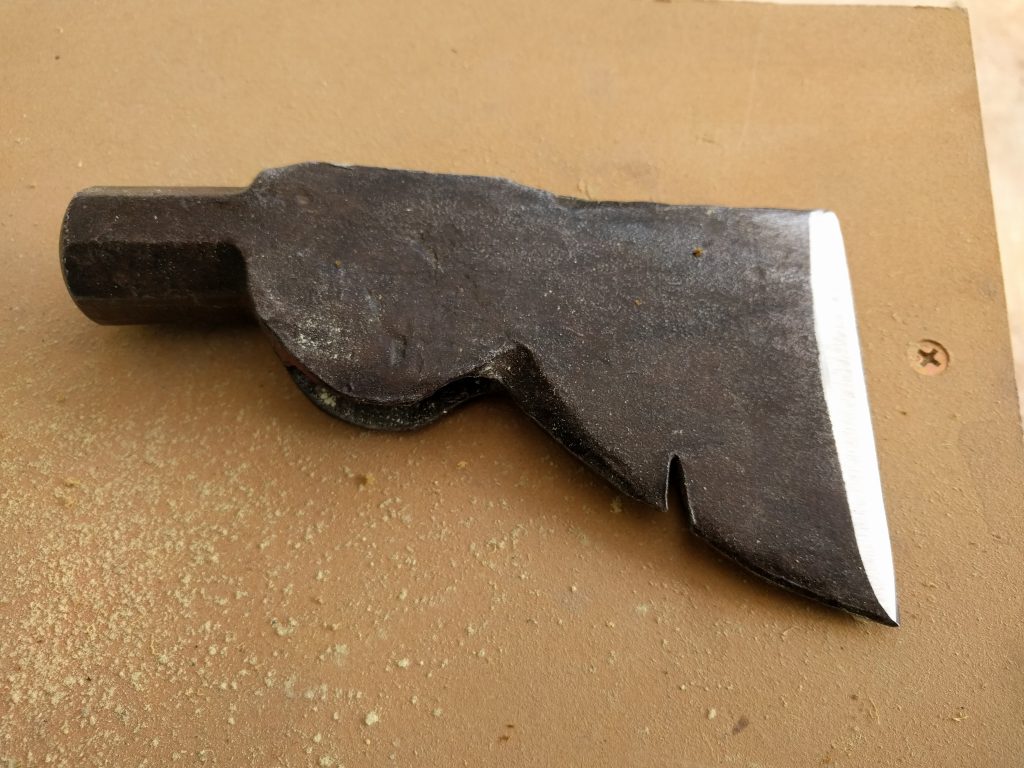
I’ve seen a few videos of someone making a new handle for an axe, so when I found this hatchet head, I thought I would give it a try.

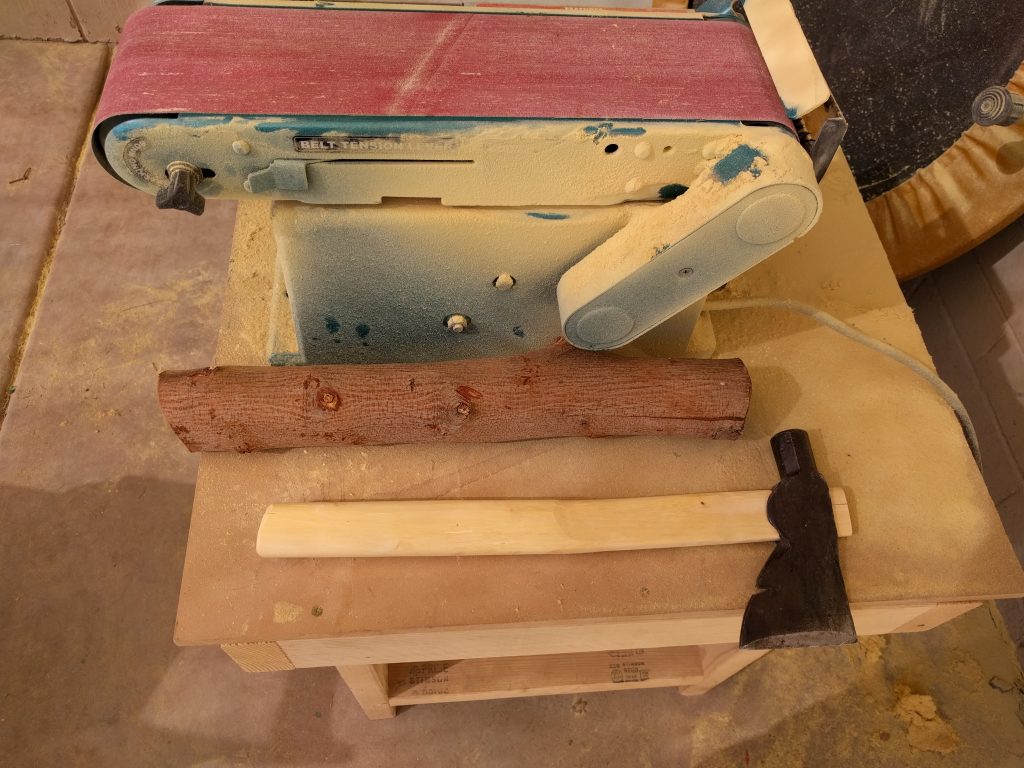
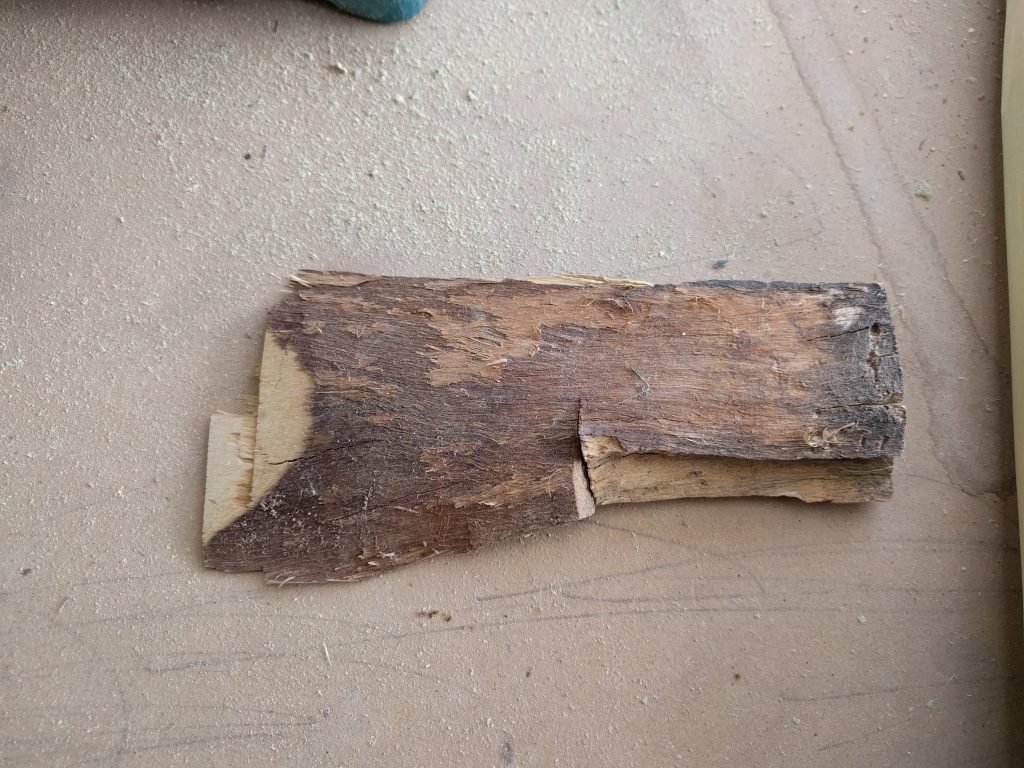
I’ve had some firewood stacked up and I thought it would be fun to make something out of a piece.  I found one that had a good shape to it and started sanding it down.  I don’t have a band saw (yet), so I shaped the whole handle on a belt sander.  I don’t know what type of wood it is, but this picture shows a similar piece to what I started with.  I like how the shape of it turned out.

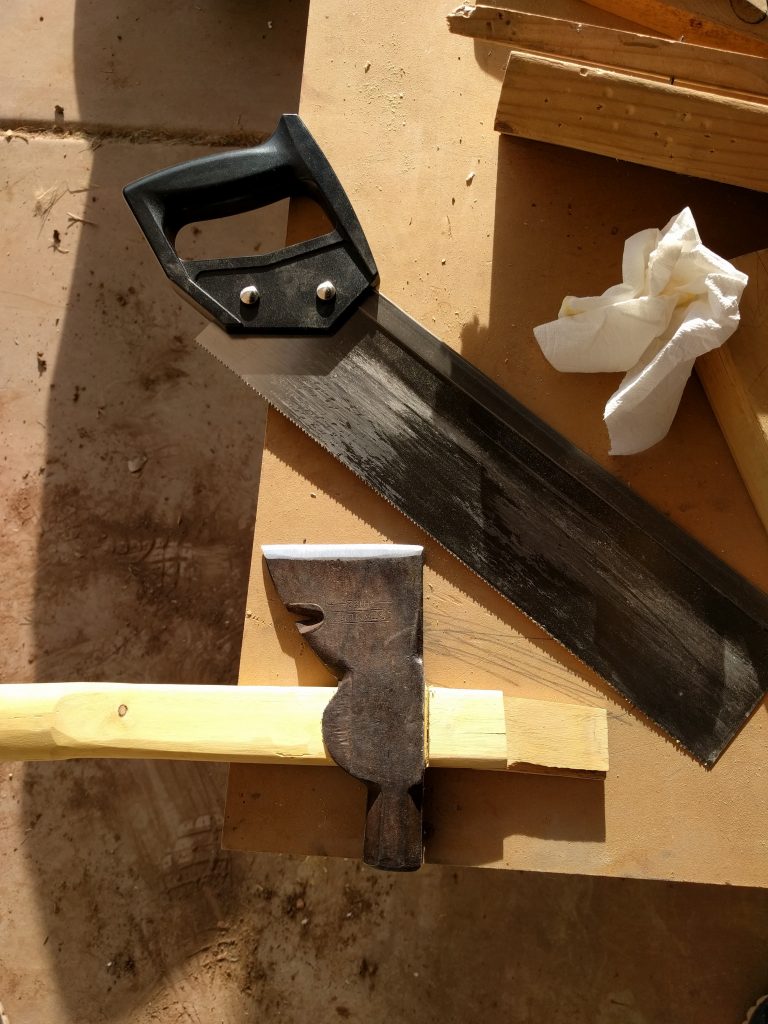
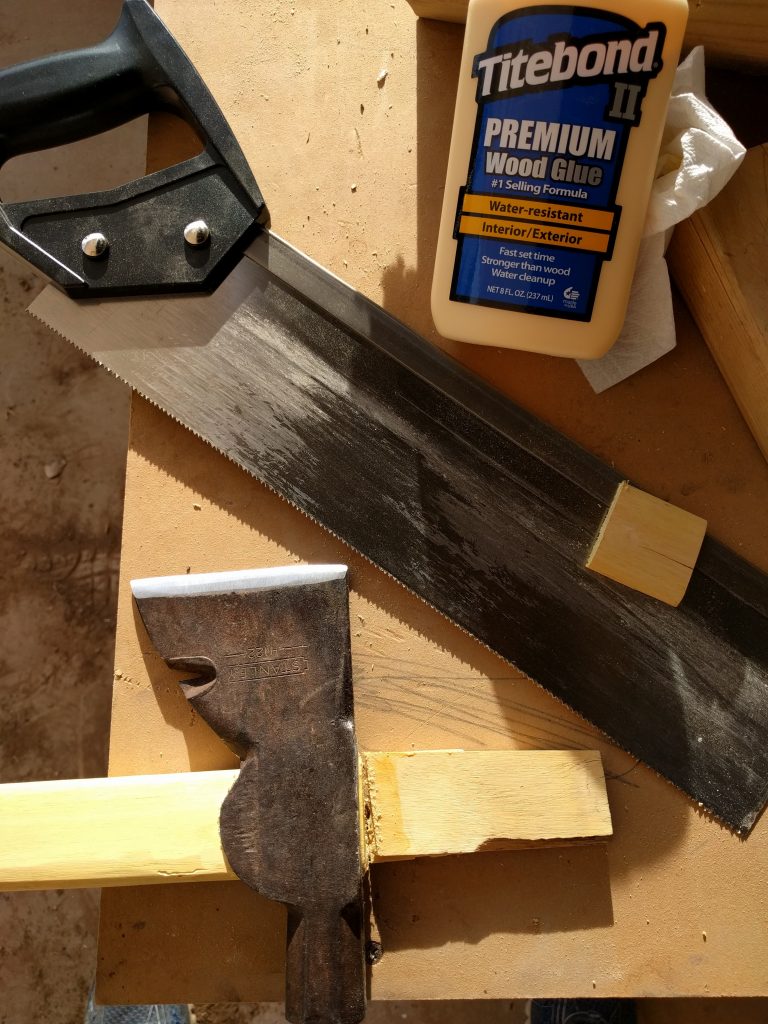
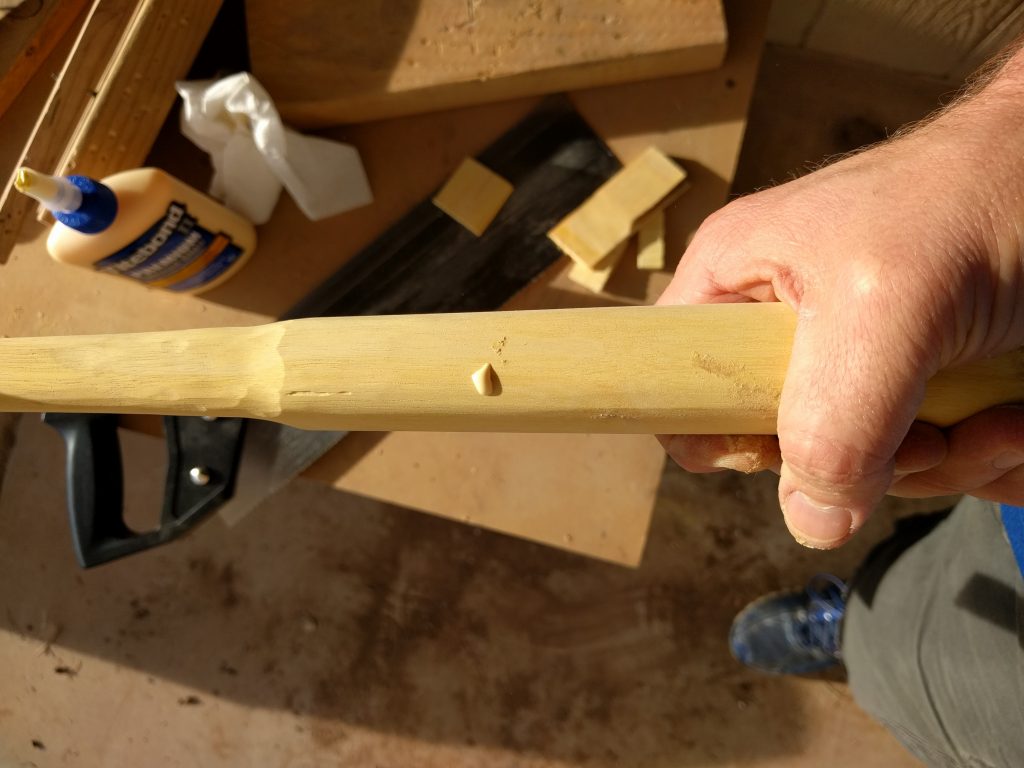
To secure the head, I needed a wedge.  I found a chunk from a larger log and sanded it down into a wedge.  Then I sawed a slot in the end of the handle, put the head on and drove the wedge in.  I actually trimmed the handle before putting the wedge in so I wasn’t prying the handle apart so much.  I also spread some Titebond II on the wedge before driving it into the handle.

Everything trimmed up and looking good.

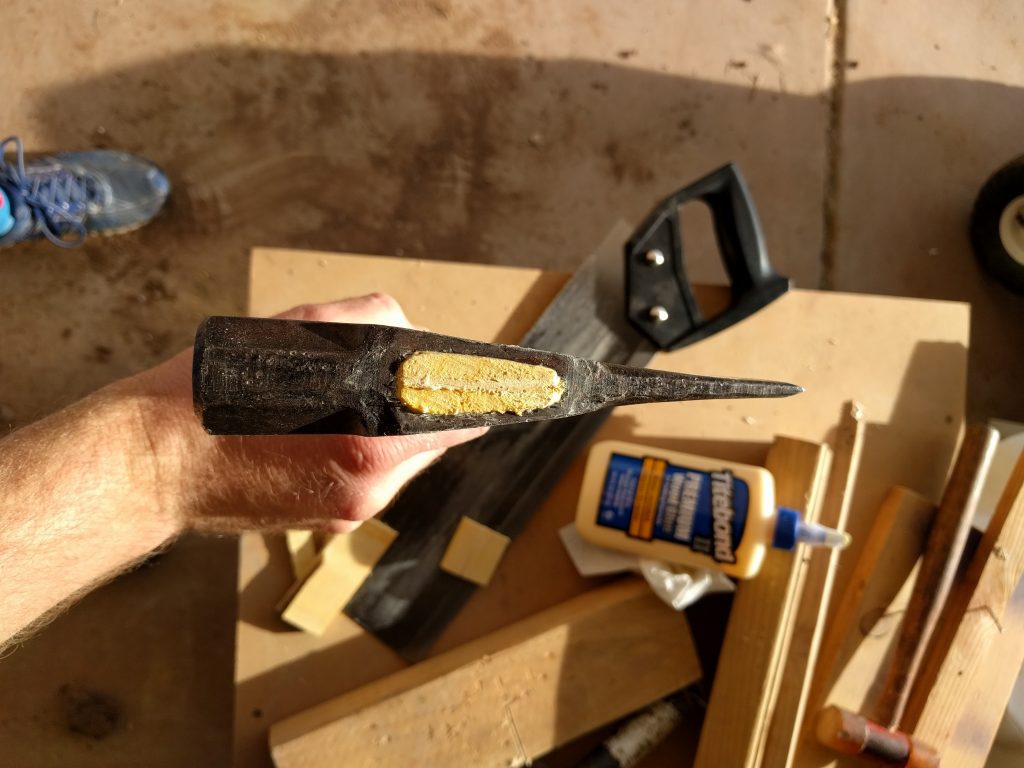
I noticed a few holes in the wood after I finished shaping the handle, so I tried filling them in with some wood glue and sawdust.  It didn’t turn out as well as I hoped. 

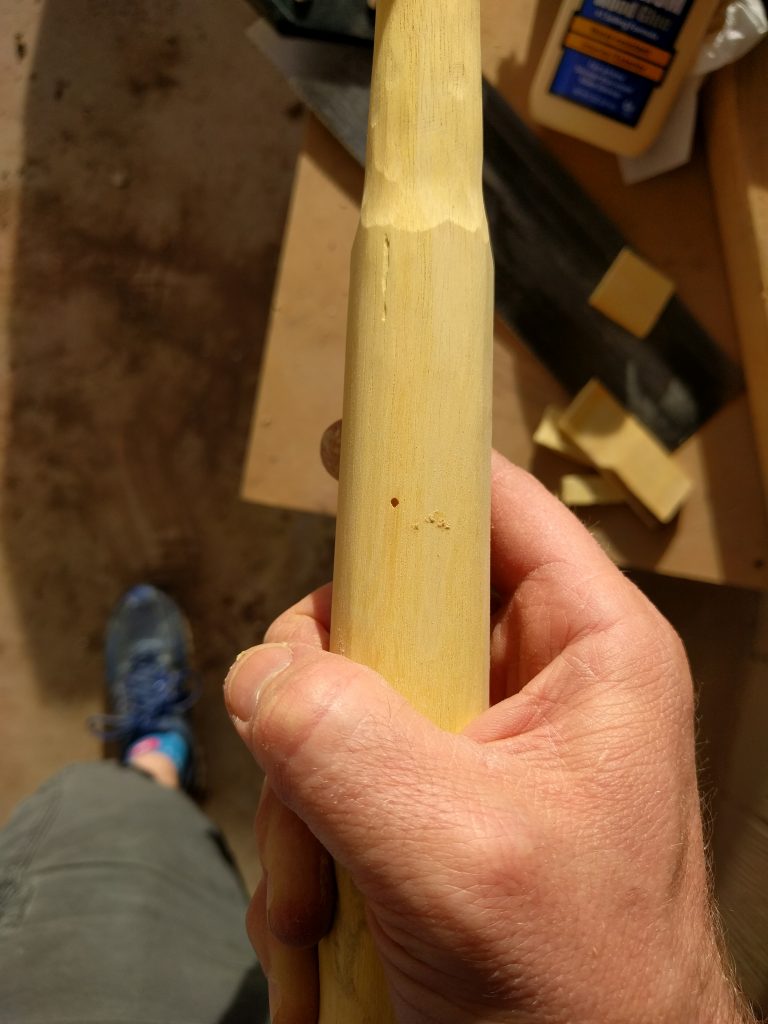
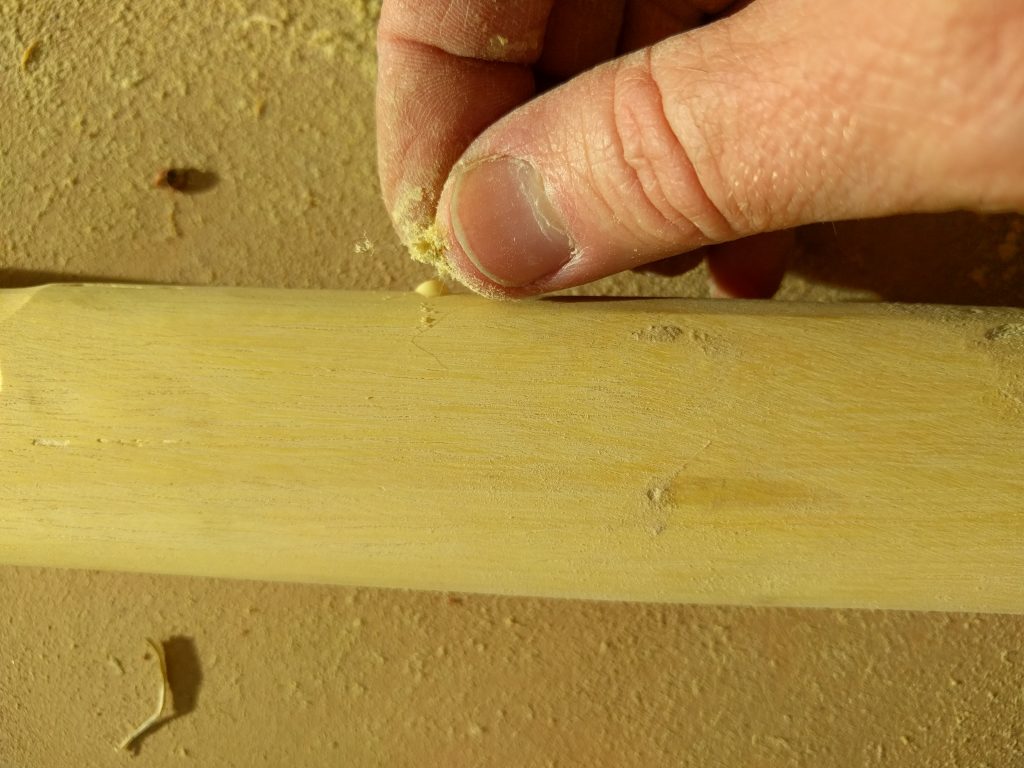
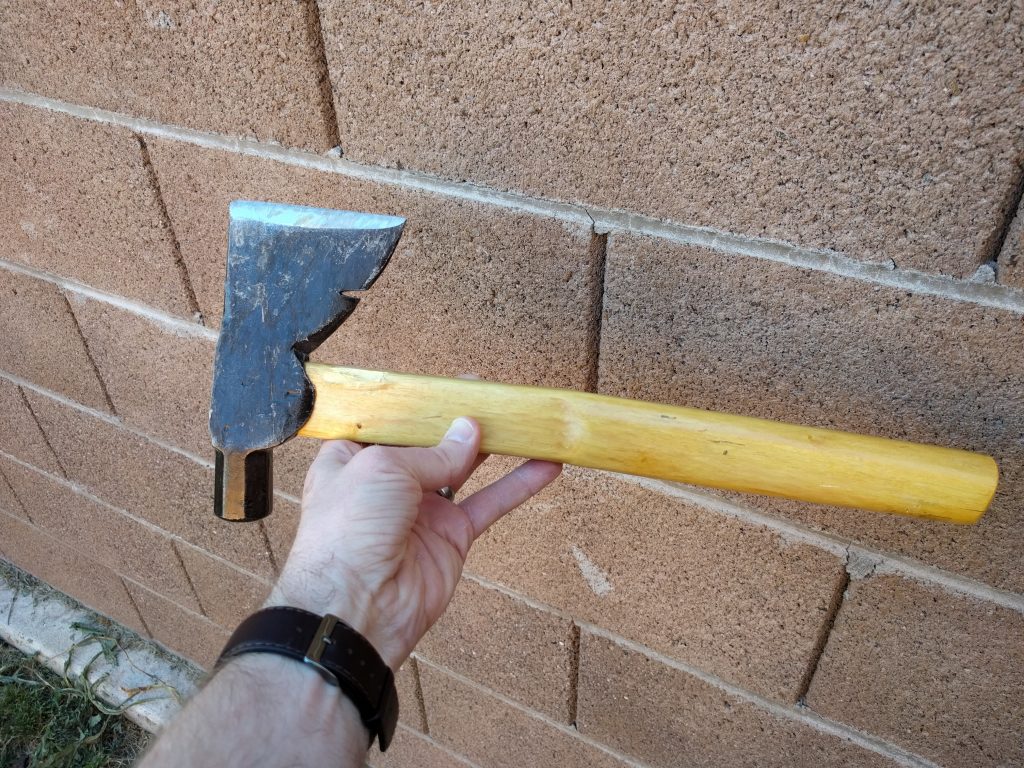
After the glue dried, I sanded everything down with a finer grit paper and coated it with a Honey Oak polyurethane.  I like the way it turned out.

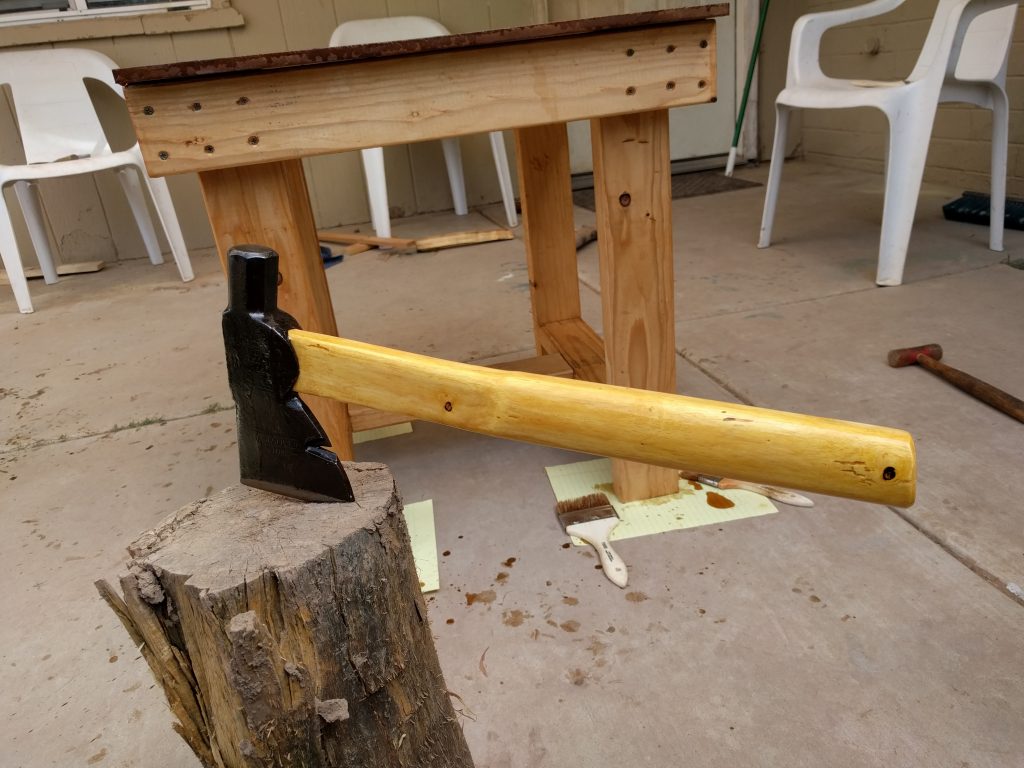
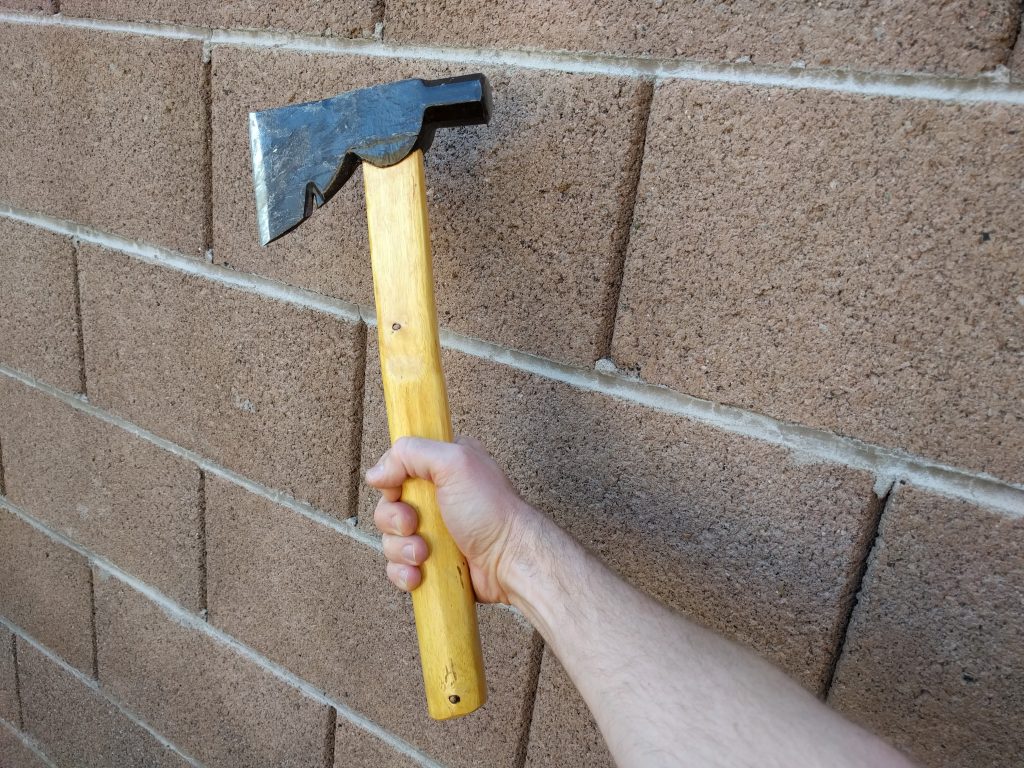
I call this a mini axe because the handle is long enough to hold with two hands.  I found myself using both hands to split through logs just like I would with normal axe.

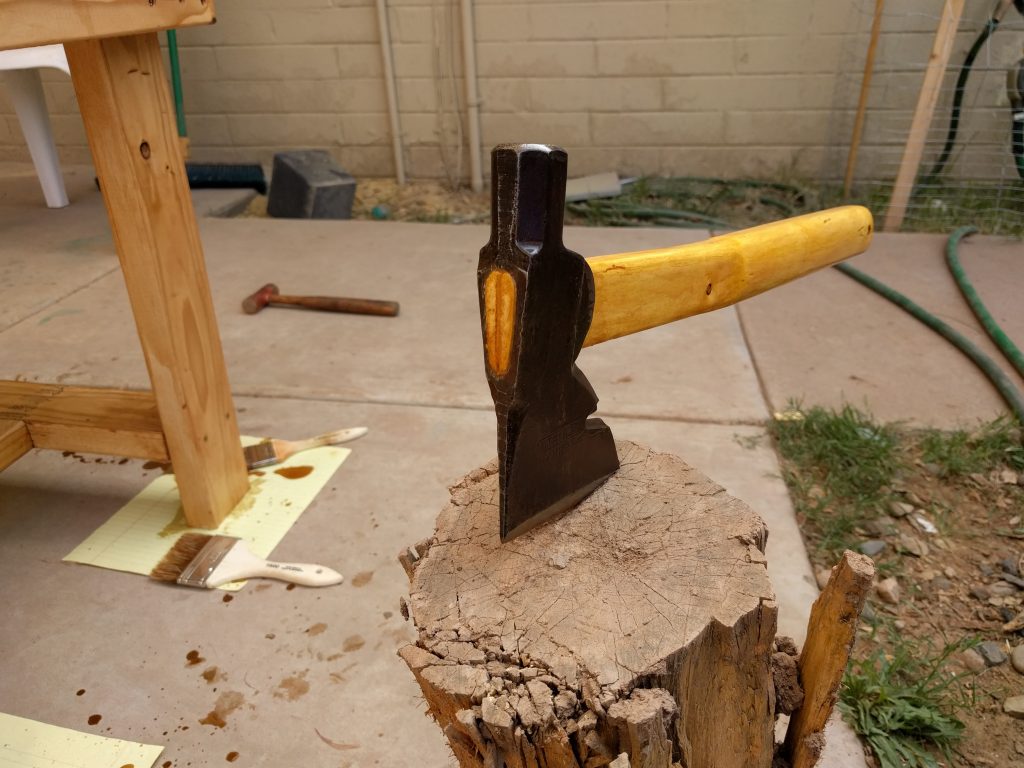
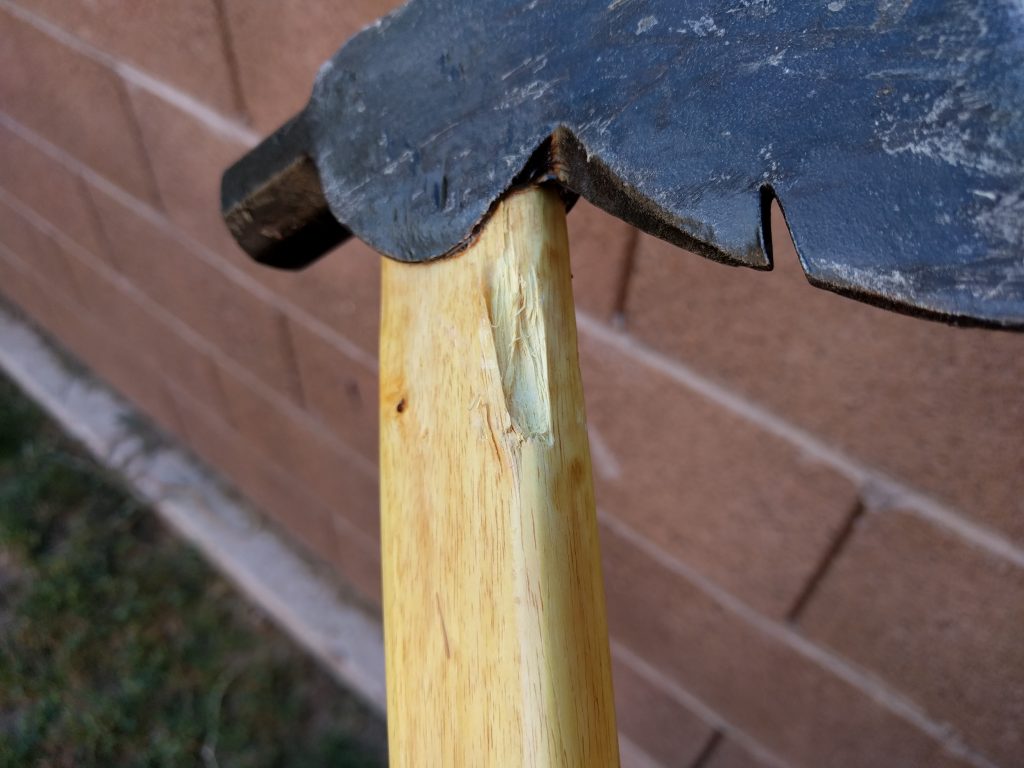
Unfortunately, the handle is wider than the axe head and I took a chunk out the handle while splitting logs.  I’ll sand that down and recoat the area.  Maybe the whole neck needs to be thinner.

Now, to make a sheath…

Workbench Complete

I let the kids stain their workbenches while I was working on another project.  The coating was pretty thick and I had to finish up some of the details for them, but they like it.  Once the lighter workbench dried, some of the polyurethane had turned white.  I figured a light sanding would take care of that, but then the kids covered them with dirt.  Not much  point after that.  I’ll let them treat them how they want.  The polyurethane did it’s job of sealing the MDF tops.  The day after they dried, the boys hosed them down while they were playing.

Oh, I guess I should have put more paper on the floor.  The two year old made quite a mess.

Kid’s Workbench

We used to have an old cabinet on the patio which I had intended to turn into a kitchen island.  The years went by and the weather got to the cabinet so that it wasn’t worth fixing up anymore.  That’s when the kids took over.  They would spend hours outside with a hammer or file, working away on that cabinet.

Eventually it wasn’t strong enough to support itself and it found its way to the trash.  In order to replace this beloved past time of the kids, I decided to make them their own workbenches for them to tinker on.

I drew up some plans and went to Home Depot.  Once I was there, I realized the wood I had intended to use for the top was too thin.  I found a 2′ x 4′ sheet of MDF that would work nicely and altered my plans.

Once home, I cut up the 2×4’s and put together the frames.  The impact wrench was a little noisy for the kids, so they didn’t stick around too long.  After putting together both frames, I clamped an extra 2×4 onto the MDF as a guide for my circular saw and used the frames as my table.  A few countersunk pilot holes and some screws finished it off.  Next steps will be to have the kids coat them with polyurethane and build them a tool box for their tools.

I like the way the dimensions turned out.  There is a slight overhang on the front and back which could be used to clamp onto.  They also fit nicely against the wall of the house and are protected from the rain by the eaves of the roof.