3D Animals

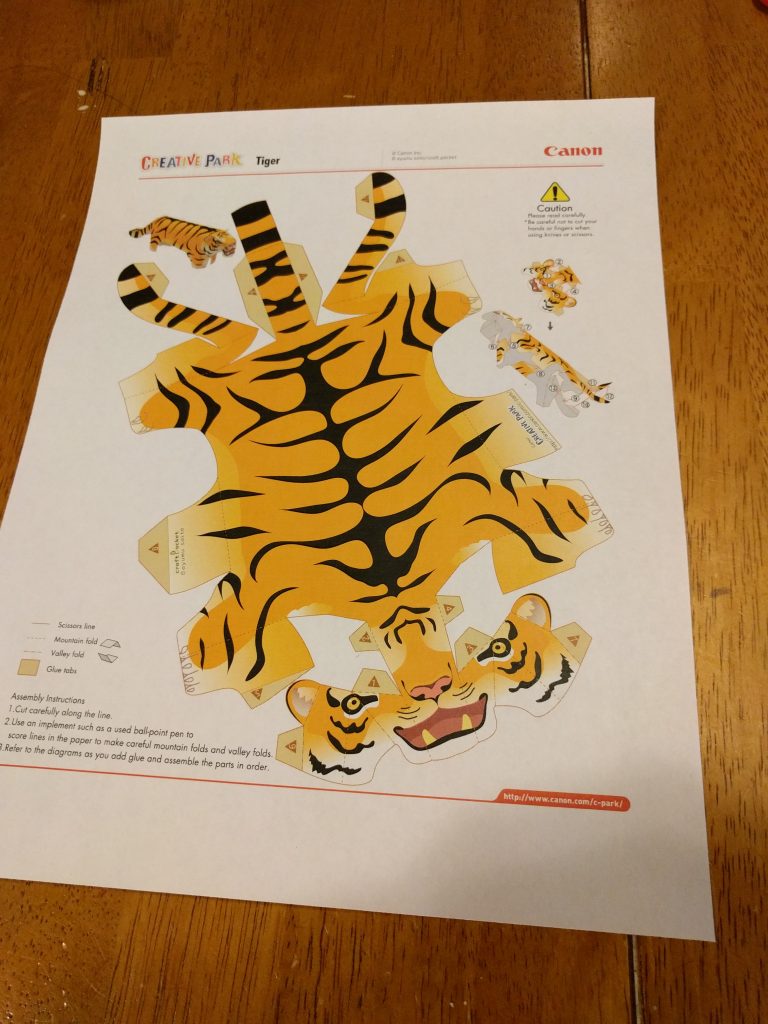
I showed my 7 year old a video of some origami animals that pop into their 3D shape when they are dropped on the table.  He really wanted to make one so I did a quick search to find some 3D paper animals.  What I found was this site, which was great!

http://www.3dgeography.co.uk/3d-model-animals

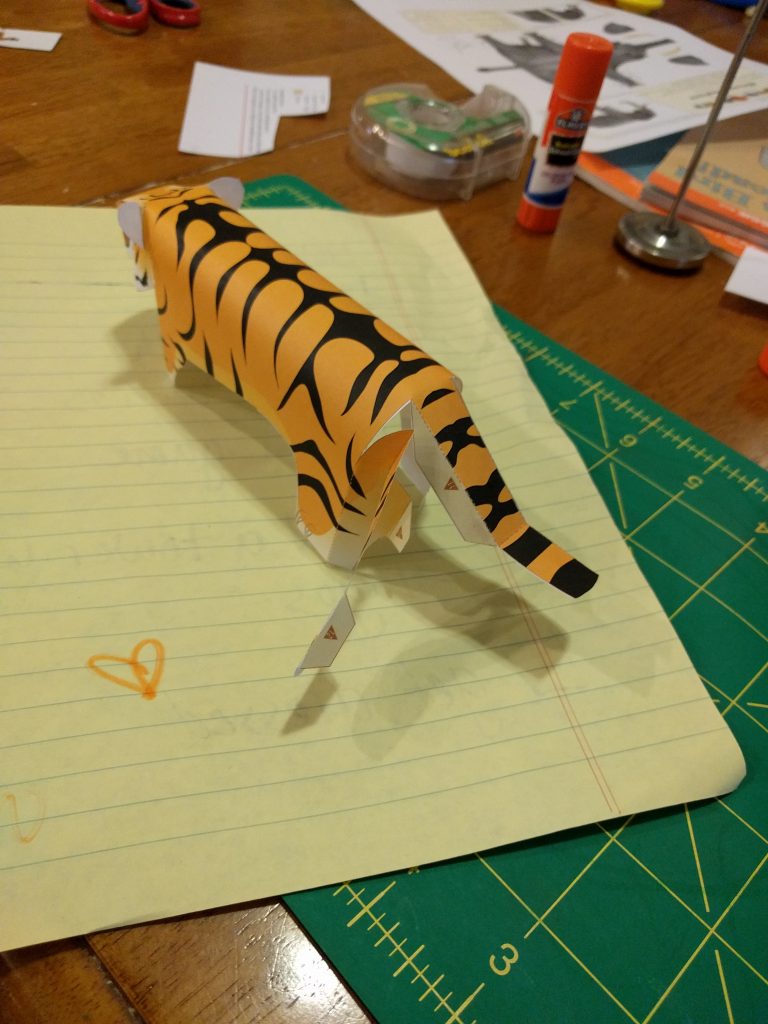
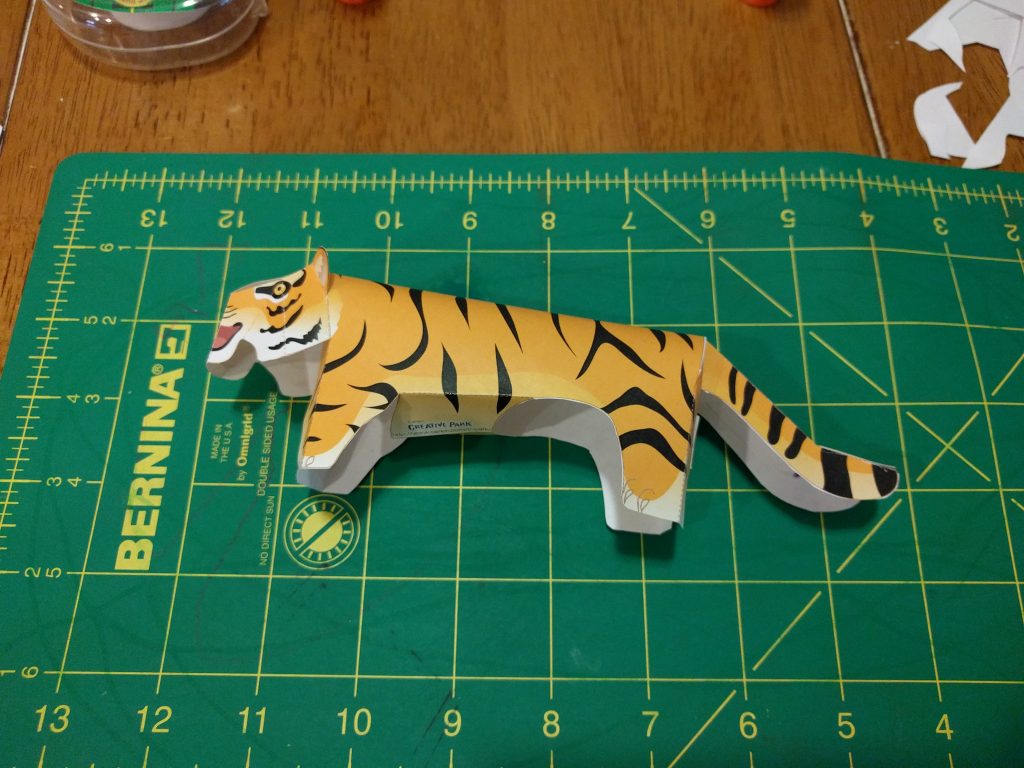
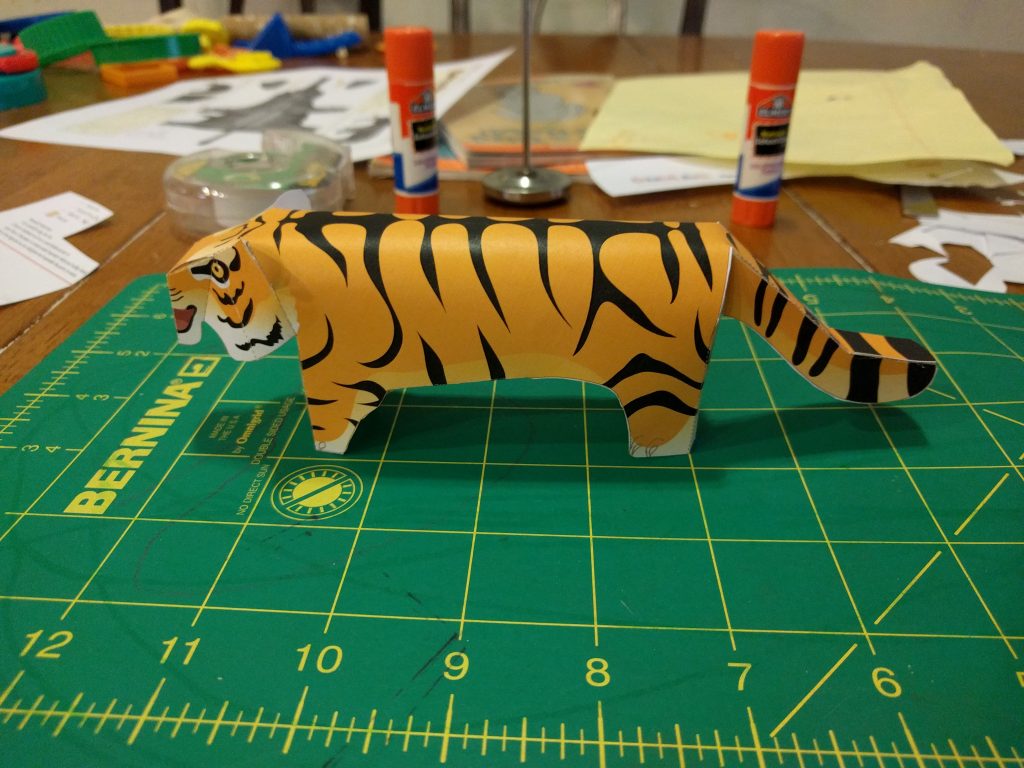
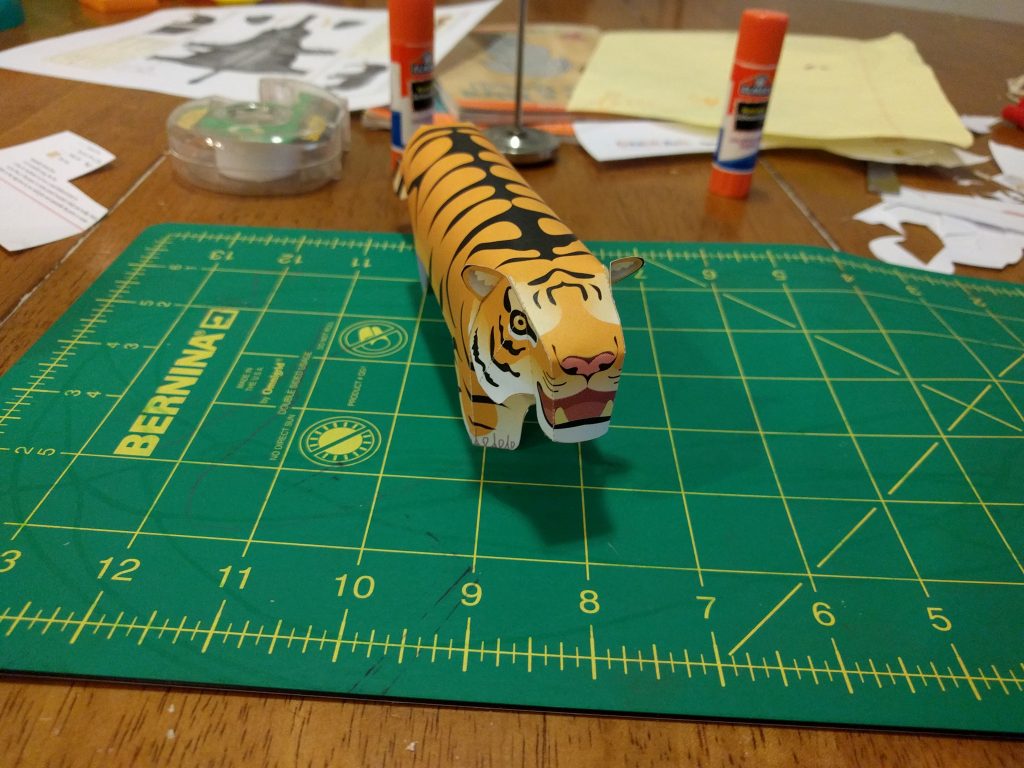
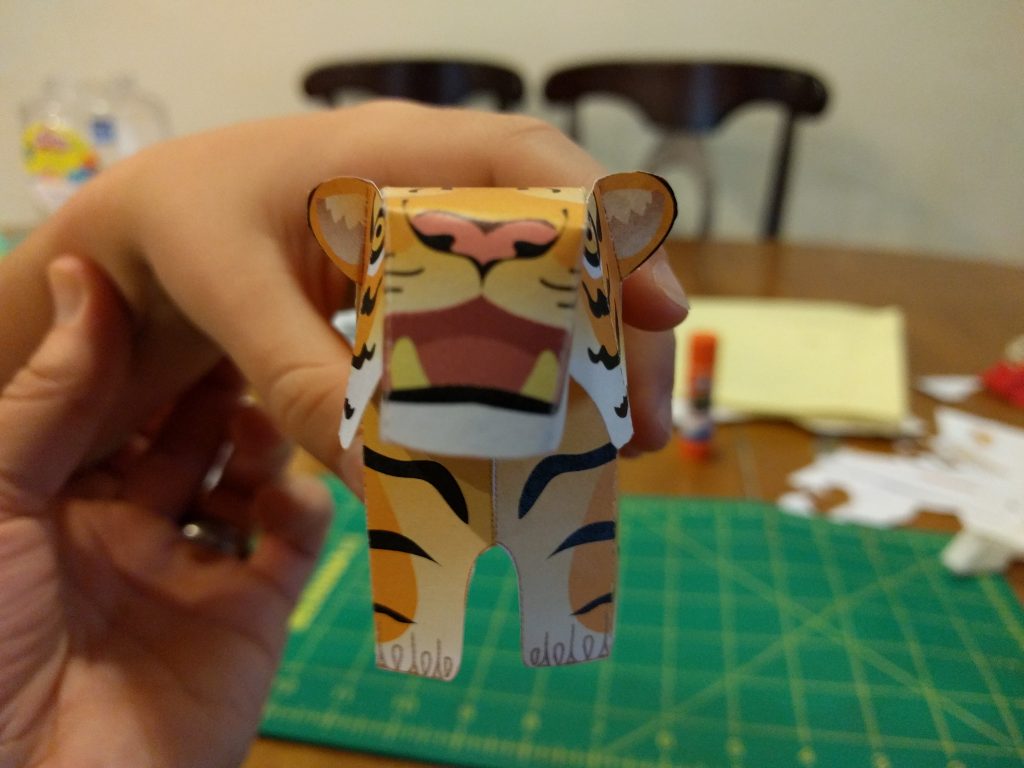
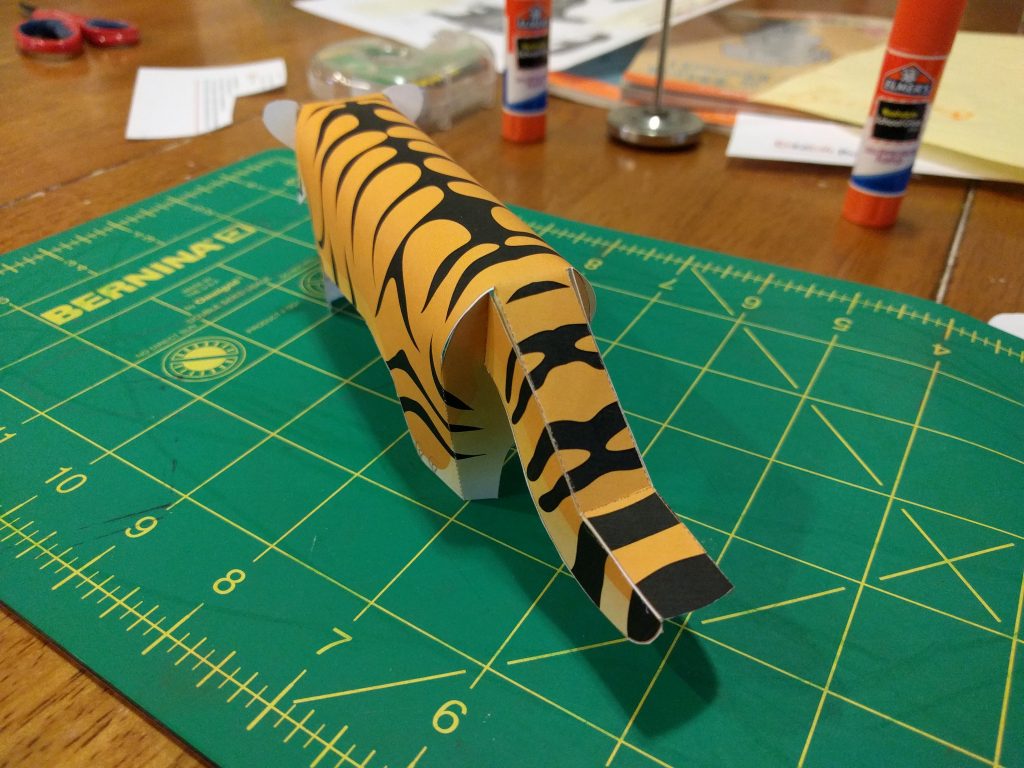
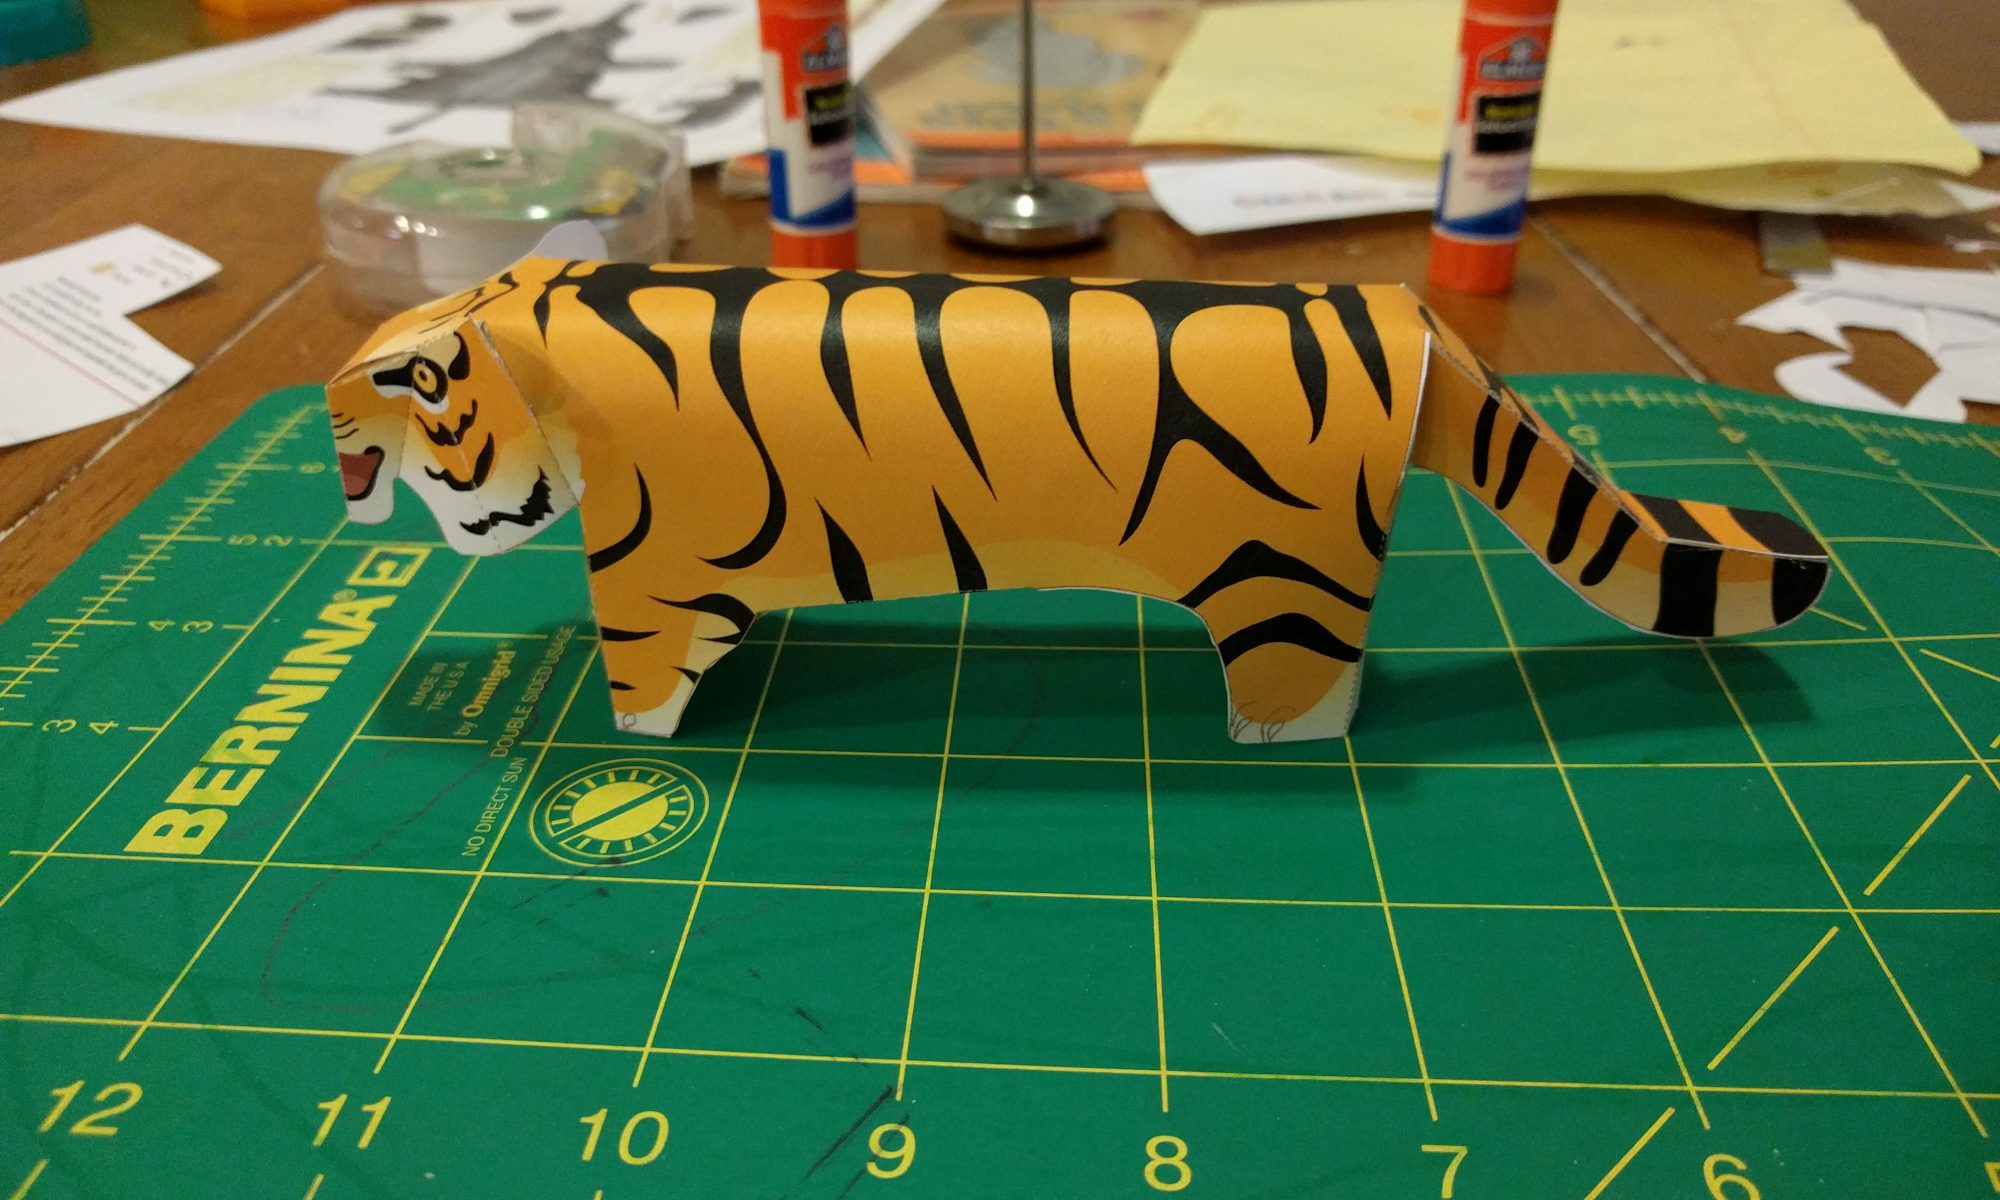
We printed out the tiger and cut, folded and glued it together.  I think it turned out pretty well.  They had more realistic patterns, but they looked a lot more difficult.

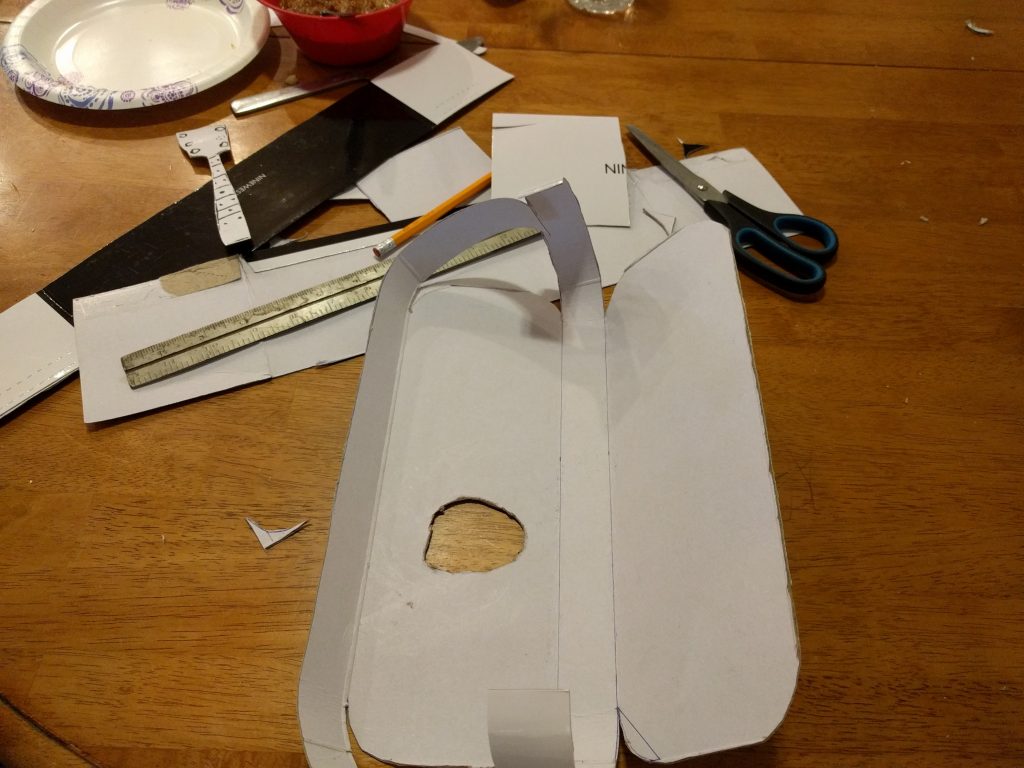
A cool tip that they gave in the instructions was to use a ball point pen or something to go over the lines of the folds.  I didn’t want to write on it so I tried several alternatives (scissors, fork, knife, etc.).  I ended up using a meat thermometer and it worked out great.  Making that indention in the paper made it super easy to fold where you wanted it.

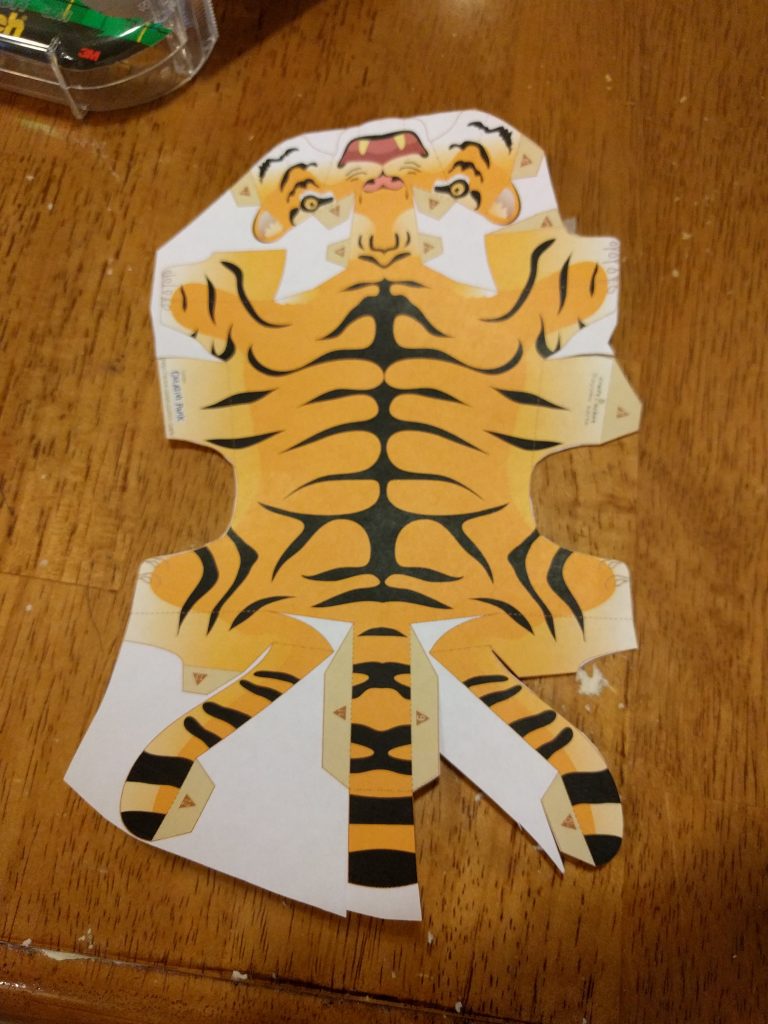
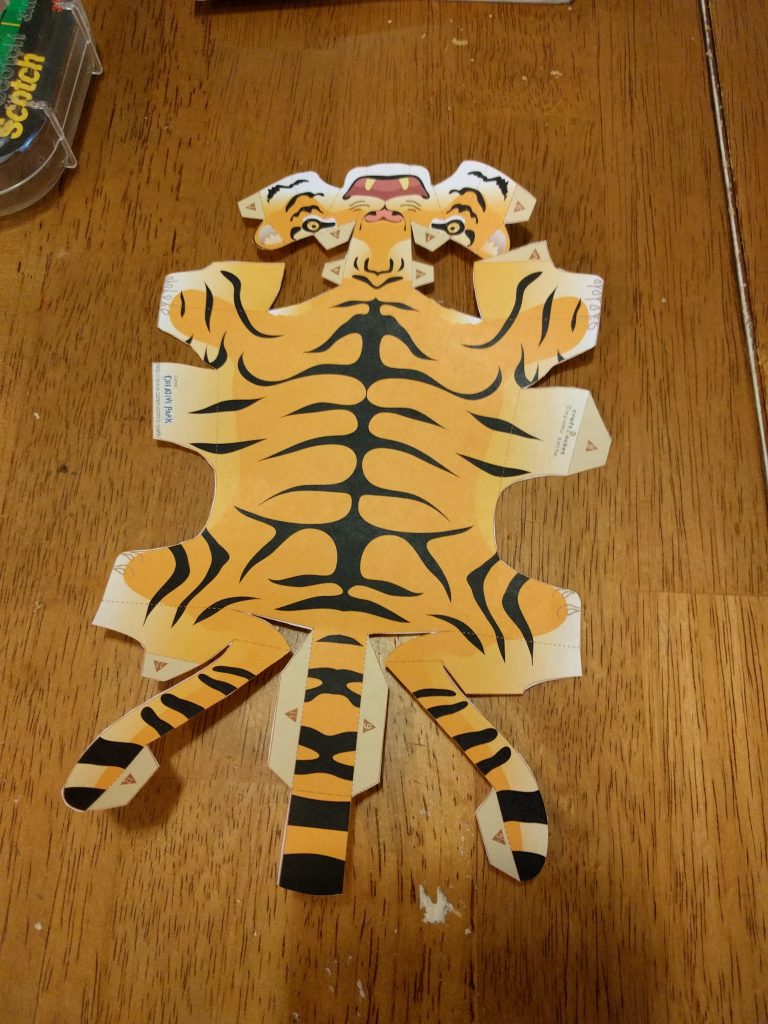
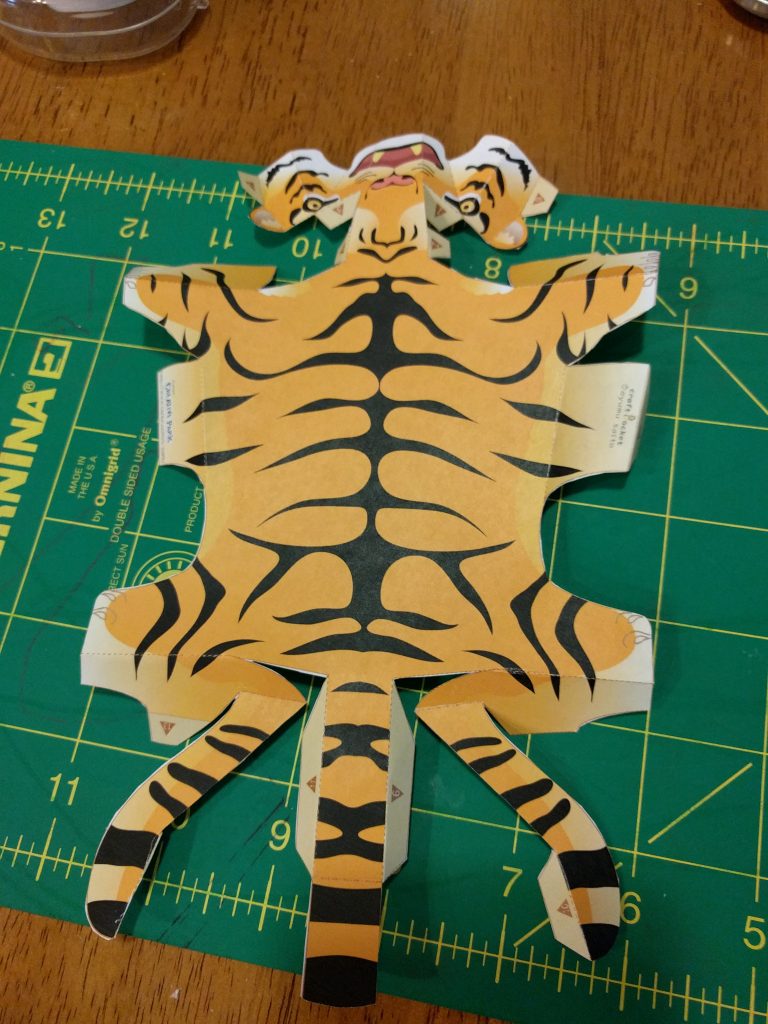
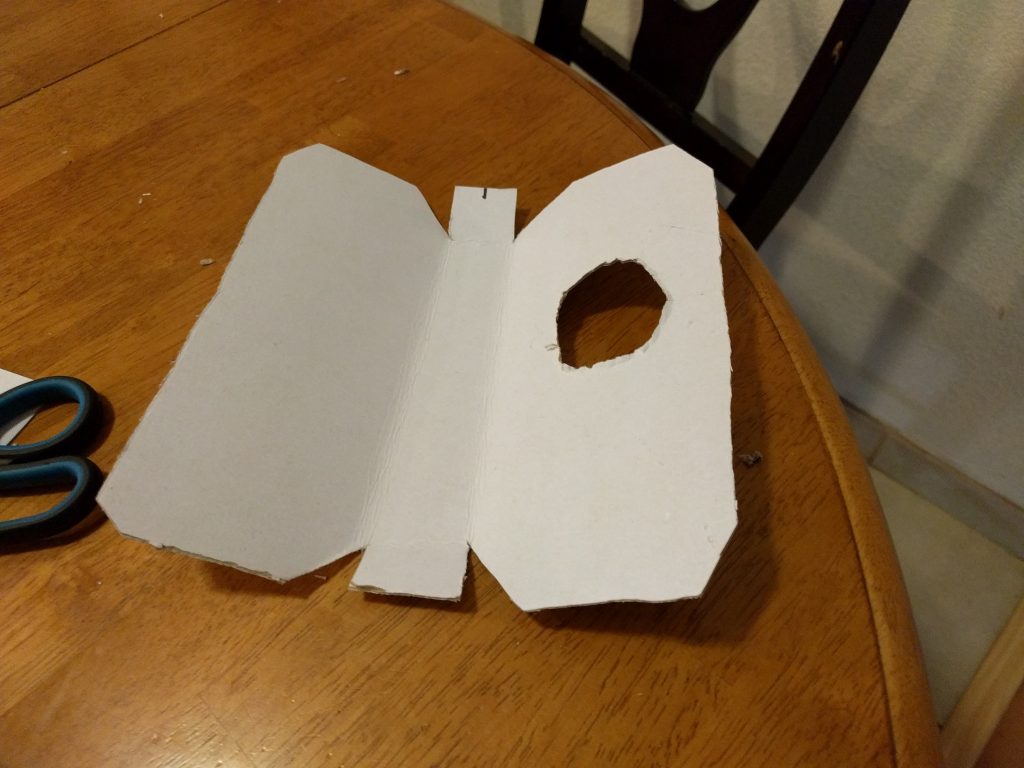
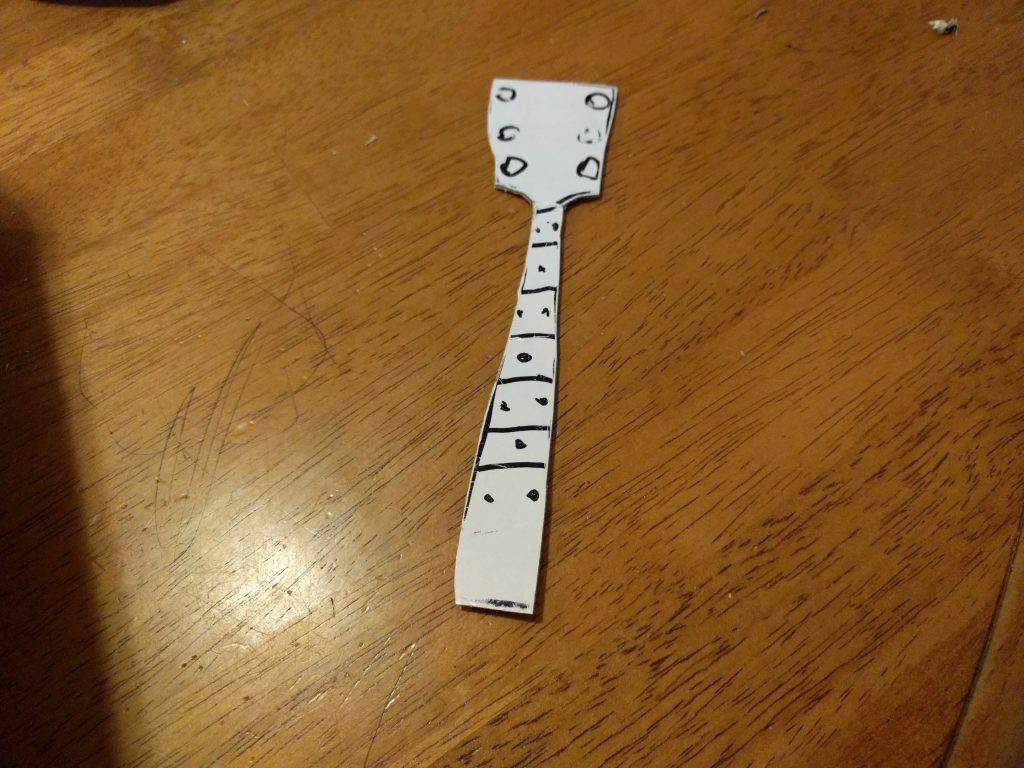
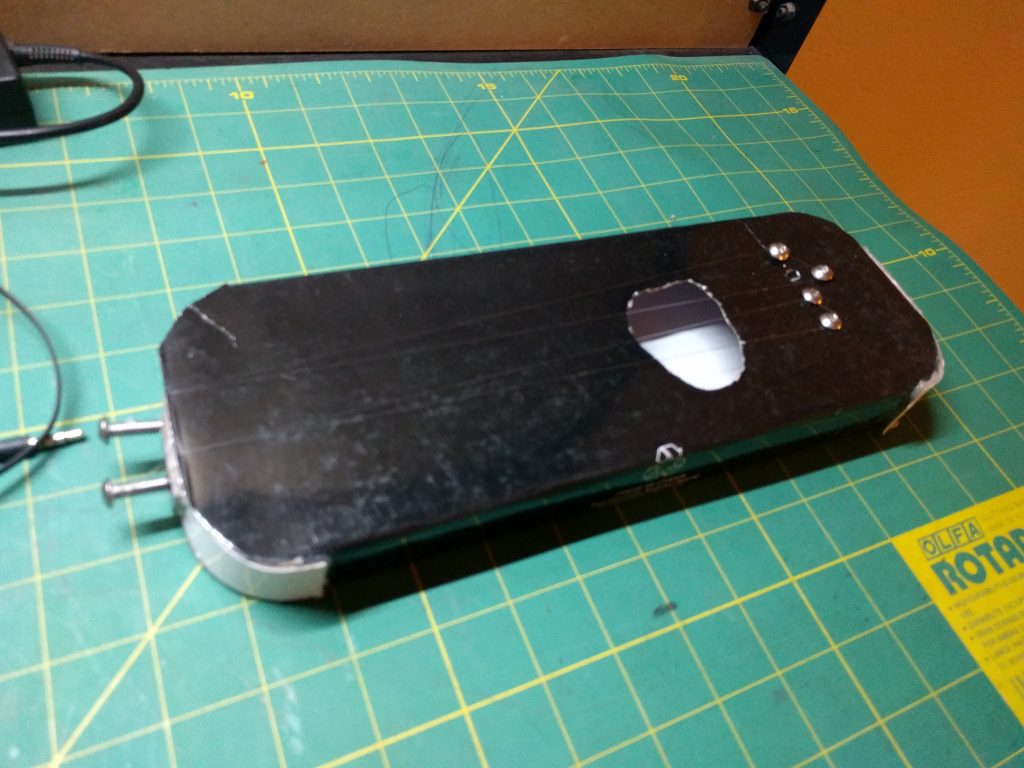
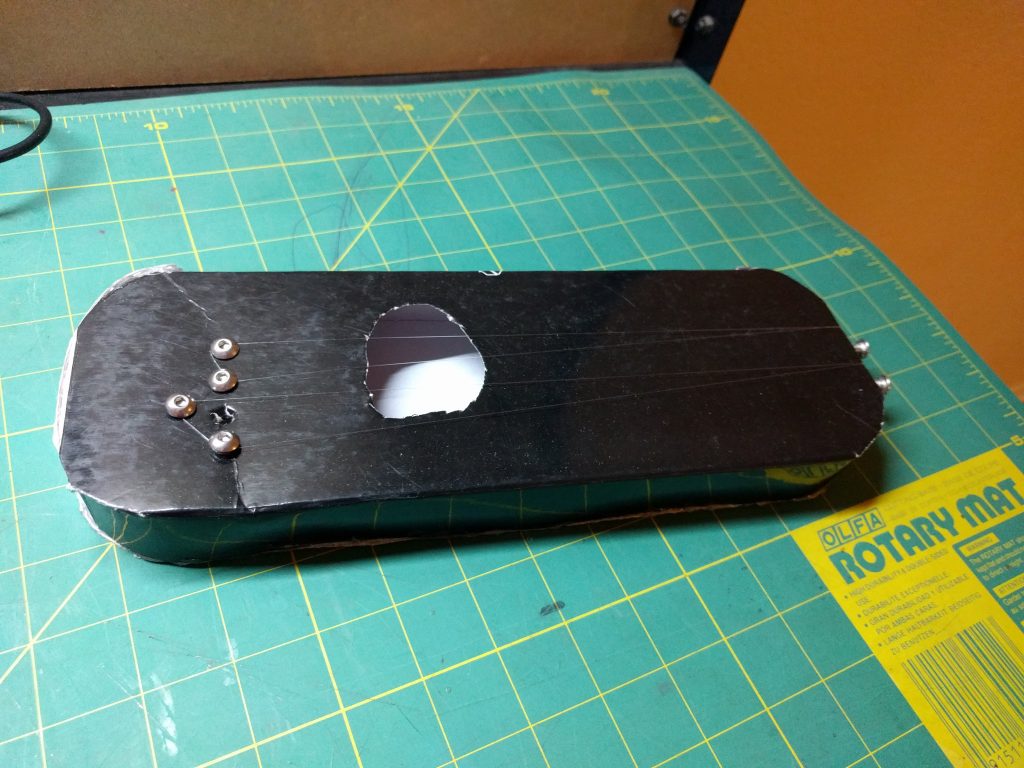
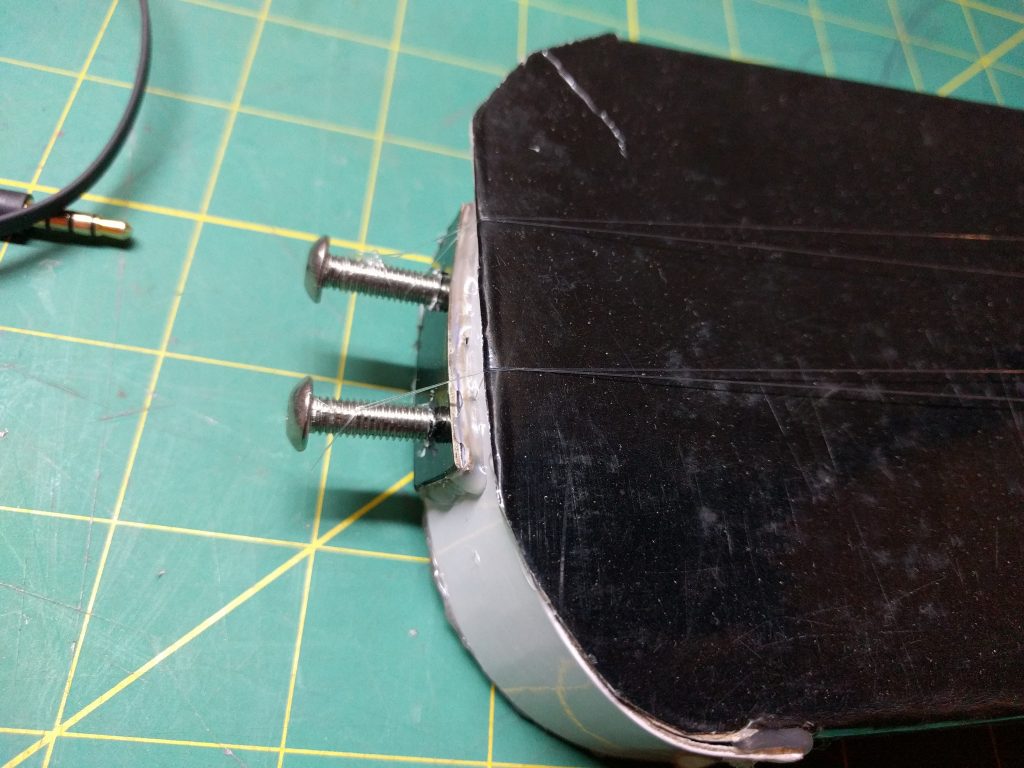
Below are several pictures of the process.

Cardboard Guitar

My son wanted to make a guitar out of cardboard.  He got a shoe box and cut it up.  Then he realized that he had forgot to include one of the sides of the guitar.  He knew how he wanted everything to work, but needed help to get this part right.  I helped him create a pattern that would include all of the sides of the guitar and he cut it out.

The original:

After the cutting, we hot glued it together.  He originally drew and cut out a neck for the guitar, but realized it would be too flimsy to actually work.

Instead, he asked for screws to hold the strings on.  We tied on fishing line and used a match stick for the bridge.  The guitar worked, but was really quite and not easily tuned.

I was impressed with how he knew exactly how he wanted to create it and how he adapted to mistakes along the way.

New Fidget Toys

One of my sons wasn’t happy that his fidget spinner was too big for his hand, so I found some different versions.  I like this one with the keychain rings.  It’s really satisfying and addicting to rotate it.

Here’s a link to my build on Thingiverse.  It also has a link to the source files.


Multicolored 3D Prints

My 7 year old son has always been very creative and has figured out how to use my CAD program to model simple things.  Recently, he wanted to make something with his name on it.  He modeled a block and then wrote his name from scratch.  I scaled it up and printed that out for him.

The next day he wanted to modify it.  He changed the shape of some of the letters and rounded the edges.  He also wanted the text to be a different color.  I decided it was time to figure that out.  My slicer (Cura) has a plugin to pause at a certain height.  Unfortunately, my printer (Printrbot Simple Metal) does not have any inputs, so there is no way to resume the print.  I found a few websites that talked about how to modify the g-code.  I just inserted code, similar to below, before the layer that I wanted to be a different color.  When the printer moved off to the side, I swapped colors and manually pushed filament through until the new color came out.

G4 S001 ;Pause for 1 second
G1 X100 Y10 ;Move to (x, y) location (100, 10)
G4 S025 ;Pause for 25 seconds

The print automatically resumes at the end of the pause.  The results came out real nice, though I should have scaled up the model again.