Weather Station Update

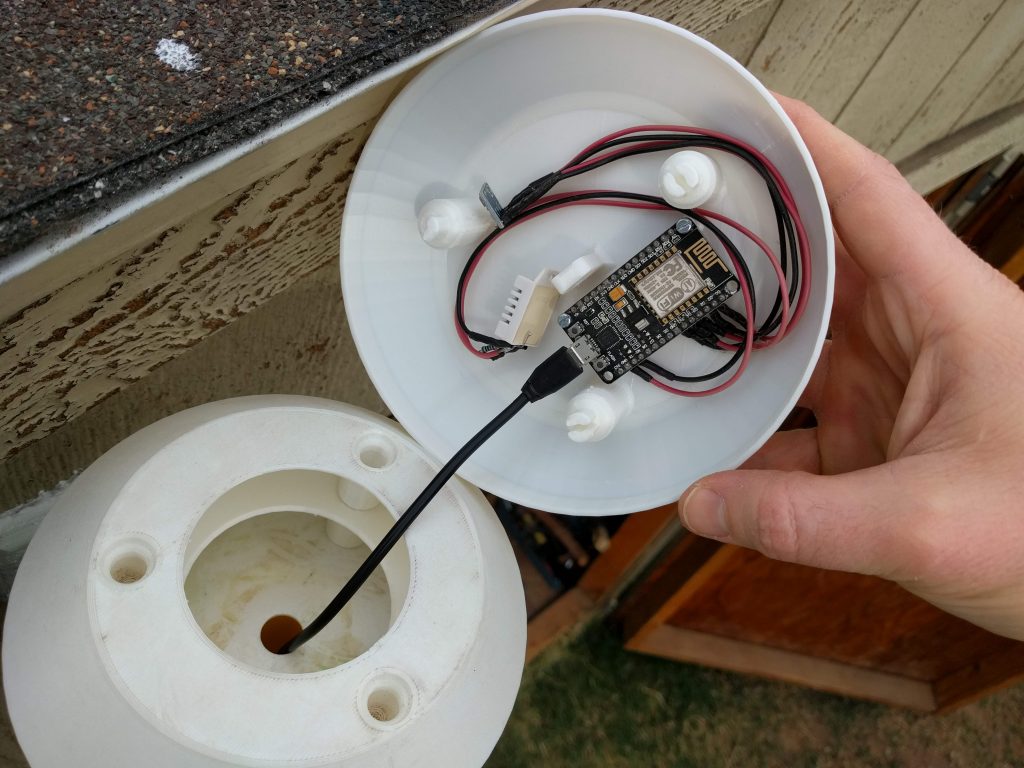
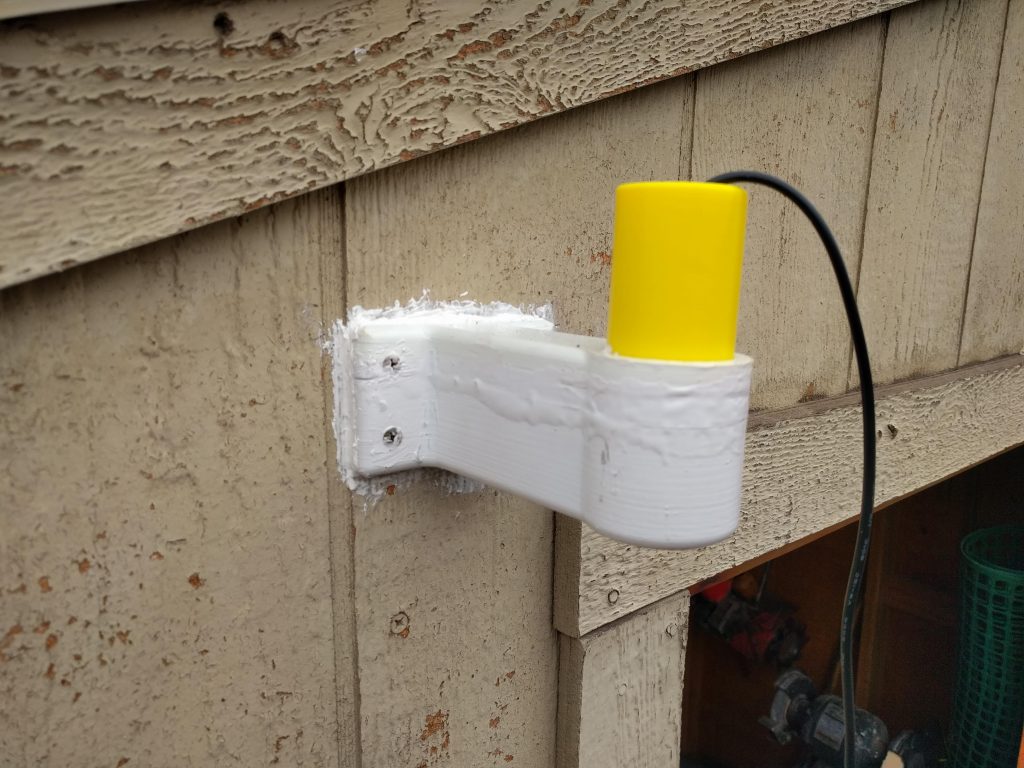
The weather station is complete!… again.  I found a new home for my weather station.  After my housing melted last summer my weather station had been sitting in a tote while I decided what to do, see this post here.  In the mean time, I figured out how to reconnect the power to my shed.  The battery I had used for the weather station wasn’t lasting long enough and putting the station to sleep between updates let the battery shut off and it wouldn’t come back on.  This was the perfect opportunity to find a new home for the weather station and a new source of power.  I reprinted the solar shade and designed a new mount to attach it to the side of the shed.  I drilled a hole through the wall of the shed, installed the mount with a few screws and sealed with whole thing with some silicone caulking.
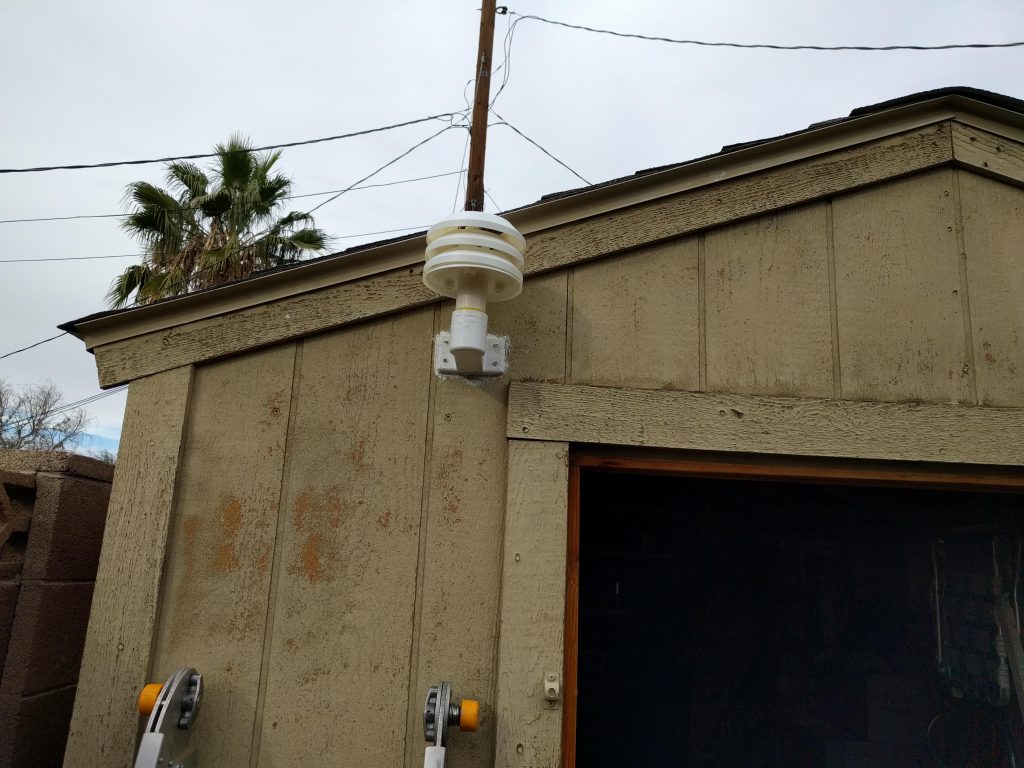
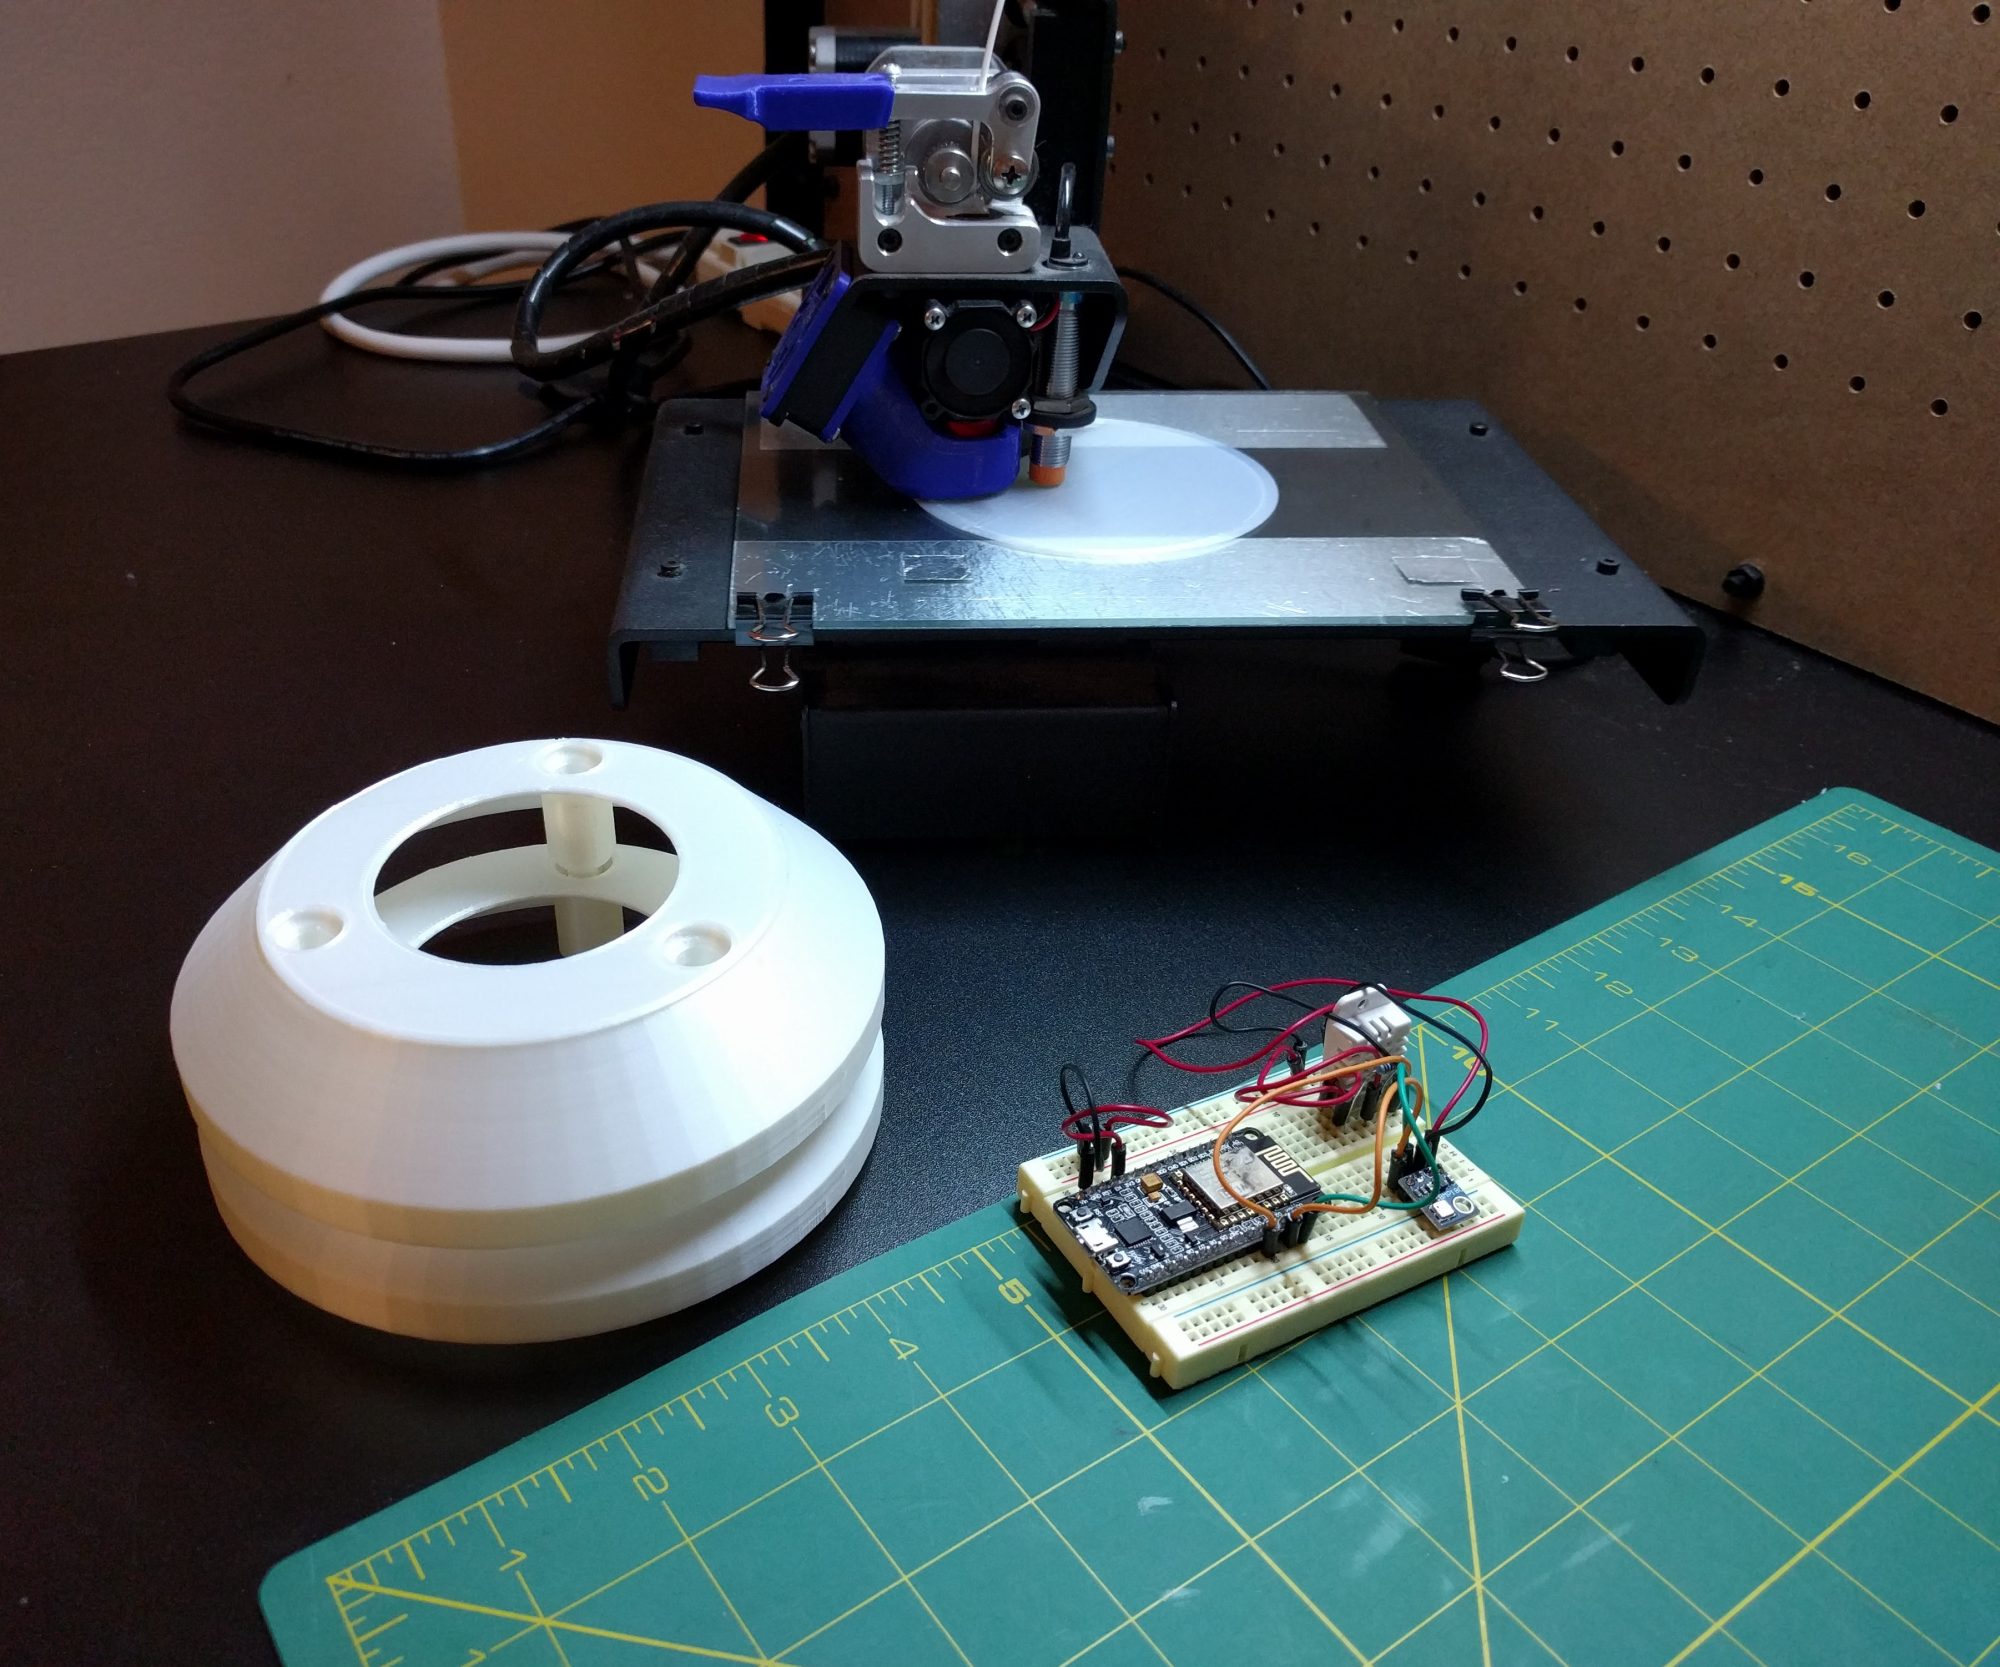
I ran out of filament during the print of the base and struggled to recover the print.  My printer doesn’t have a pause button, so I tried splicing the new PLA filament by hand with just a lighter and my pliers.  The splice broke as it was going into the extruder wheel, and it took almost a full layer before I was able to get the new PLA through the extruder.  This filament wasn’t enough either and quickly realized that another splice wouldn’t work.  This time, while it was printing infill,  I swapped out the filament just like I would normally change colors before a print.  That worked great and I barely had any issues with the transition.  After the print finished, the part split at the first material transition.  I used 5-minute epoxy to glue it back together.  My infill spacing was slightly larger than a toothpick, so I inserted several to keep the part aligned.  I wasn’t too considered about the finish of the seam and painted it white to match the top of the shade.
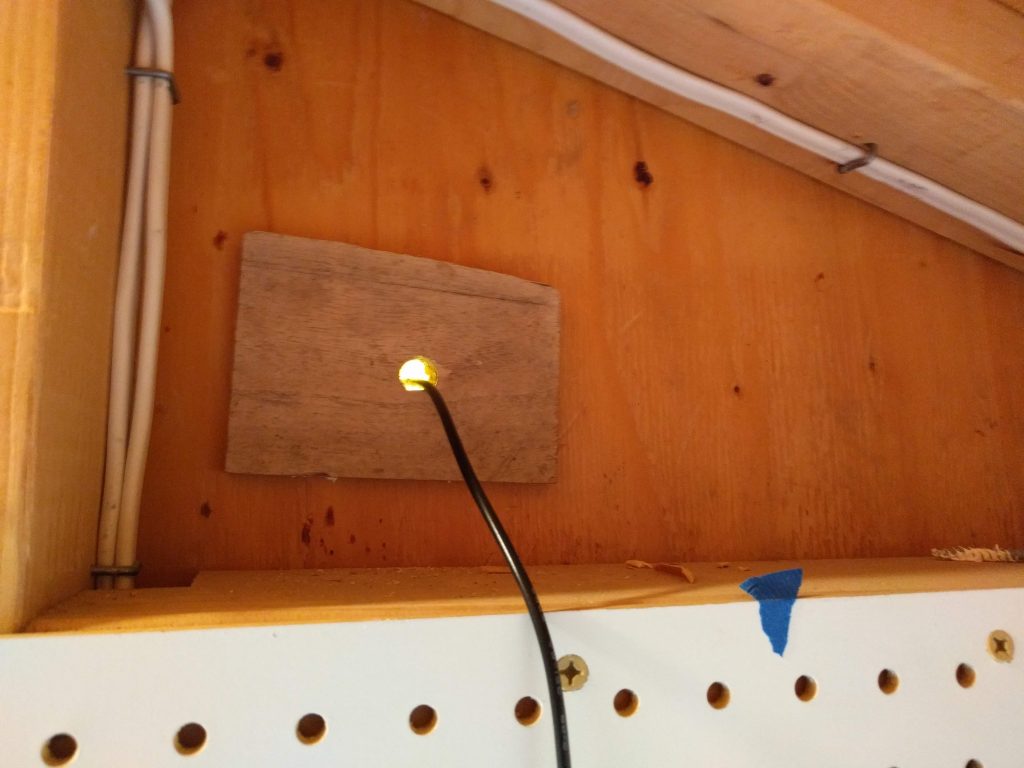
The screws I used to mount the base were a little long, so I added a piece of scrap wood to prevent anything from getting cut on the screw ends.
I made sure the cable hung down lower than the power strip so that if there was a leak, the water would drip off the bottom of the loop and not get into the power supply.
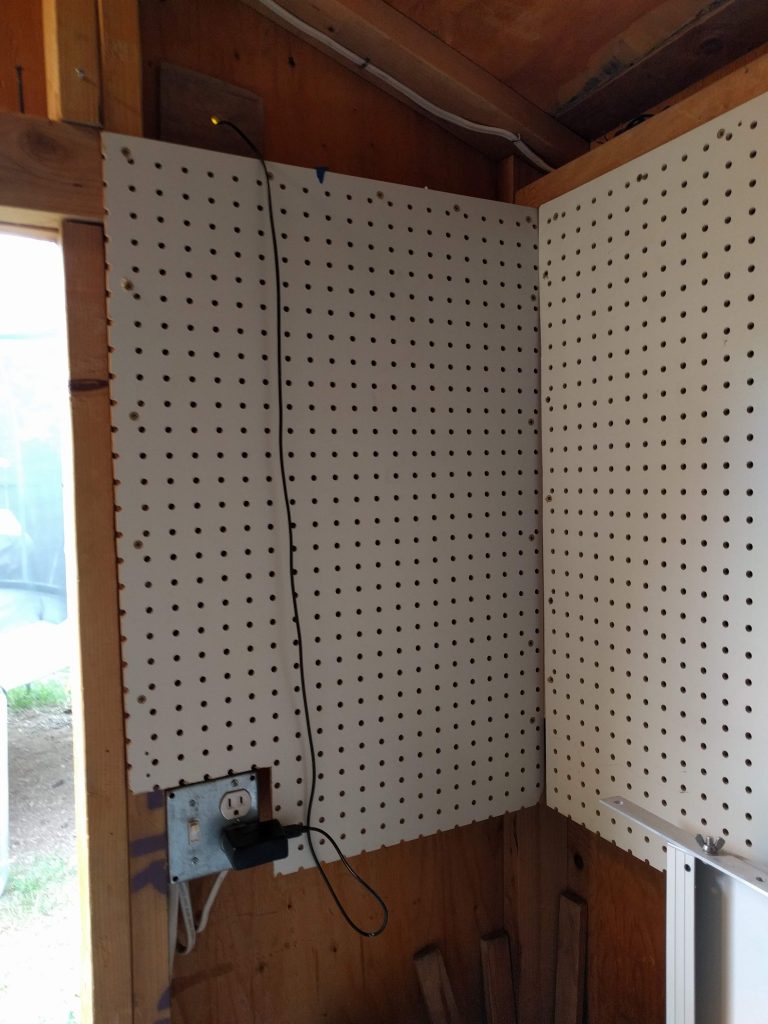
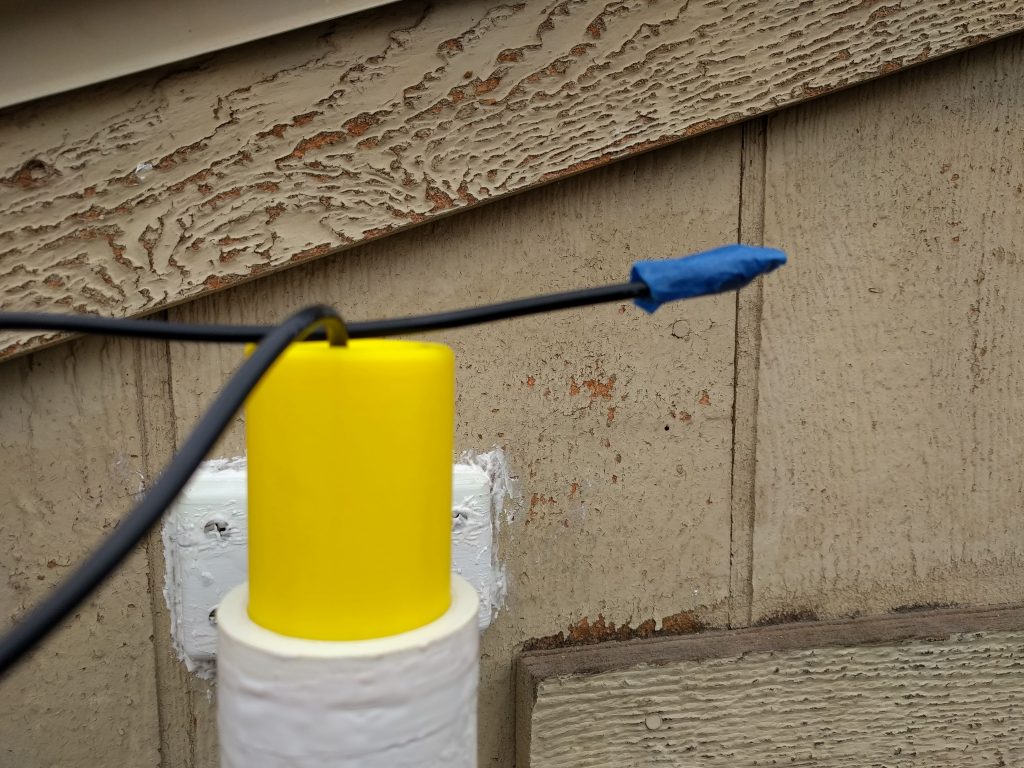
I taped the end of the USB cable to prevent any silicone getting on the connector and fished it from the inside of the shed out through the hole in the mount.
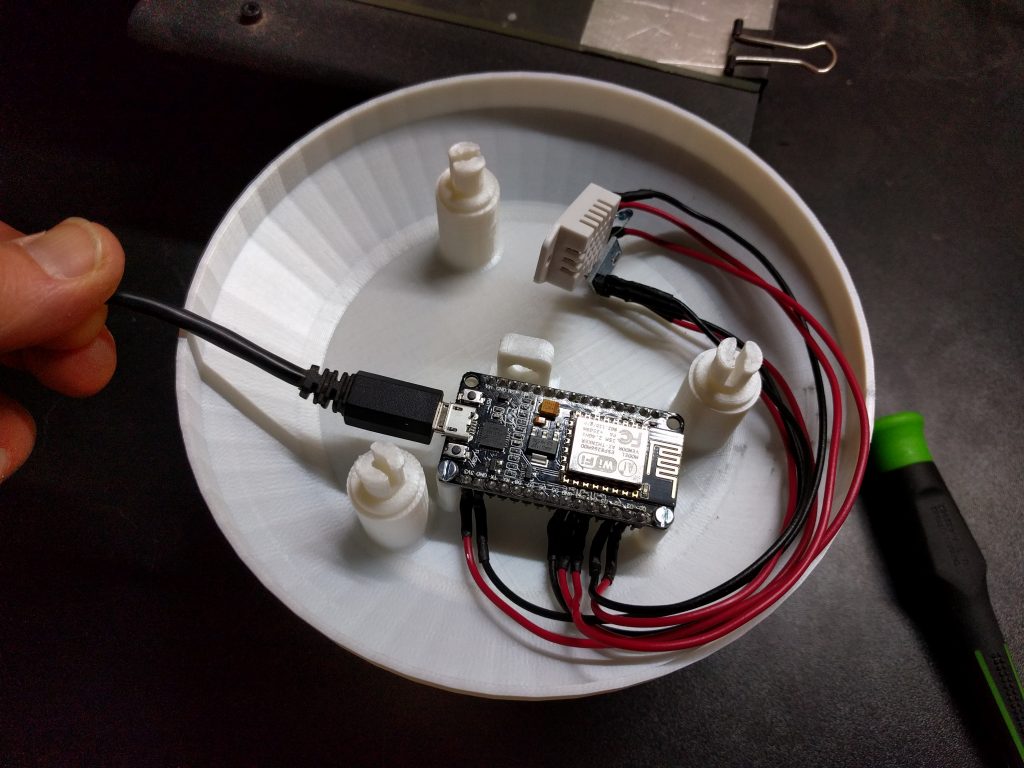
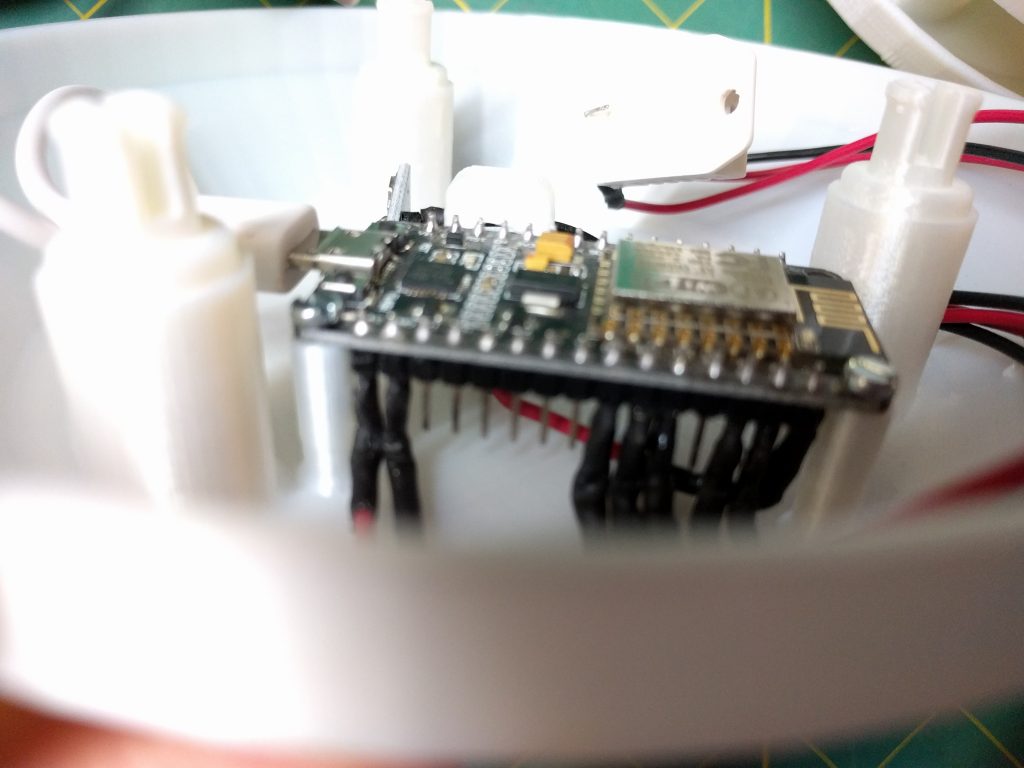
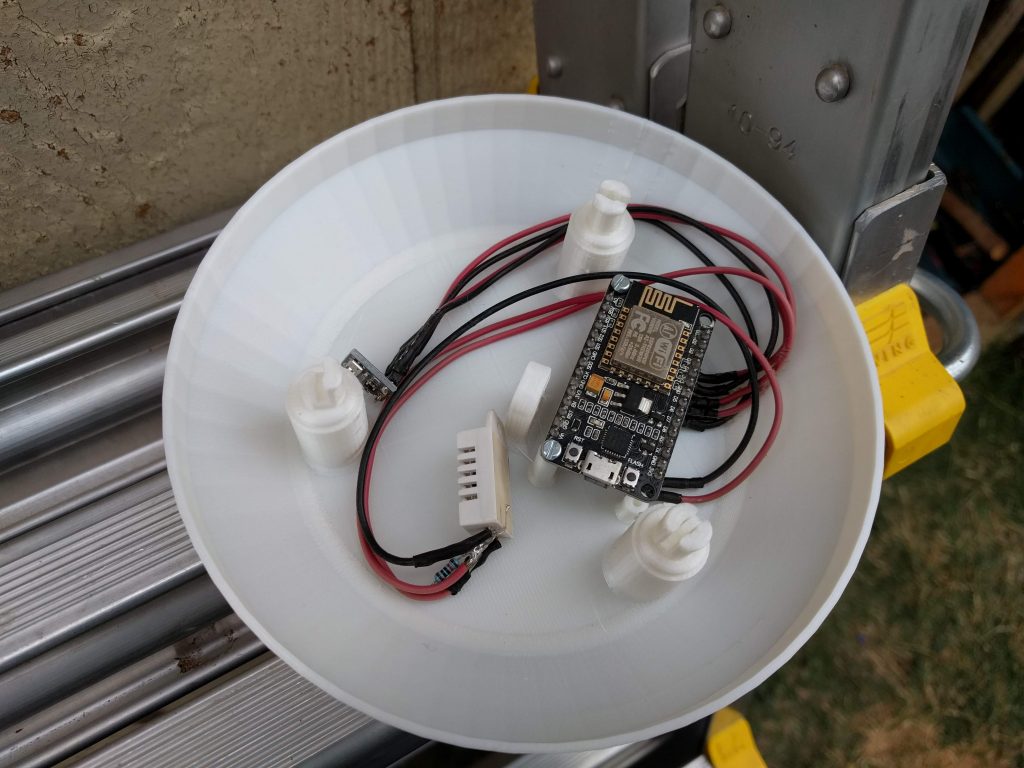
I connected the electronics to the top of the solar shade.  (I think I broke two of the mounting holes the last time I did this.)
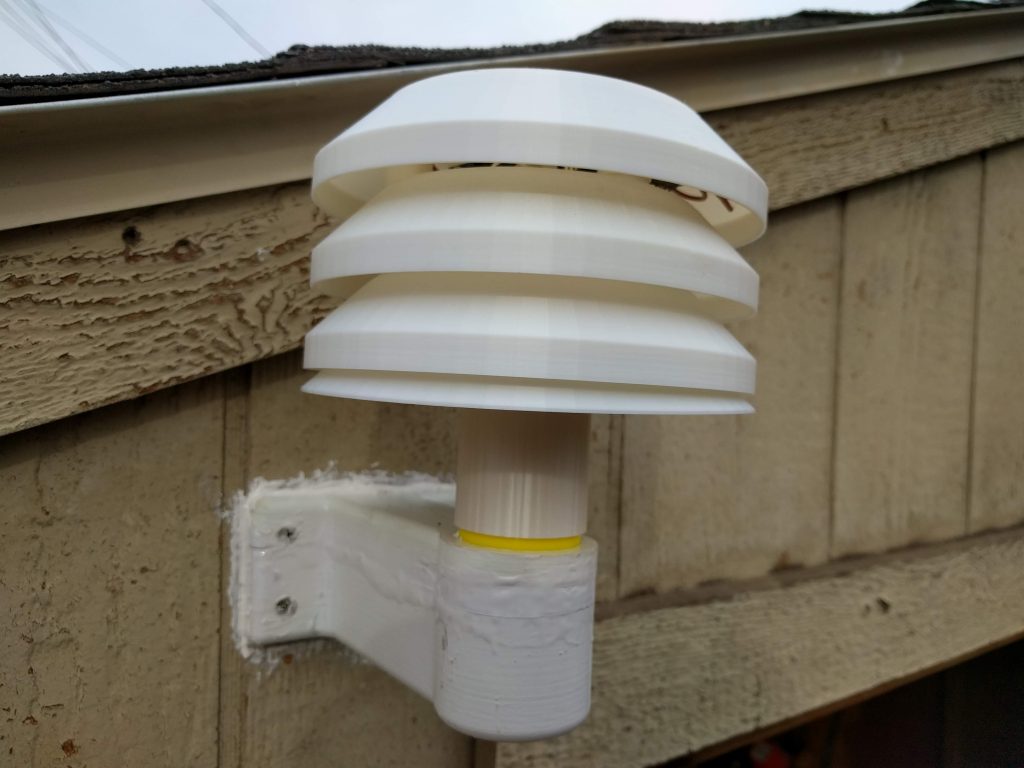
Put the lid on and everything is done.
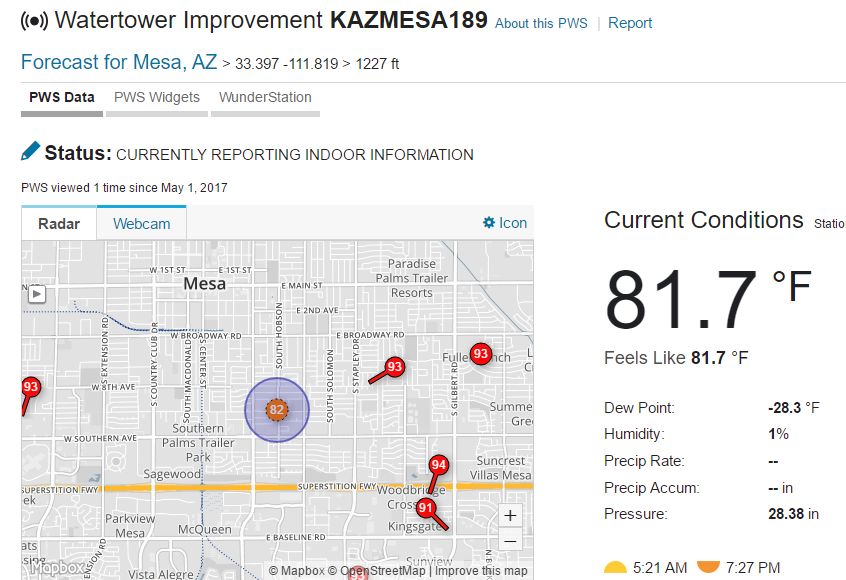
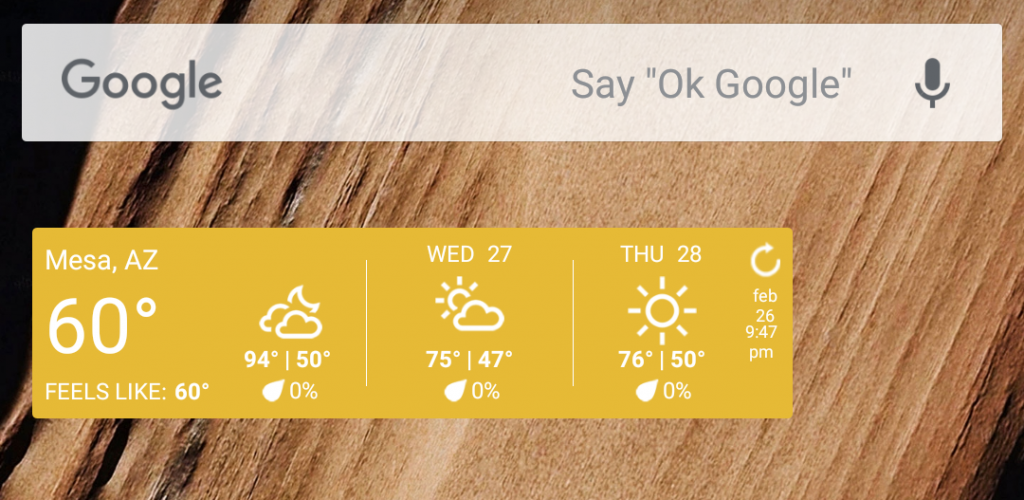
After a few days, I realized that I wasn’t getting any value out of having the weather station up.  I downloaded the Weather Underground app for my phone and set it up to pull data from my weather station.  Now I know what temperature it is at home every time I unlock my phone.  Looks like a nice winter night here in Arizona.
The Changing Weather

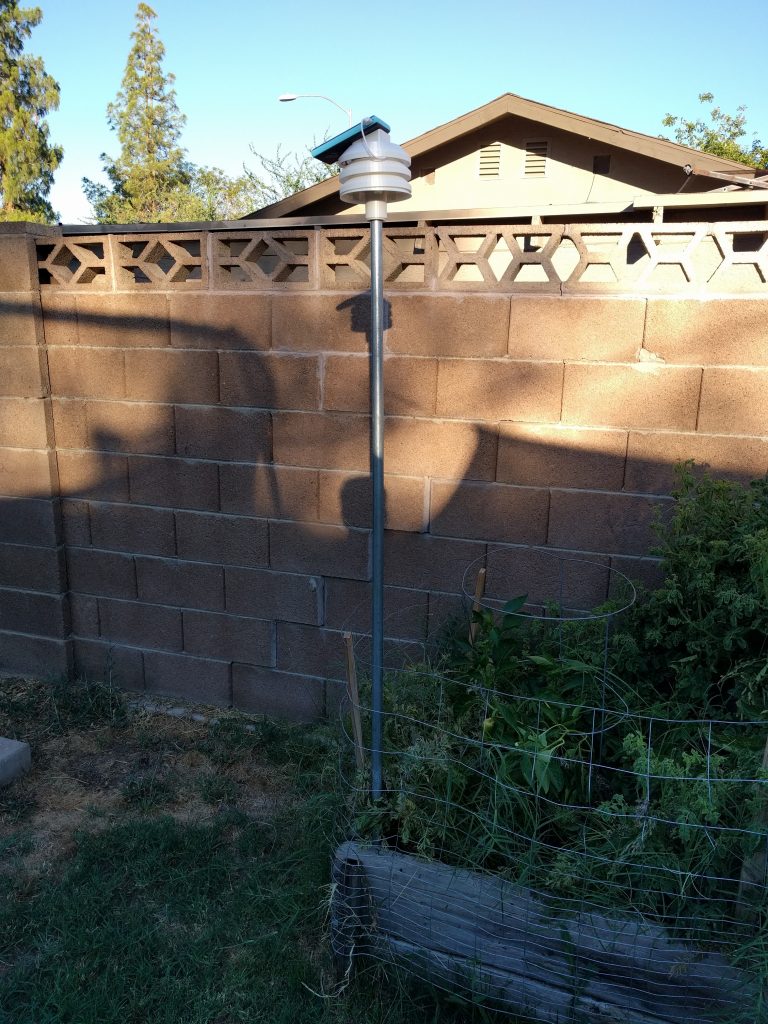
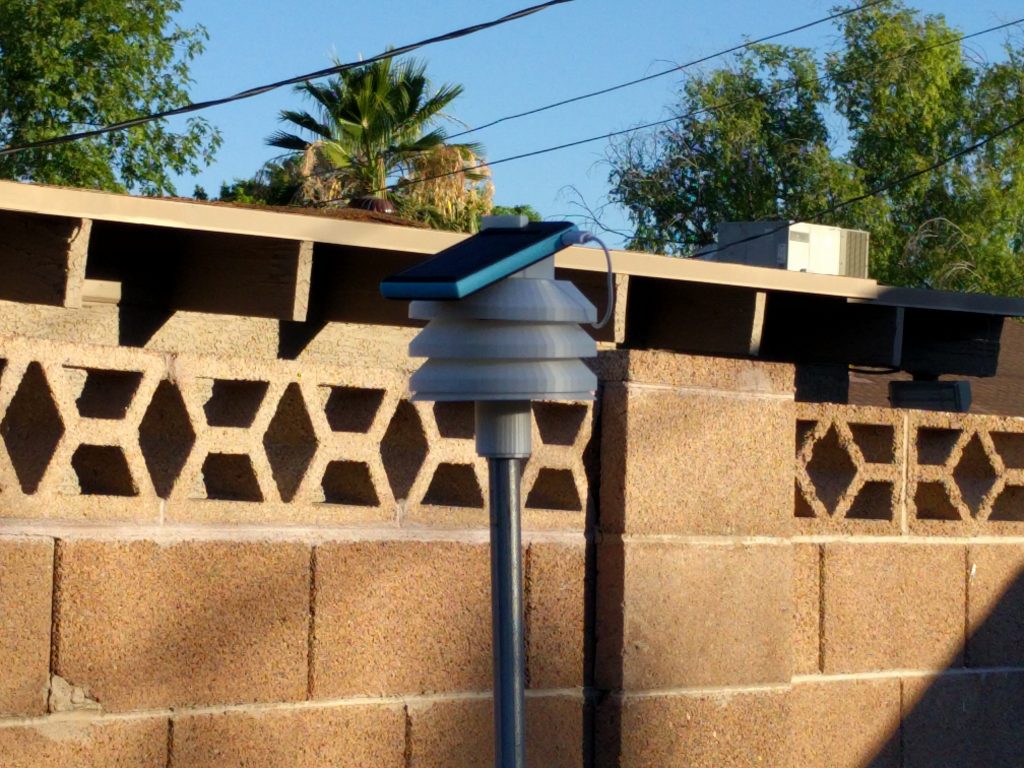
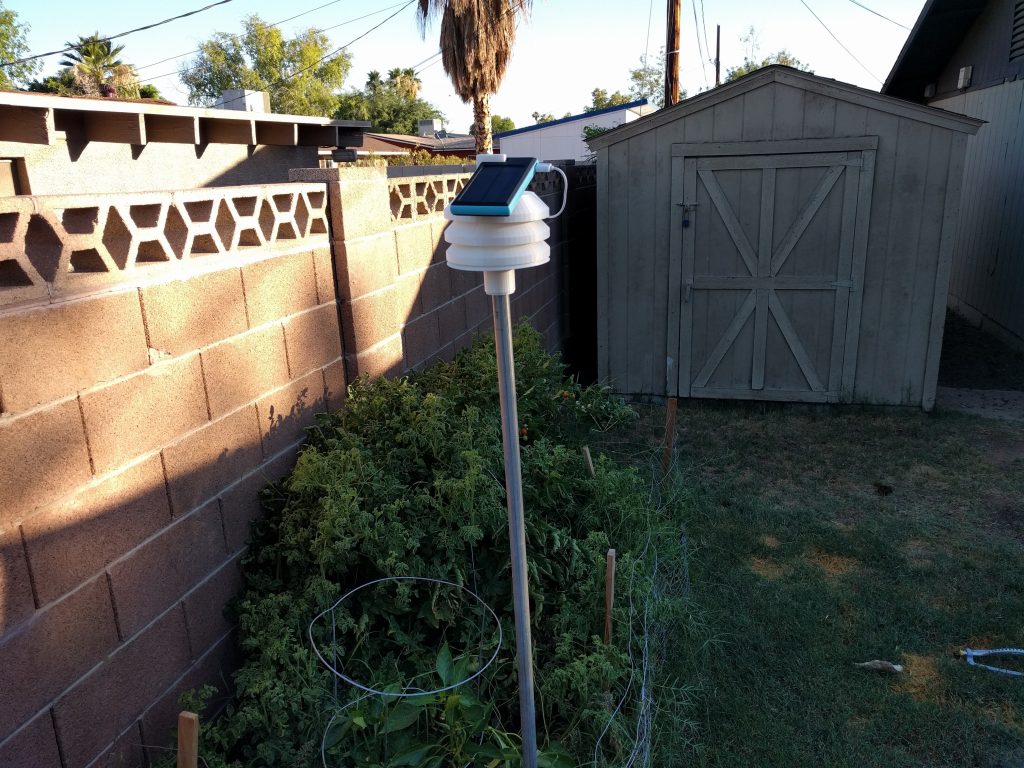
The weather station is mounted outside, but the work is still not over.  I’m having issues maintaining power to the station.  I am using an external battery with a solar cell on it to charge it.  Unfortunately, the weather station pulls more power than the solar panel supplies to the battery.  That means, every day or two I have to pull the battery inside to charge it.  I have been working on changing the code to use less power, but none them have worked.  The NodeMCU has a deep sleep mode, which required soldering an additional jumper wire between pins.  This draws very little power while in this mode, too little for the battery to recognize that something is connected.  The battery shuts off before the weather station starts up again, which means no waking up.  I haven’t decided what to do yet.  I could build my own solar circuit and battery, keep looking for software options, or take this battery apart and hack it’s circuit.  We’ll see what the future brings.  In the meantime, here are some pictures of it mounted above my garden.

Weather Station Complete… Sort of

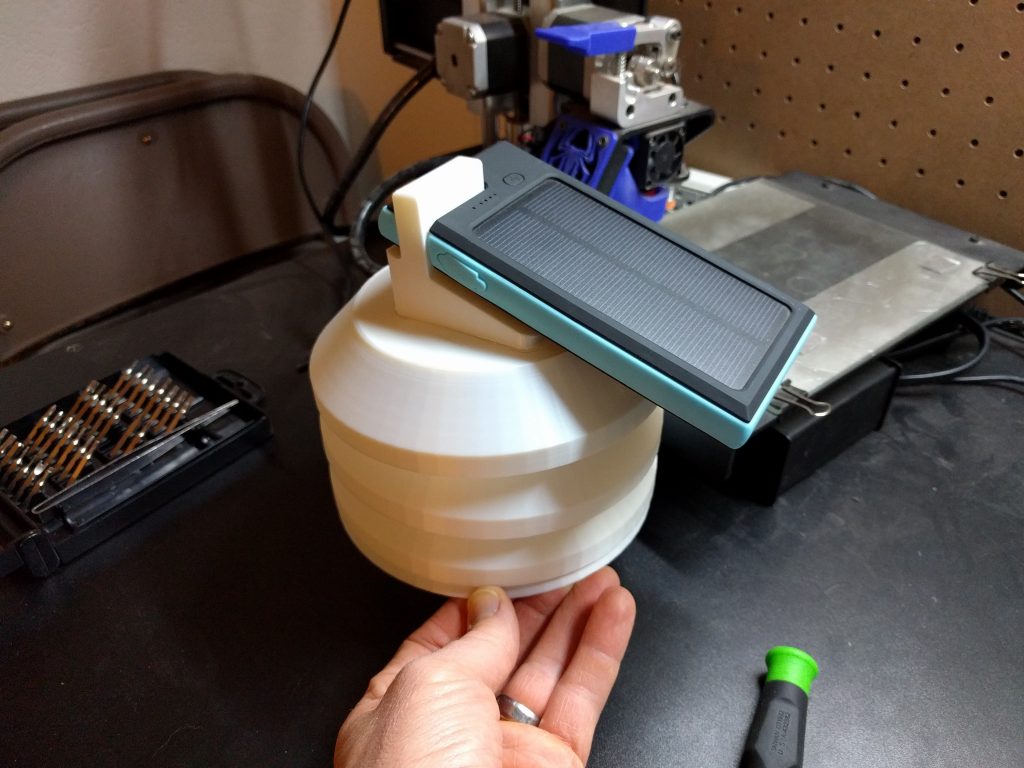
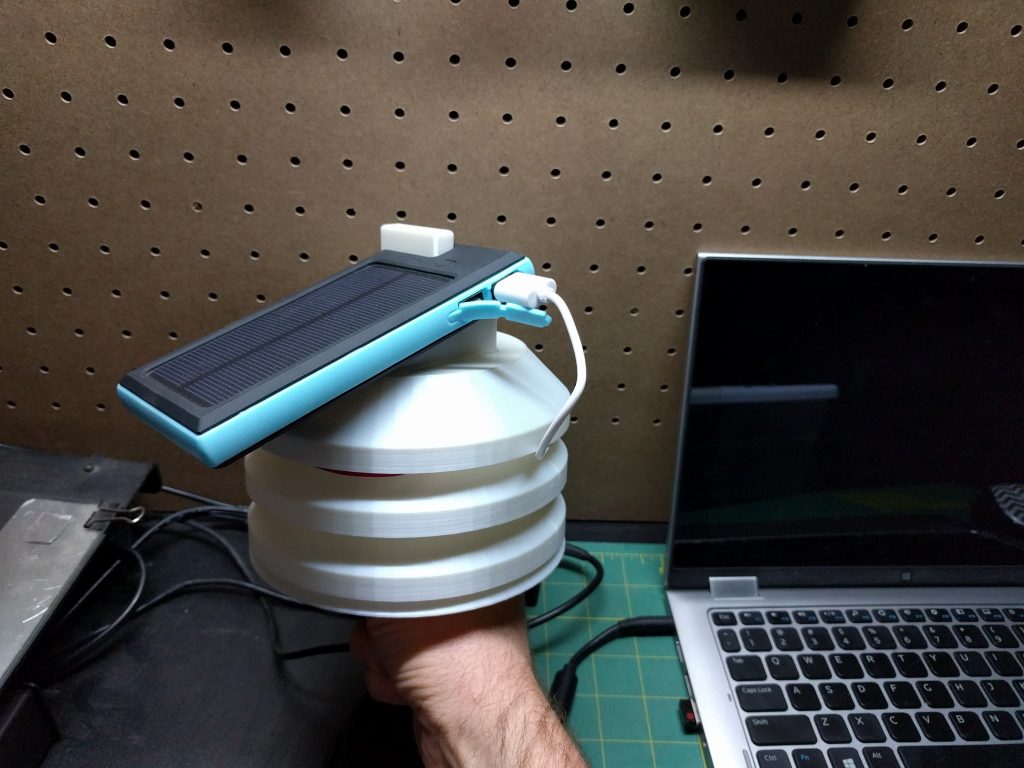
I got my weather station all soldered together and mounted in the solar shade.  I designed a block to sit on top of the shade that will hold the battery.  I also printed out an adapter for the solar shade to mount it on top of a metal conduit that I planted in the edge of my garden.  I thought I was all done until a few days went by and I got a notification from Wunderground that my station had stopped reporting.  The battery I am using has a solar panel, and I was hoping that it would charge the battery faster than the weather station drained it.  Apparently not.  There is a way to put the control board into deep sleep for a certain amount of time, but it required soldering another wire on the board.  I took the weather station apart and added the wire, only to find out that my battery goes to sleep before the weather station wakes up again.  Now, I need to figure out how to reduce power usage low enough for the battery to charge, but not too low that it thinks nothing is connected.  Back the interwebs for research.

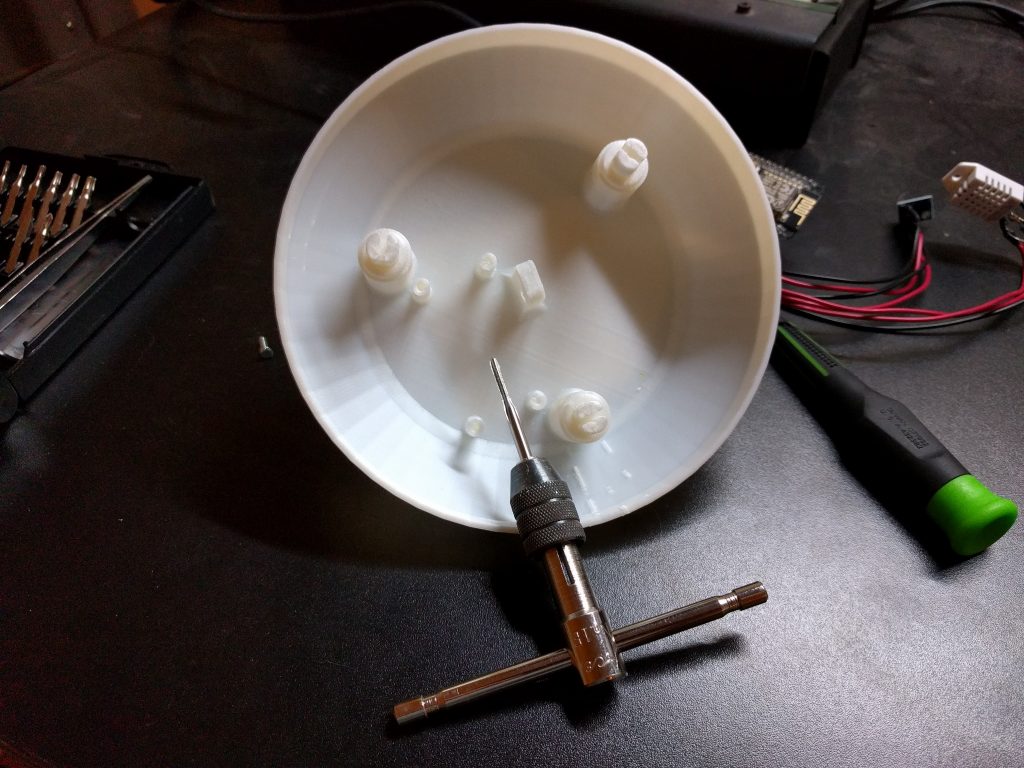
Tapping the holes to mount the board.

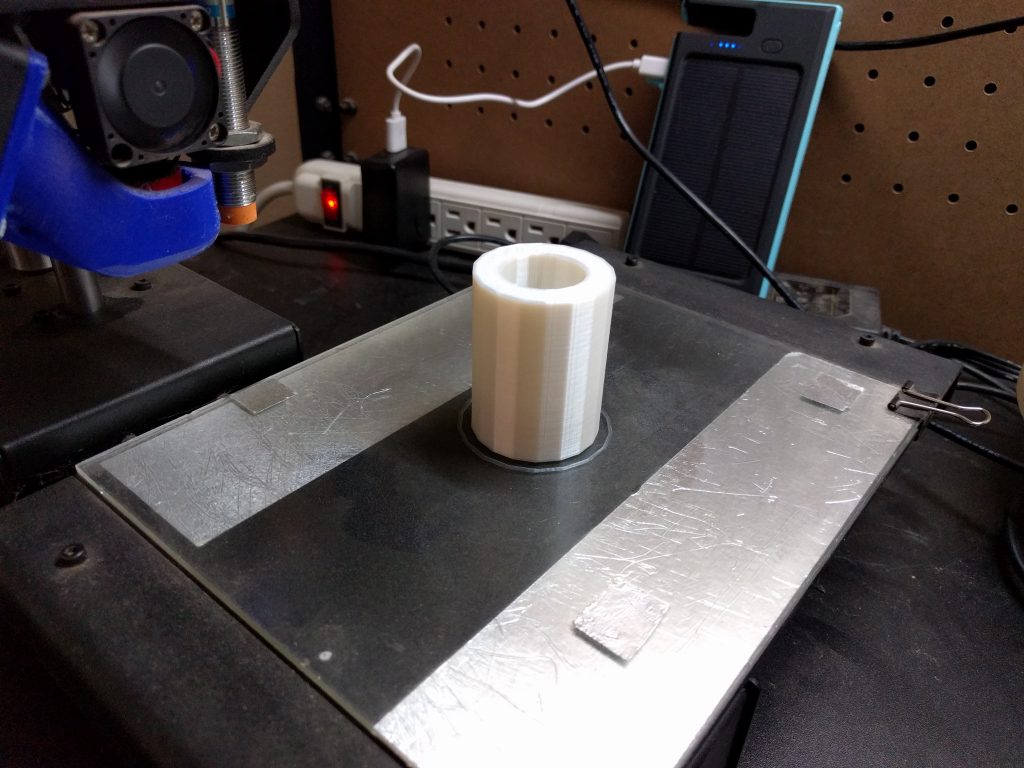
Conduit adapter.  It was tight going onto the conduit, but just the right size to slip inside the weather station.  This makes it real easy to bring the whole station inside when I need to work on it, or charge the battery.

Adding the wire for the deep sleep mode.

All Soldered Up

I got everything soldered together tonight. Then I found out the screws I bought to mount the electronics were too big. Looks like I’ll be making another trip to Ace.

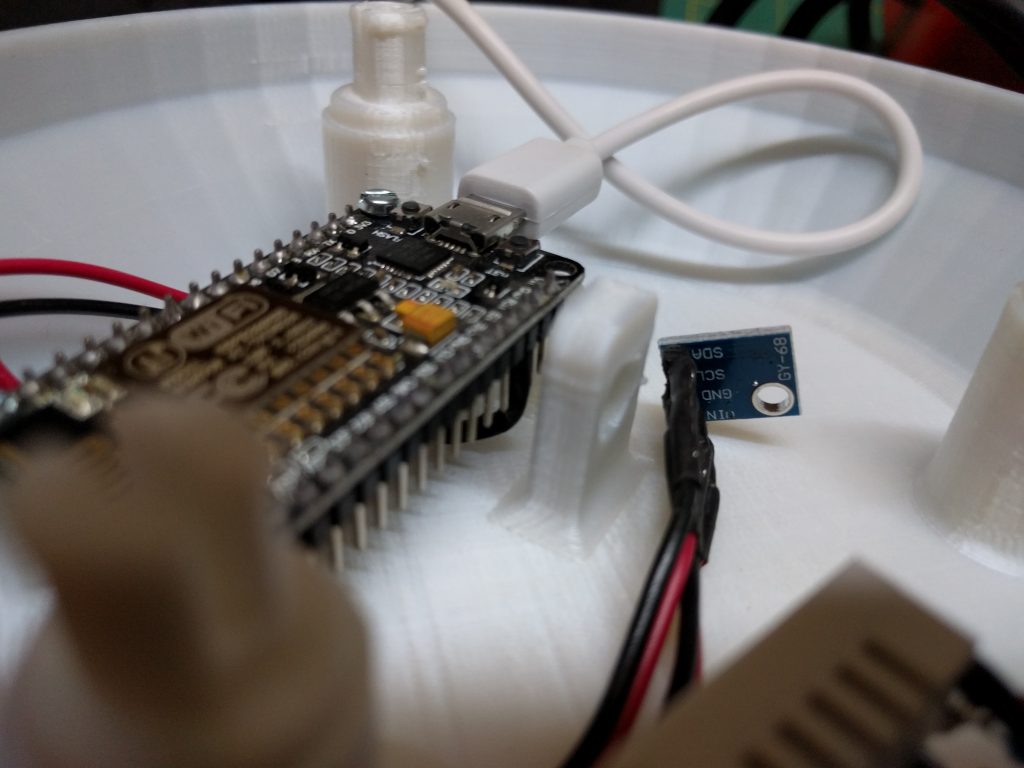
Here are some pictures of the progress and what it will look like once installed.

It’s Coming Together!

Started soldering the components of my weather station together tonight.  It’s taking longer than expected because I don’t have a lot of practice soldering.

Here’s the temperature and humidity sensor wired up.

My Weather Station is Working!!!

I finally got my weather station connected to Wunderground.com!  The hardware has actually been working for several months, I just didn’t have the code completed.  The code wasn’t as hard as I thought it would be, once I found the right source online.

It is still inside my house, but now I can hard wire the connections and get everything mounted up for going outside.  There’s a snapshot below or a direct link here.